- Home
- Our Story
-
Past Events
- Up Coming Events
-
Photos
- June in Sacramento 2023
- As seen at a local Cruise-In
- Prisoners of Time
- 1962 Budd XT Bird
- 1961 Buick Flamingo
- 1916 Gas Prices
- Ford History Video
- Consumer Reports
- Fords of the 1950's
- 57-58 Thunderbird
- Driving to Wichita 2006
- Circus Party at 2008 International Convention
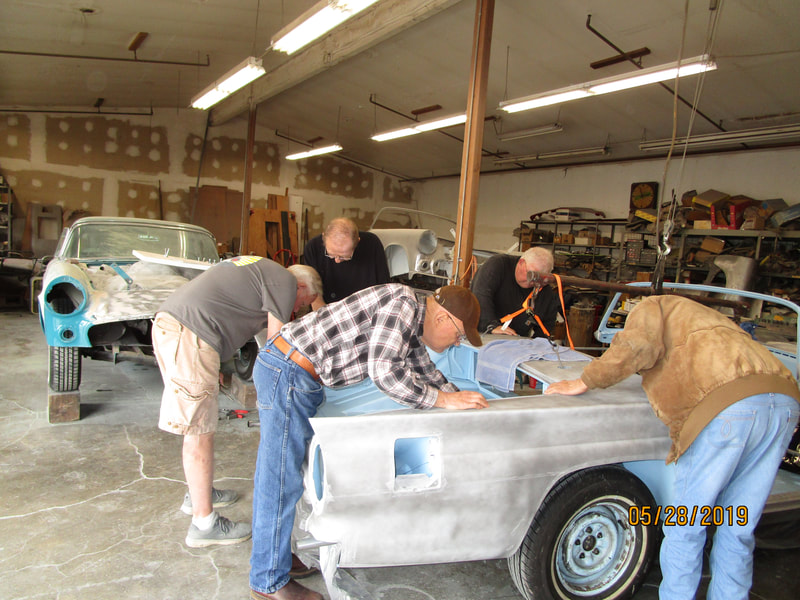
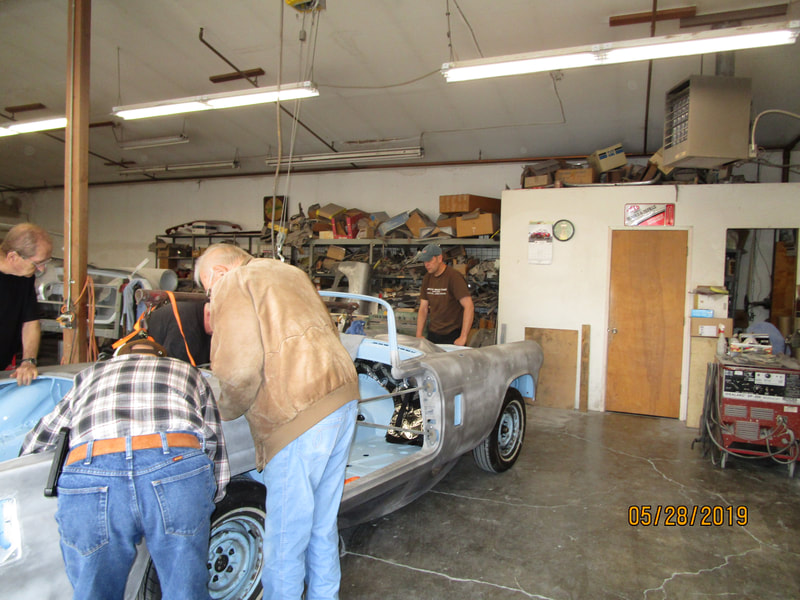
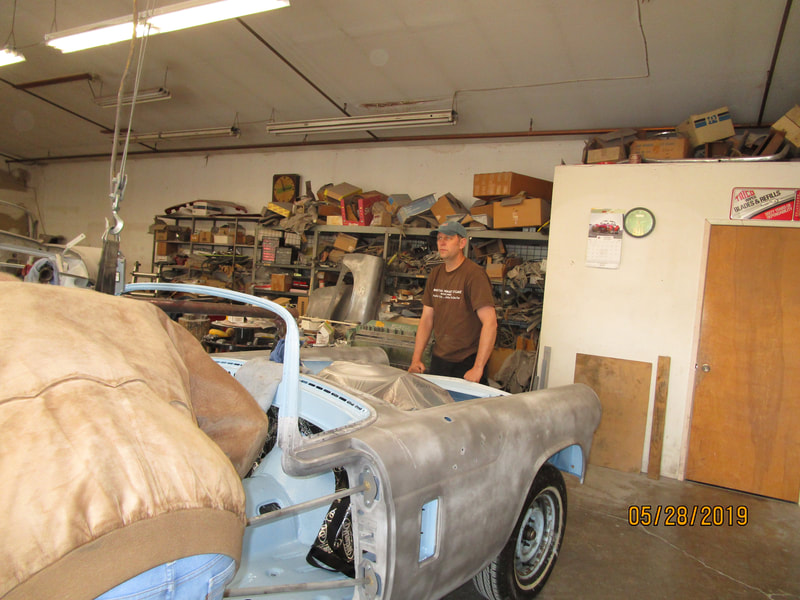
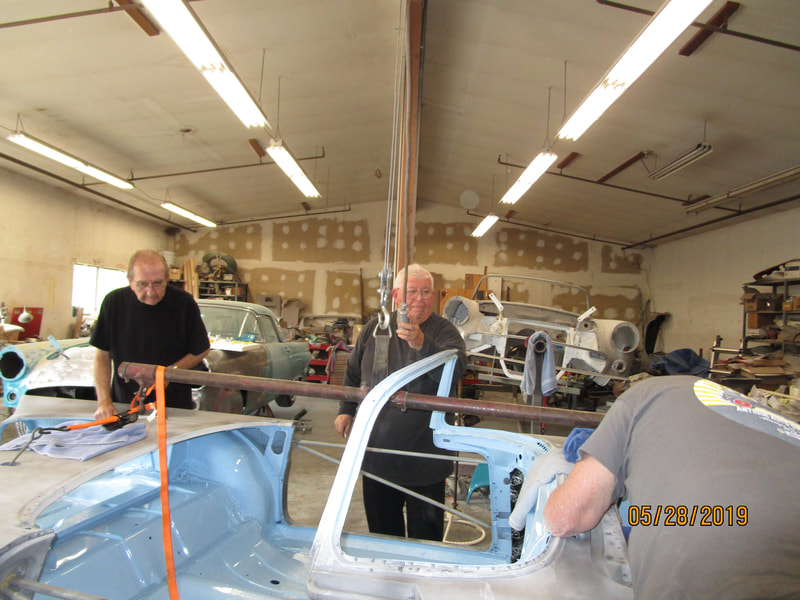
- Working on members' cars
- 1957 Rebuild
- Contact Us
- Join Us
-
Tech Tips
- Preparing for winter storage
- Cooling System >
- Electrical >
- Slide Shows >
- Cleaning Tips
- Valve Adjust tip
- 1955 Shop Manual error
- Turning Rotors
- Welding around Brake Cleaner
- Paint on Chrome
- Wind Wing Glass Removal
- Automatic Transmission Removal
- Arm Protection
- Changing the Fuel Pump
- Rusty Lug Nuts
- Local Parts availability
- Club Store
- Bird Watcher
- Cruise-Ins
- Auto Service Recommendations
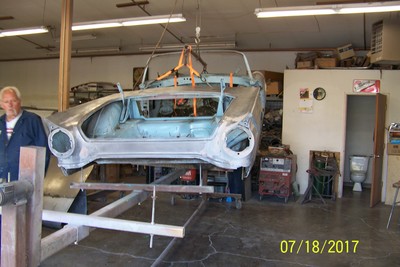
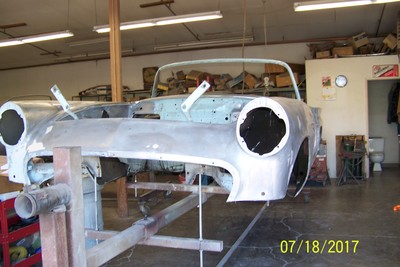
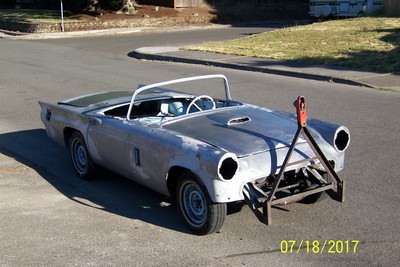
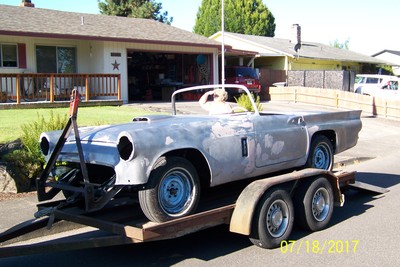
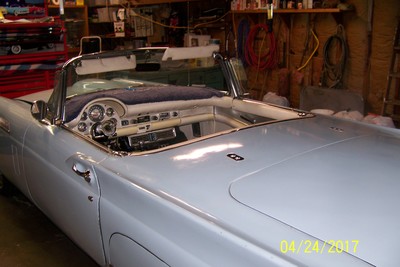
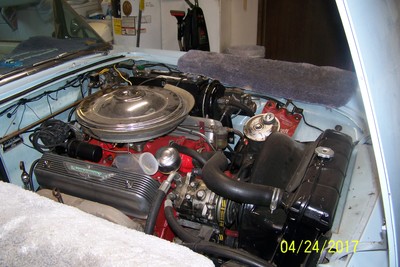
We are adding this page to show the complete body-off-the-frame restoration of a 1957 Thunderbird that your web-experimenter is going through. With the permission of our club president I am posting photos of the project as I proceed. New text and photos will be added at the beginning of the page occasionally. The project started in April of 2017 which was 47 years after having done a similar project on the same car. The engine rebuild below was done 50 years after its only other rebuild in 1967. Enjoy the progress and suffer some of my frustrations as I proceed.
So start near the bottom of this page and watch the progress going up.
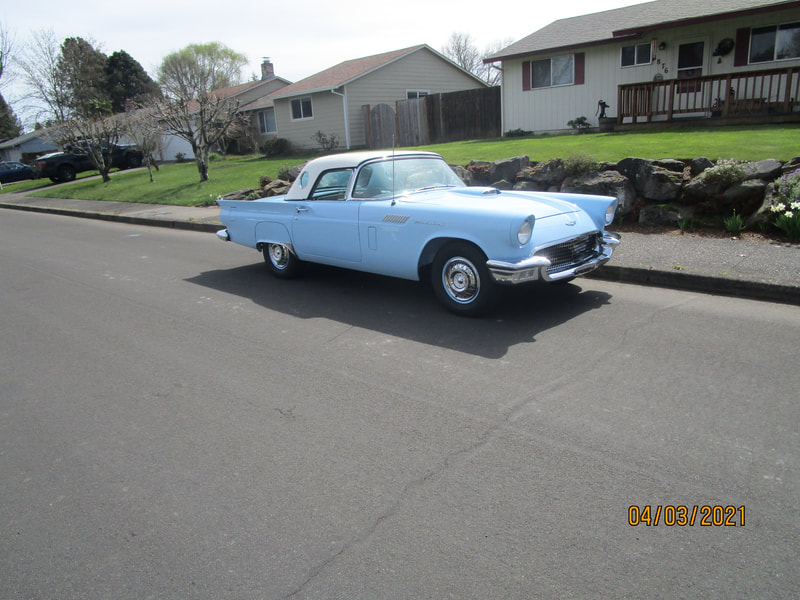
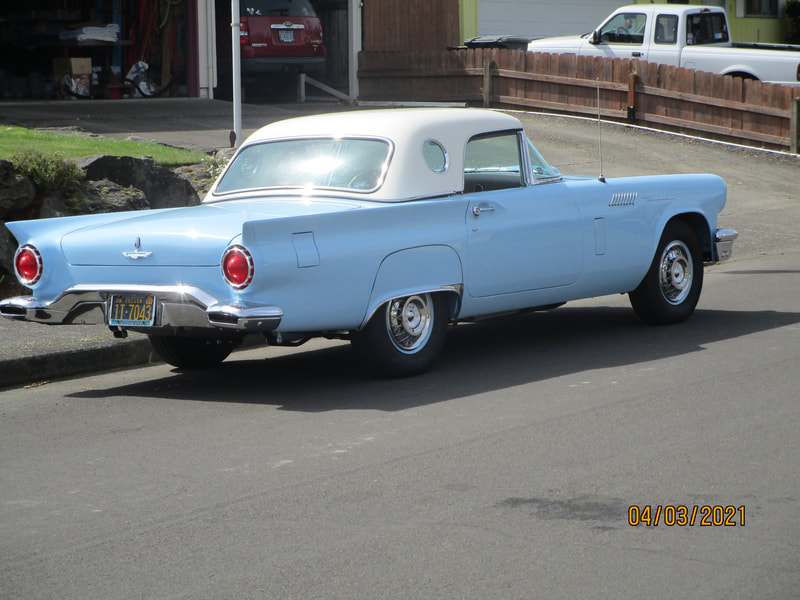
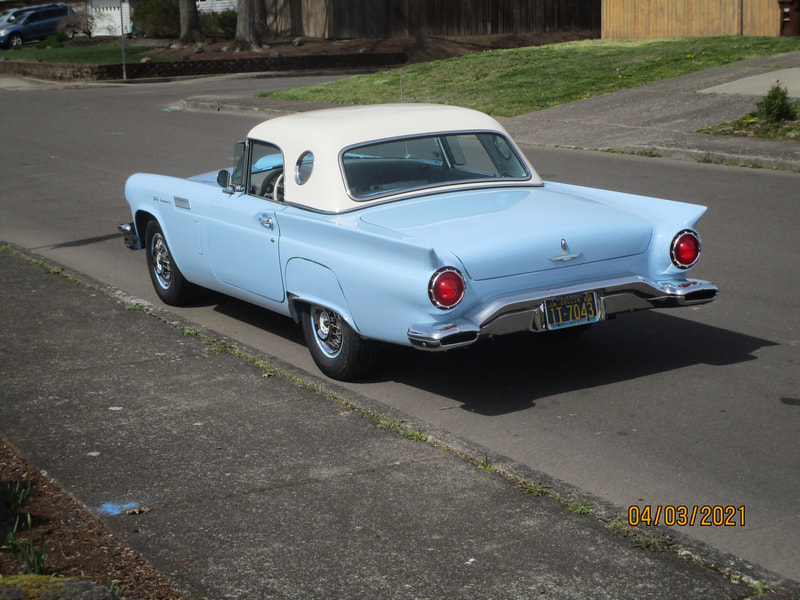
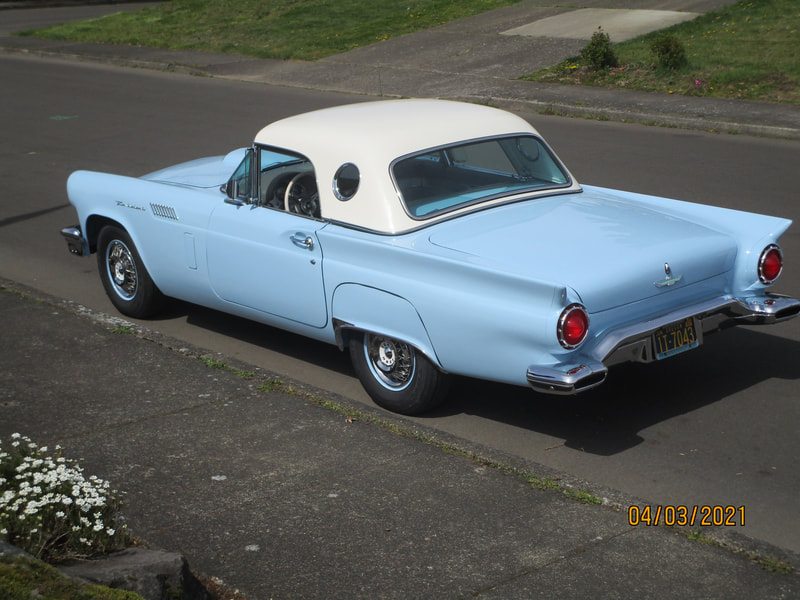
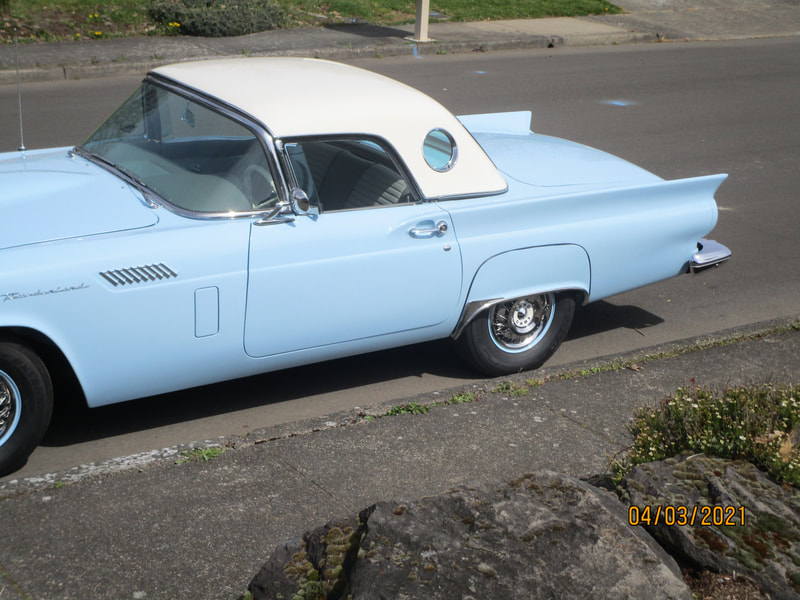
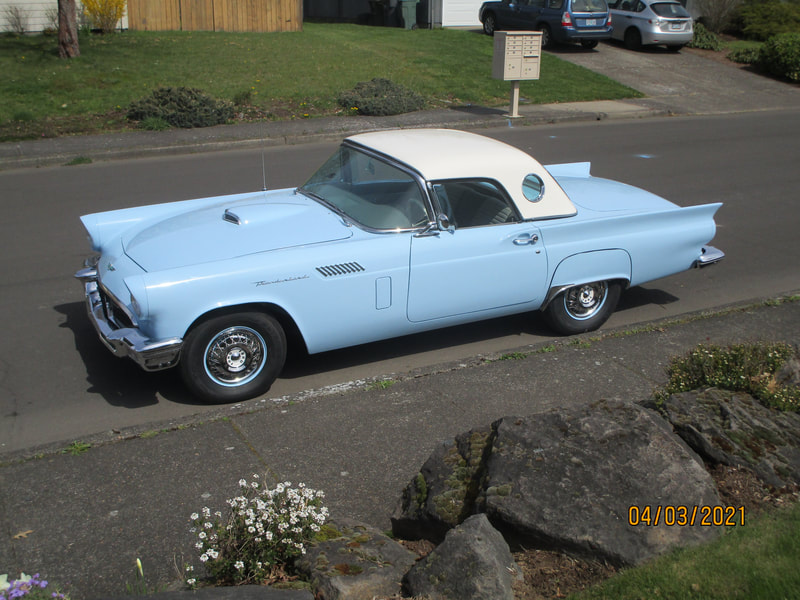
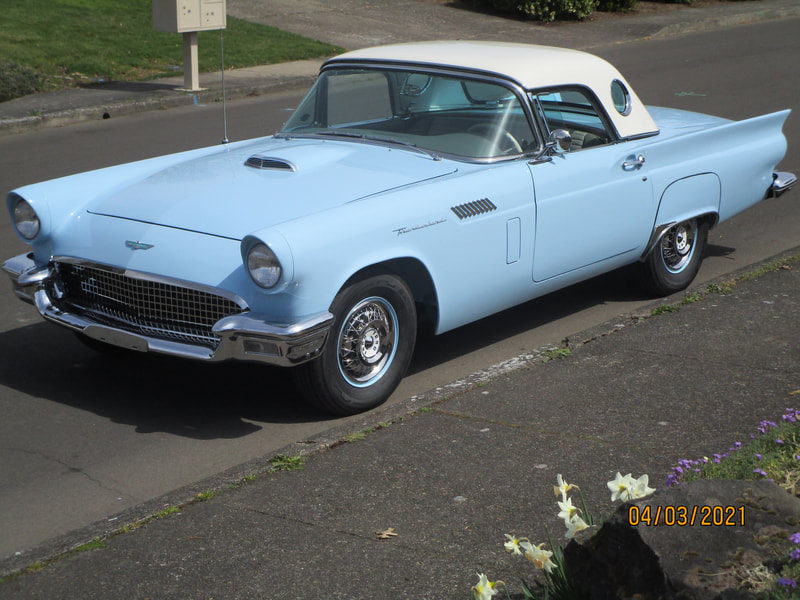
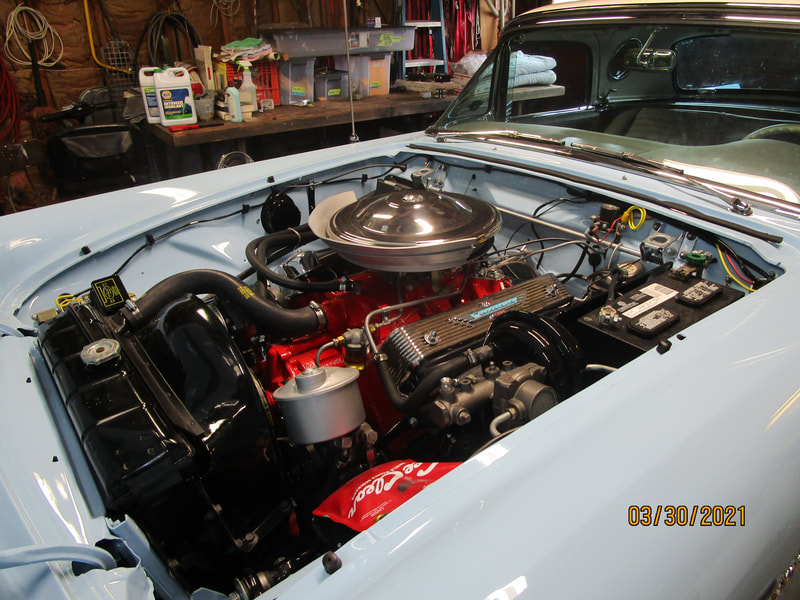
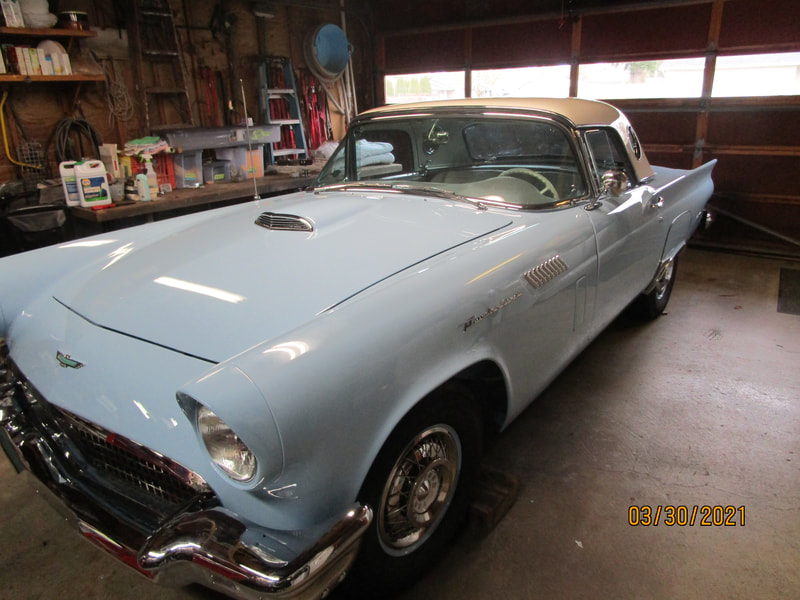
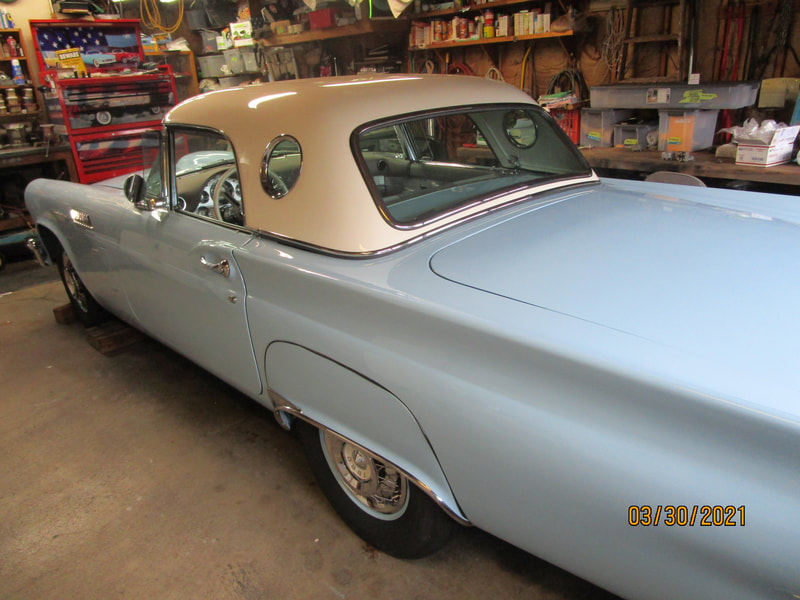
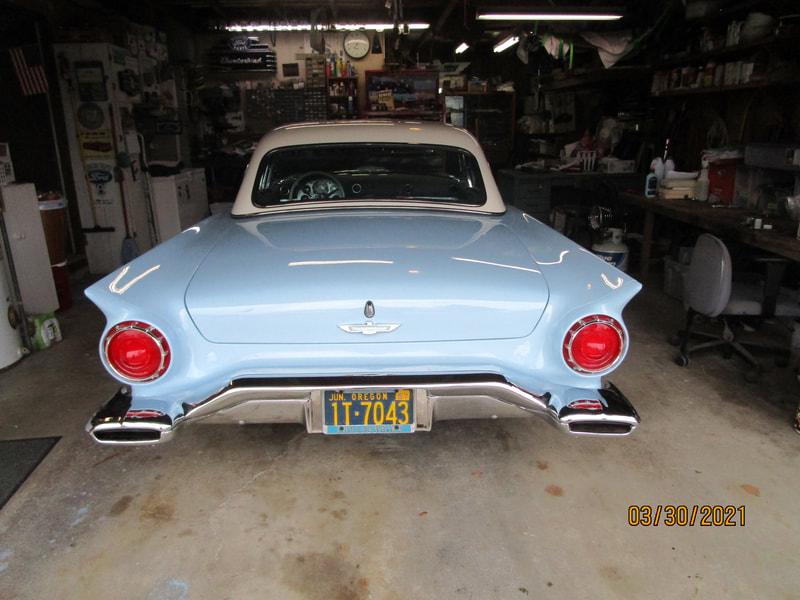
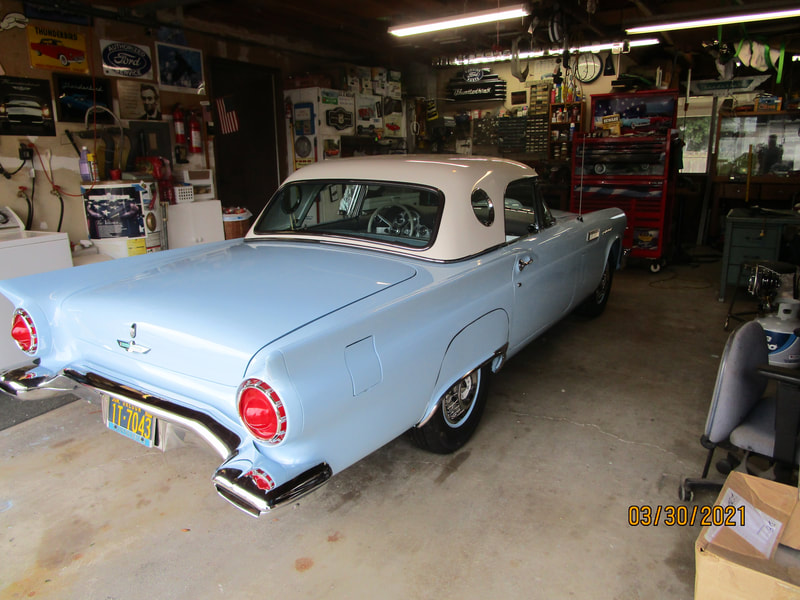
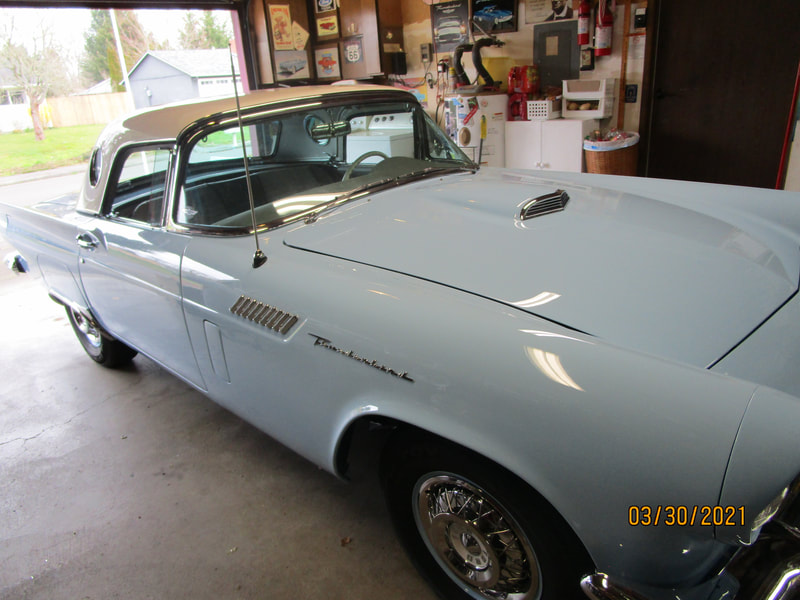
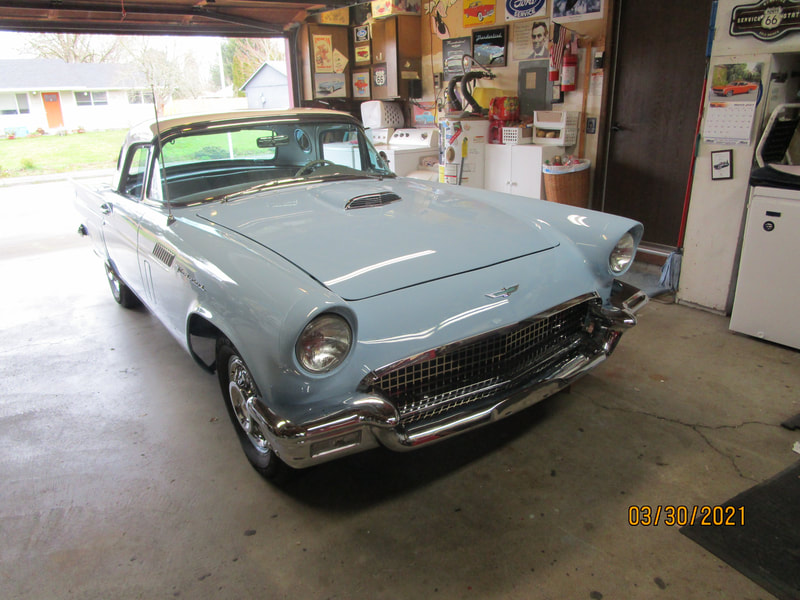
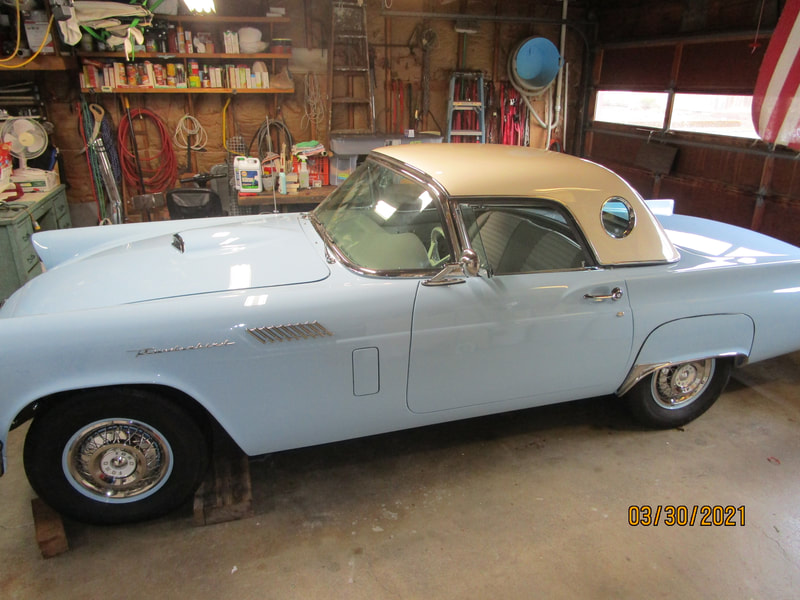
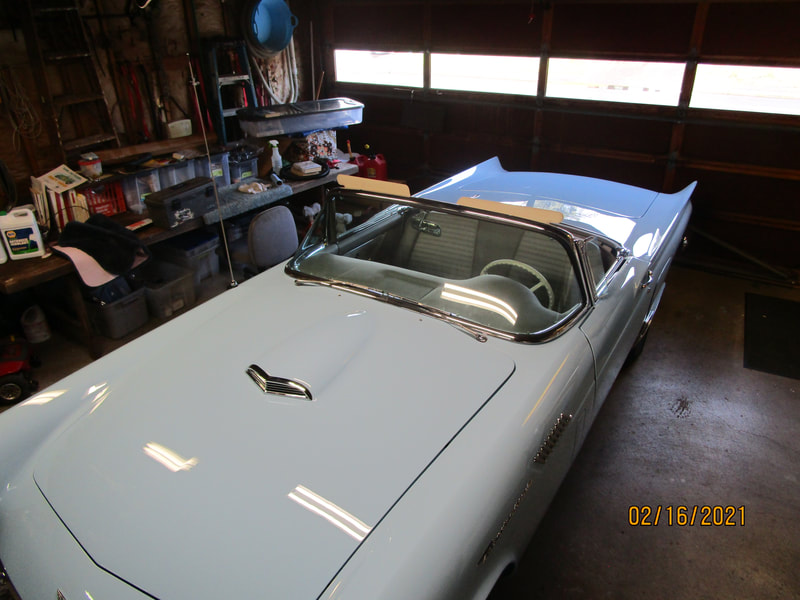
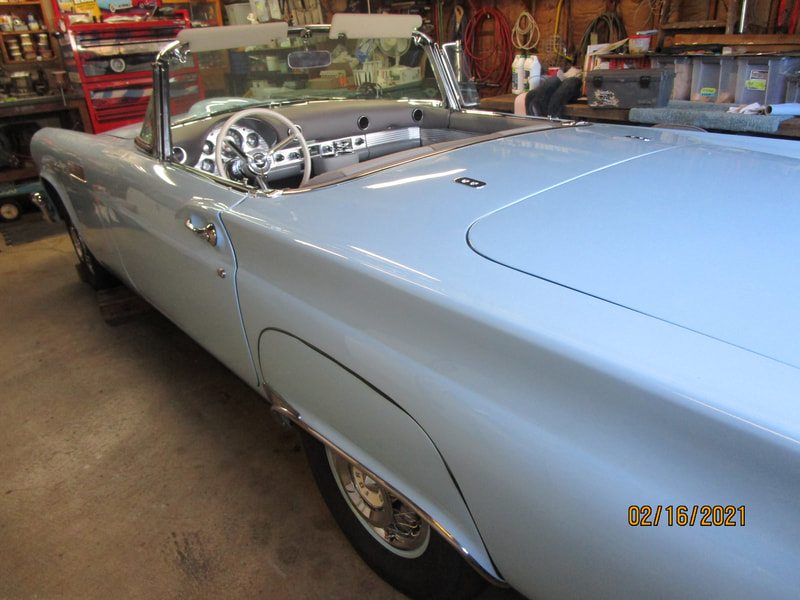
Well, after four years I am now able to drive it again. I first drove it on Thursday, 4/1. After a little tweaking, looking for noises, etc. I drove it again on Saturday, 4/3
It runs fine except I've got a loud noise that may be coming from the Speed-O-Meter or its cable. I also need to get the front-end aligned as it steers a little weird, I expected this.
Overall I am very pleased with the results.
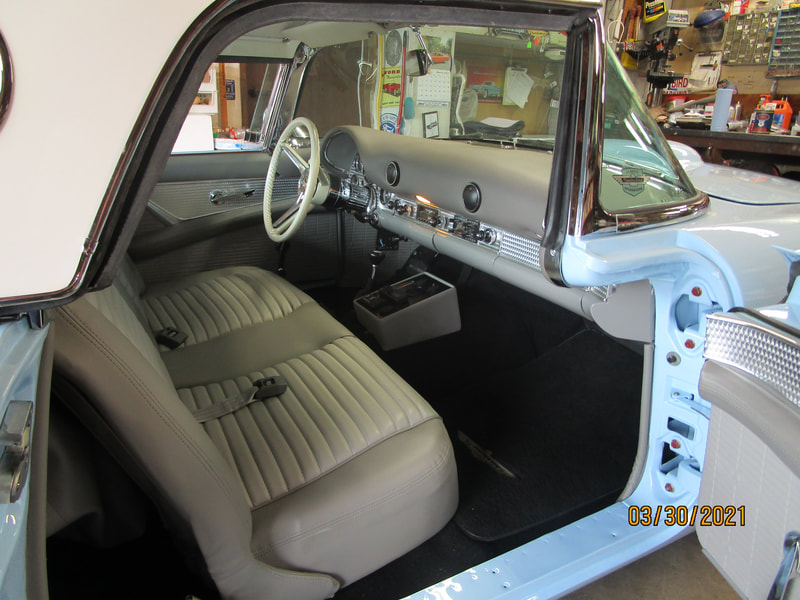
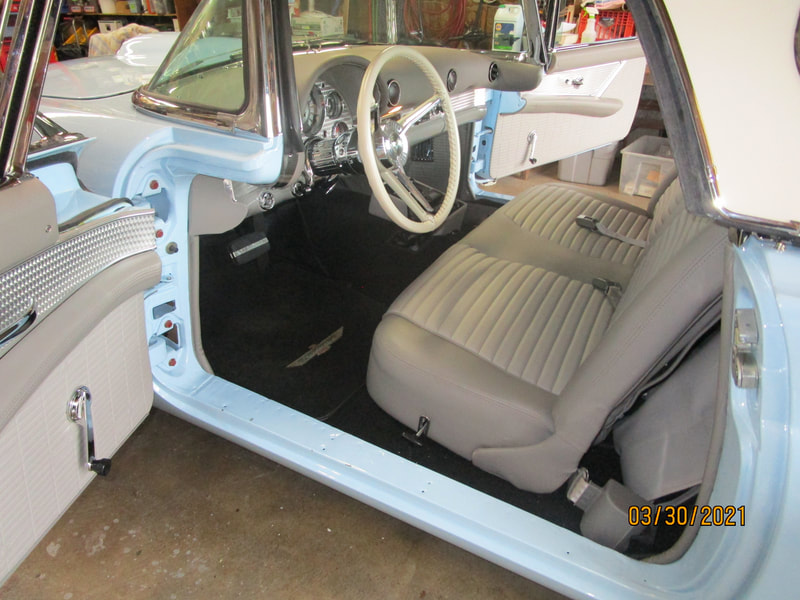
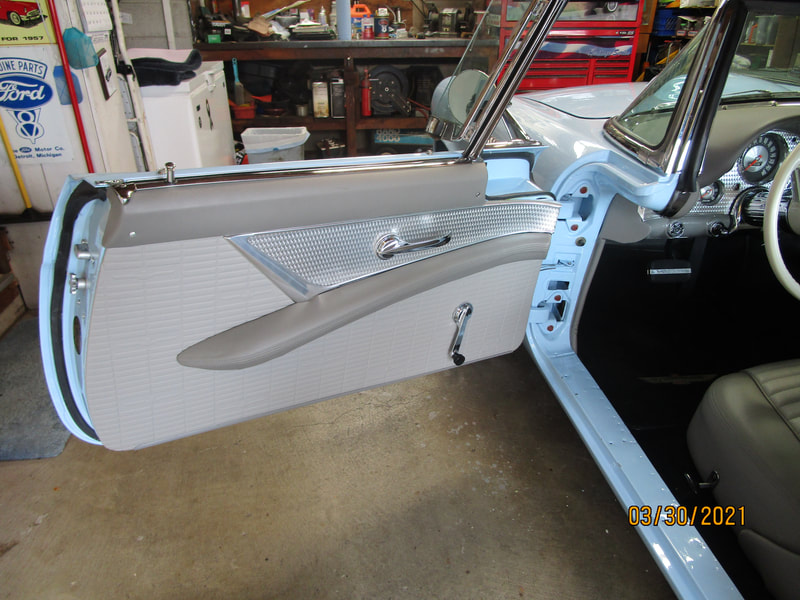
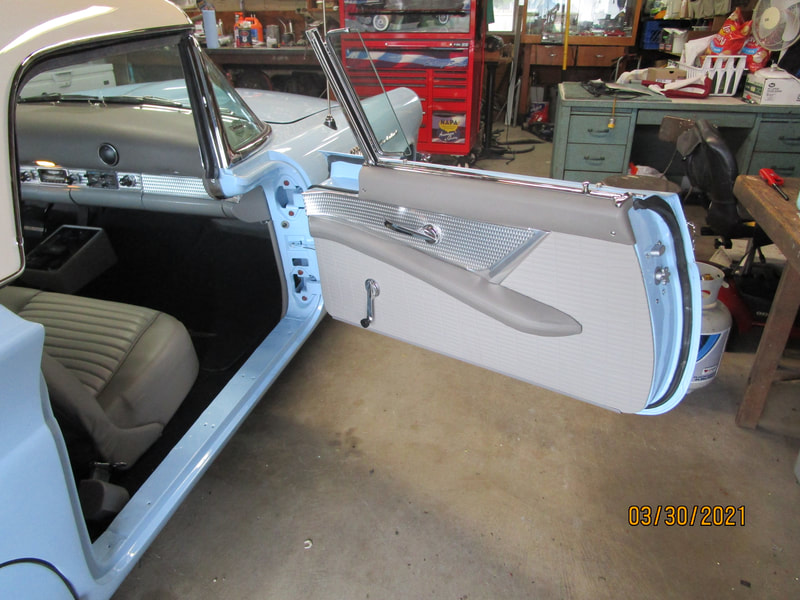
The 13 photos below show the virtually finished project. At this point I need a new battery, to install the step-plates, have the Front-End aligned and the AC charged.
Well after months since my last update I've made a lot of progress; however, much of it isn't really noticeable so I've waited until the changes are obvious.
You'll notice there are no more wires hanging loose under the dash. It was very slow progress getting all of those wires in their proper place. Even though I'd color coded all of the electrical additions I double checked every thing as I worked, so the work went slowly. After all wiring, tach cable, speedo cable etc we worked the Vintage Air unit into place. It will provide heat/defrost/AC. Getting all of the hoses from the unit to the defrosters and the four outlets on the dash was an exercise in being a contortionist but with Dave Van Winkle's help it was finally all in place. At this point I was able to test all of the electrical work except the Cruise Control; for some silly reason I've got to get it up to speed to check that out.
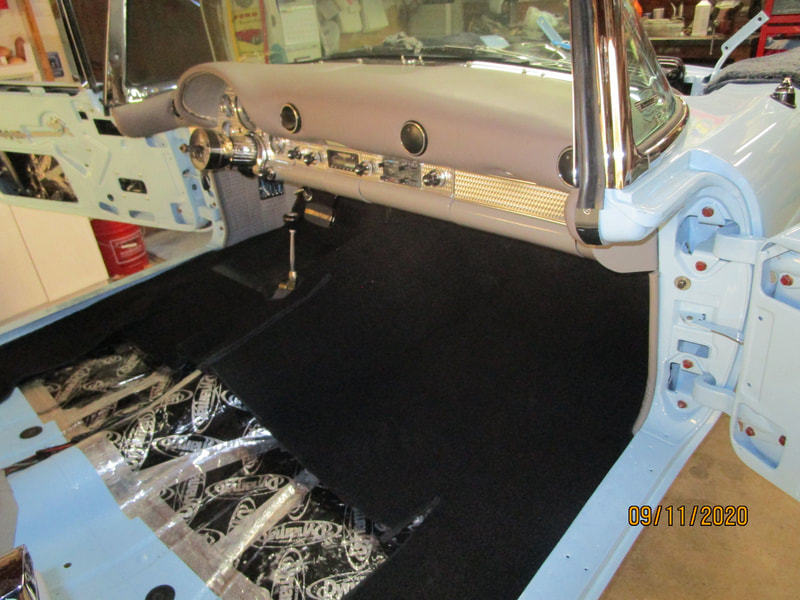
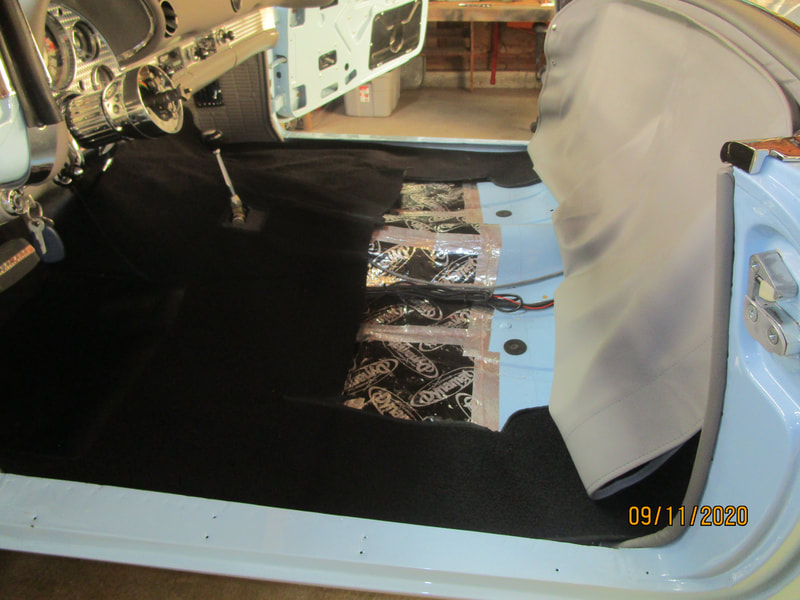
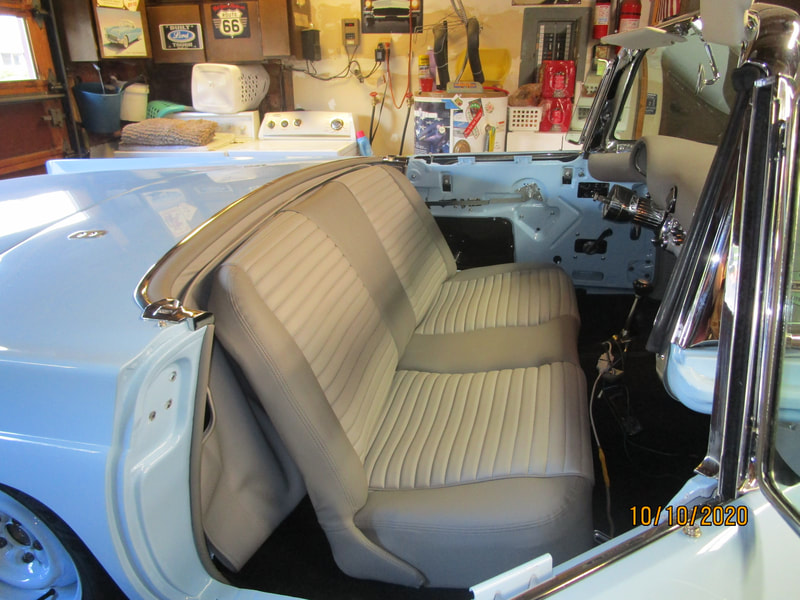
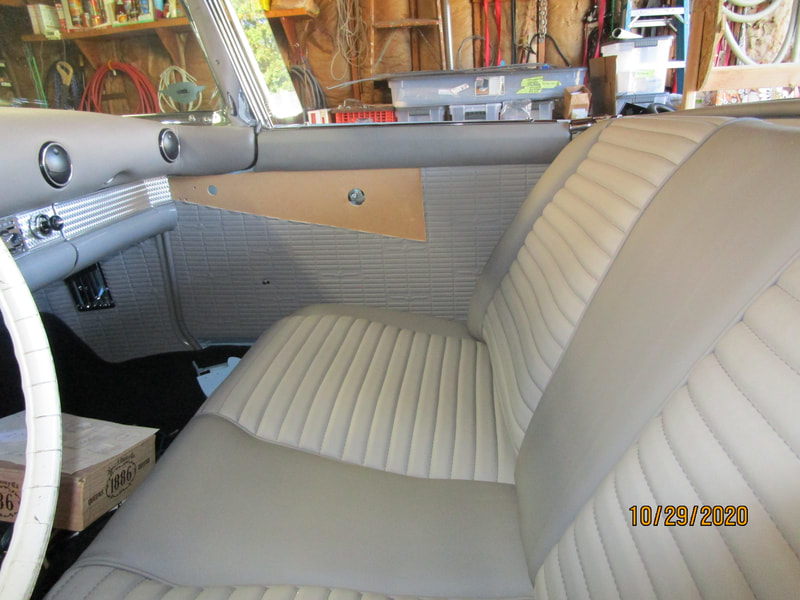
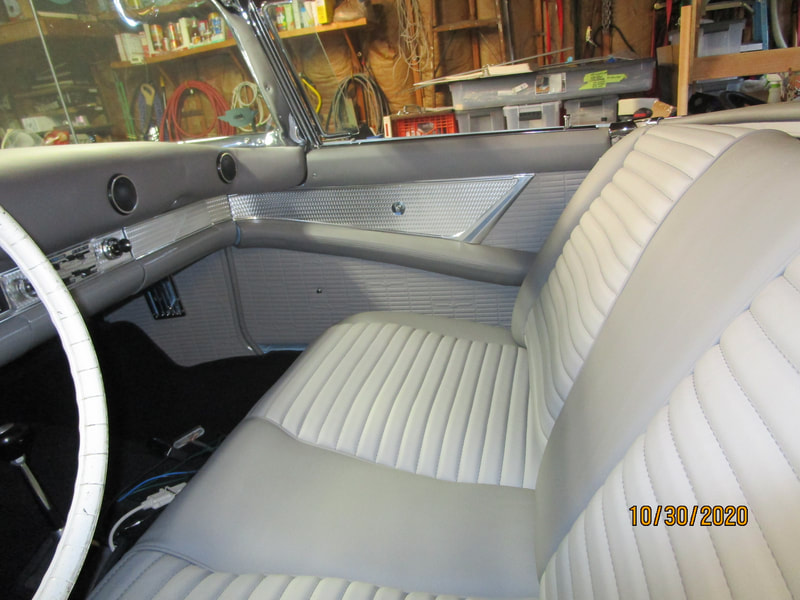
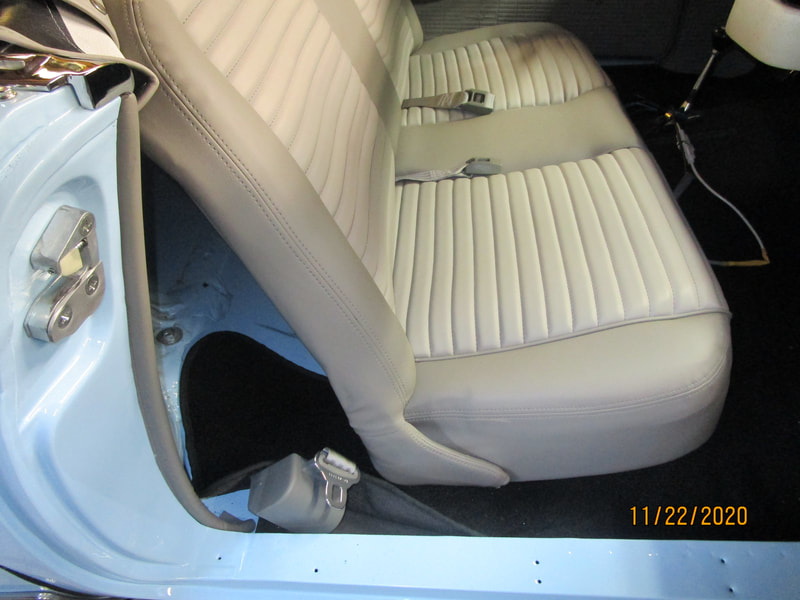
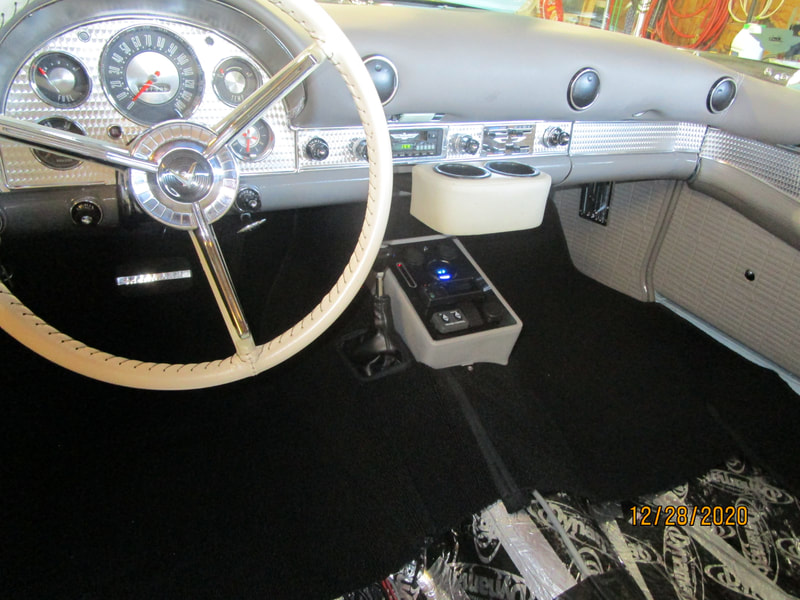
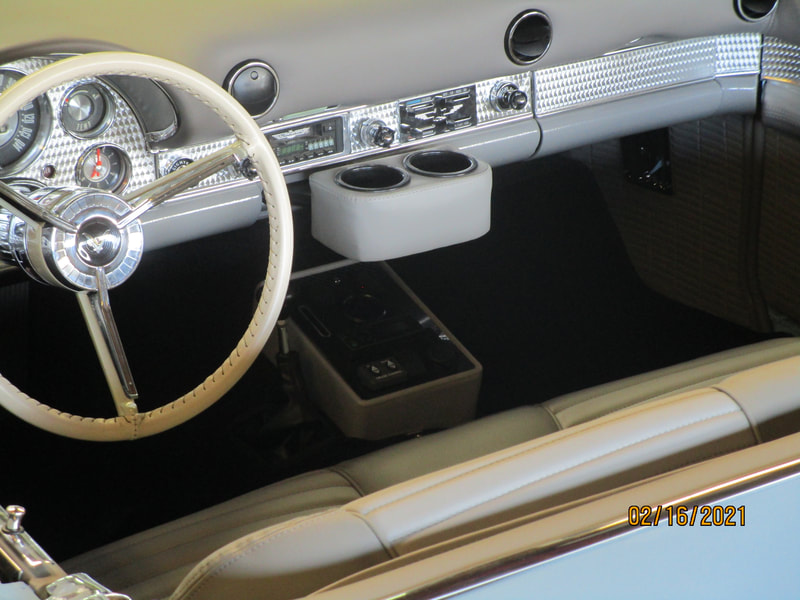
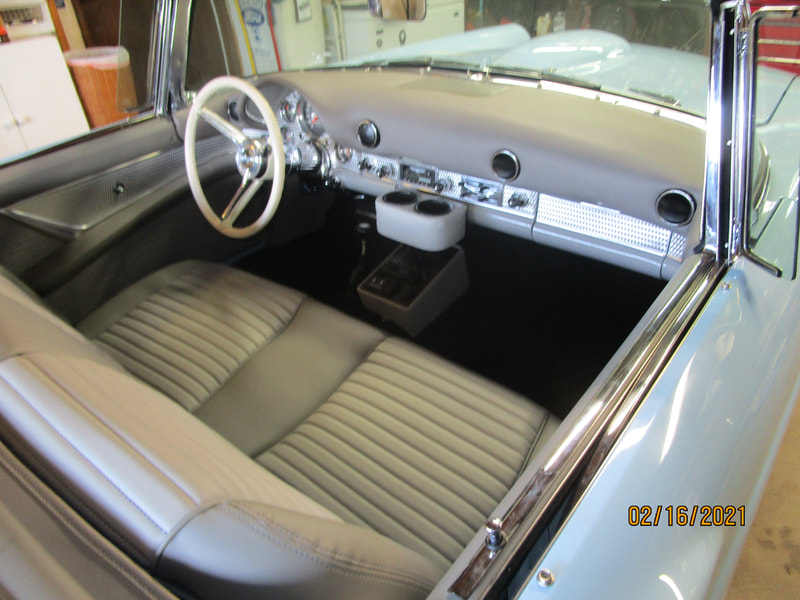
After work on and under the dash was completed I turned my attention to the Tonneau Cover and carpeting which made the interior look a whole lot better. In mid December I got the seat back from the upholsterer. The grey interior is now really making its presence known next to the Starmist Blue.
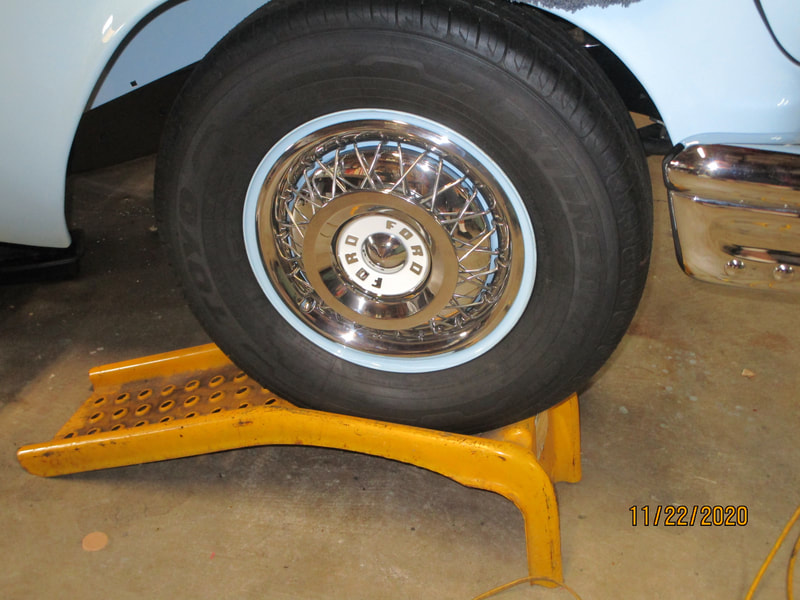
I really wanted to get narrow white wall tires (1" - 1 1/4") but wasn't able to find them in a tire brand I was familiar with. I am having to adjust to black only tires. It took a lot of calls and visits to companies that polish stainless steel to find one to buff my wheel covers; and then I had to take them to Centralia, WA. Each wheel cover has four pieces plus four screws to hold them all together. Oleta informed me that I paid too much to get them polished but I could not bear to not make them shine.
We also finished the console that is mounted on the hump just in front of the seat. It has a Dakota Digital temp gauge, switch & pilot lamp for the electric fuel pump, 2 12v outlets, 1 USB dual port outlet to keep phones charged while on a trip, the shift indicie, CD control, Cruise Control and electrical parking brake control. So there are a ton of wires going in and out of it.
Above the console you see a cup holder that plugs in to replace the ash tray. It just takes seconds to remove it and install the ash tray. This cup holder is sold by most of the Thunderbird parts suppliers, but not in grey. Club member Dennis Leedom had this one but no longer wanted it. I had the white upholstery on it replaced with grey.
Dave Van Winkle knew of a company that sells a huge variety of seat belts for classic and custom cars. I was able to get retractable belts in grey to match my seat.
Dave and I are almost finished with the top. If things go well I should have that on by the end of February. After that I can adjust the windows to the top and then finally finish the installation of the door panels, inside handles and garnish rails.
More to come
Since my last update I've made great progress on the car. The last update talked about bumpers and other chrome. Shortly after getting the bumpers on I had a bit of a delay because I got a piece of metal in my right eye. My eye doctor was able to get it out but I had to put an antibiotic ointment in for two weeks. The ointment had the consistency of Vaseline, can you imagine trying to seek through that? Well, it is tough. So I didn't get much done.
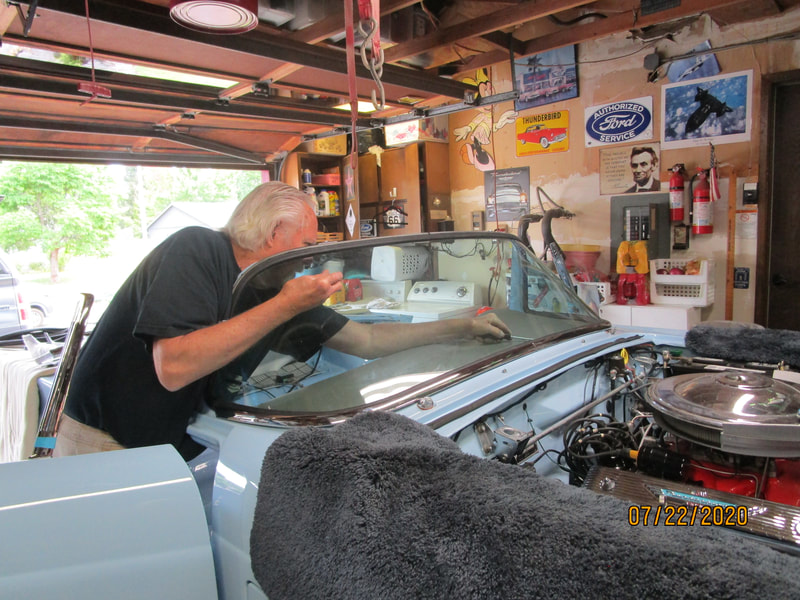
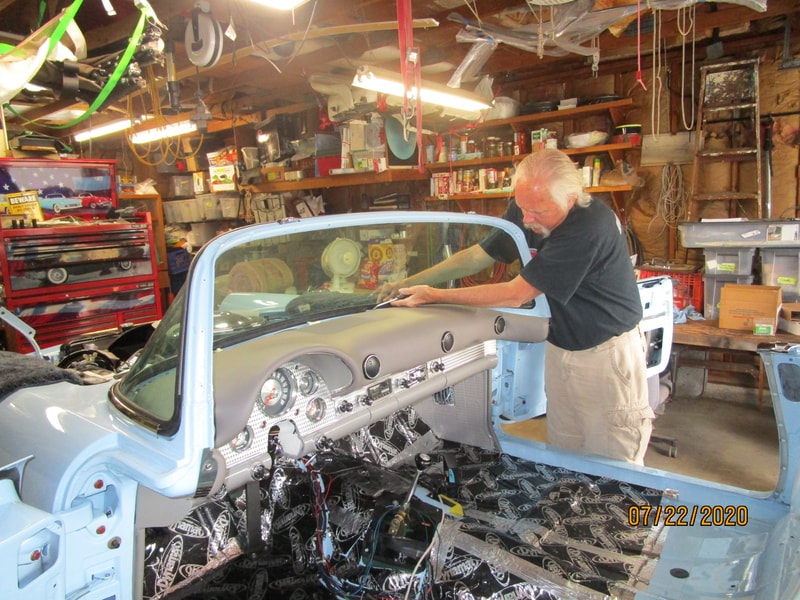
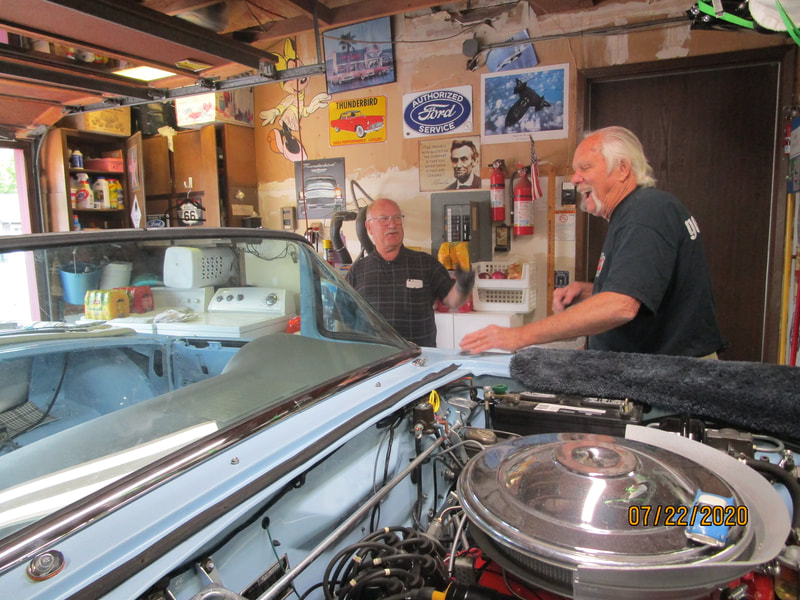
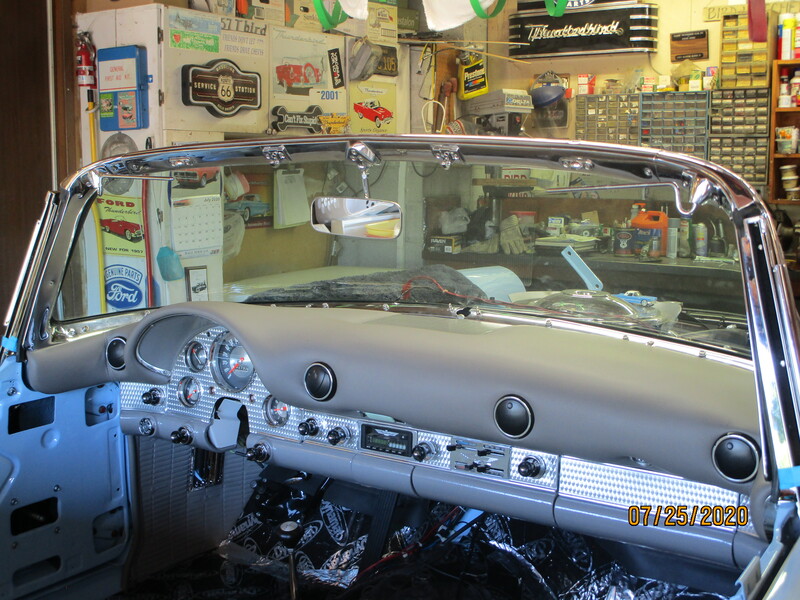
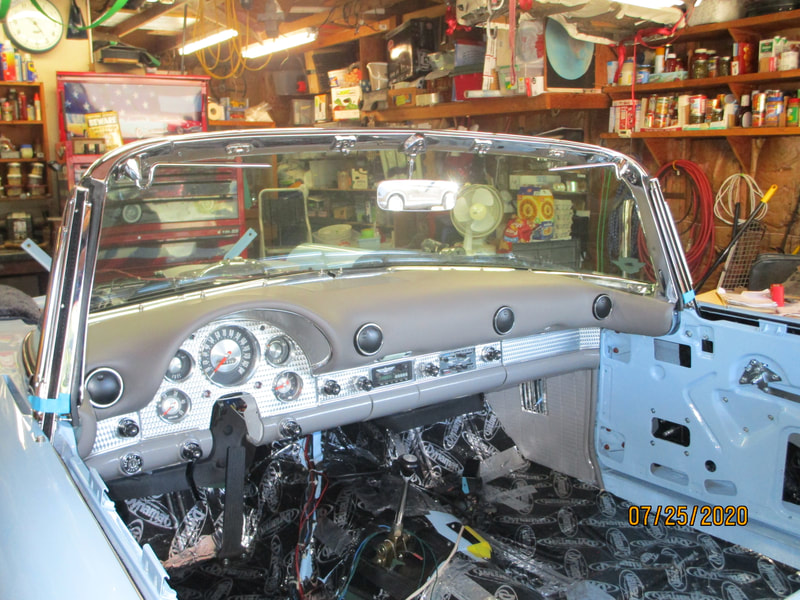
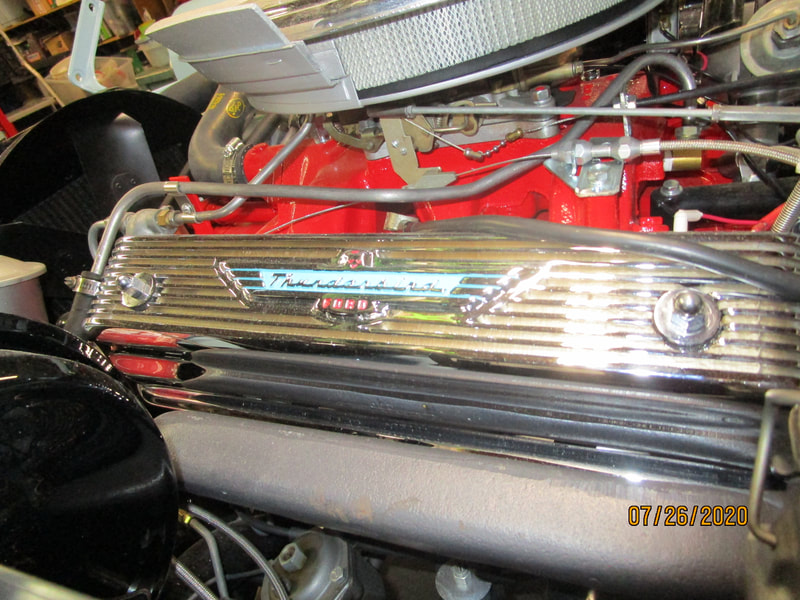
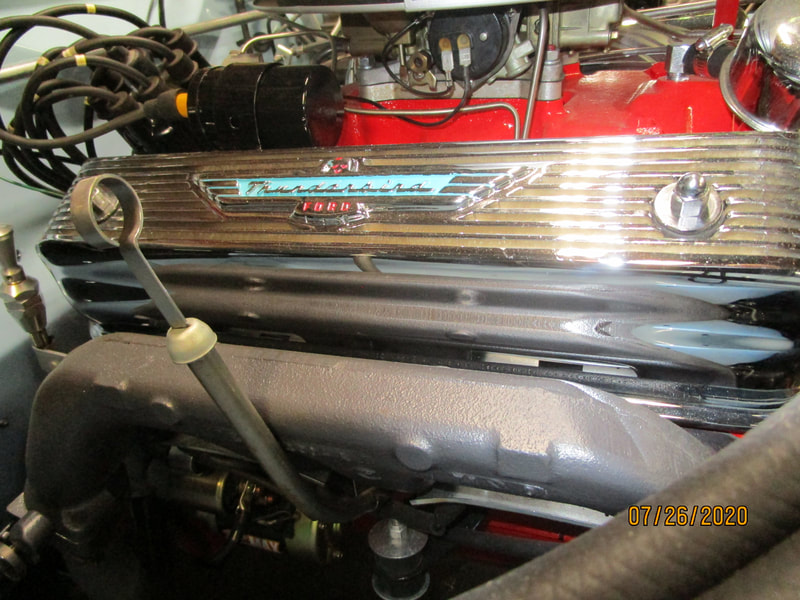
Finally with a friends help I got the dashboard in and attached what seemed like hundreds of wires. Just a few days ago Dave Van Winkle and Dennis Leedom helped me put the windshield in place. After that all of the chrome and stainless steel trim around the windshield has been installed. You may also notice the Kick Panels are installed. The chromed valve covers have been painted and installed. They look great. Enjoy the photos below.
My next project will be the door windows and more trim.
Wow it is hard to believe that I haven't updated this in months! Shortly after getting the car from Dave I became very sick, as I told several I was sicker than I had been in 20 - 30 years. Two doctor visits said it was Bronchitis. So I did not get much done on the car for the first six weeks it was home.
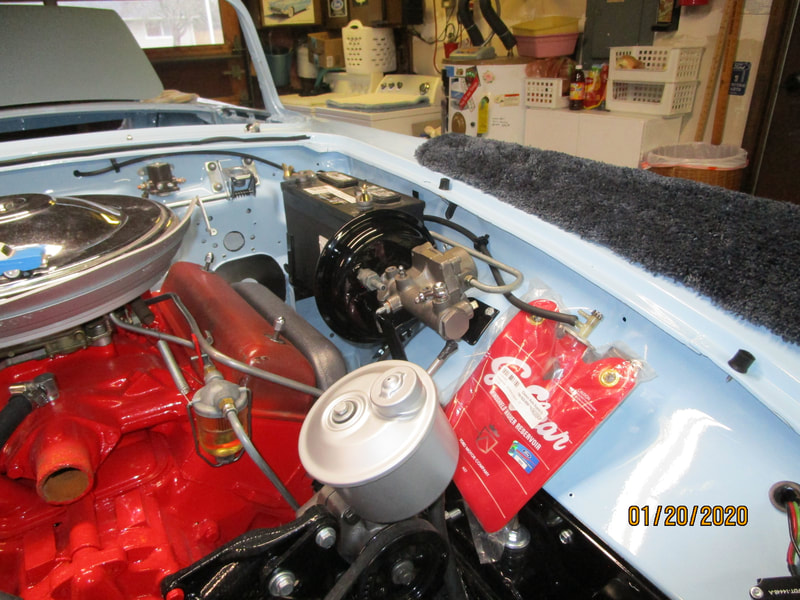
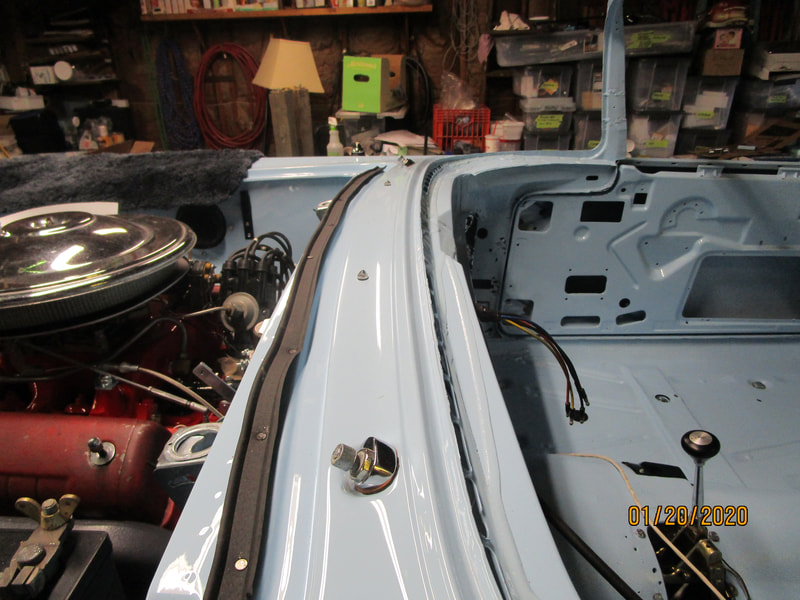
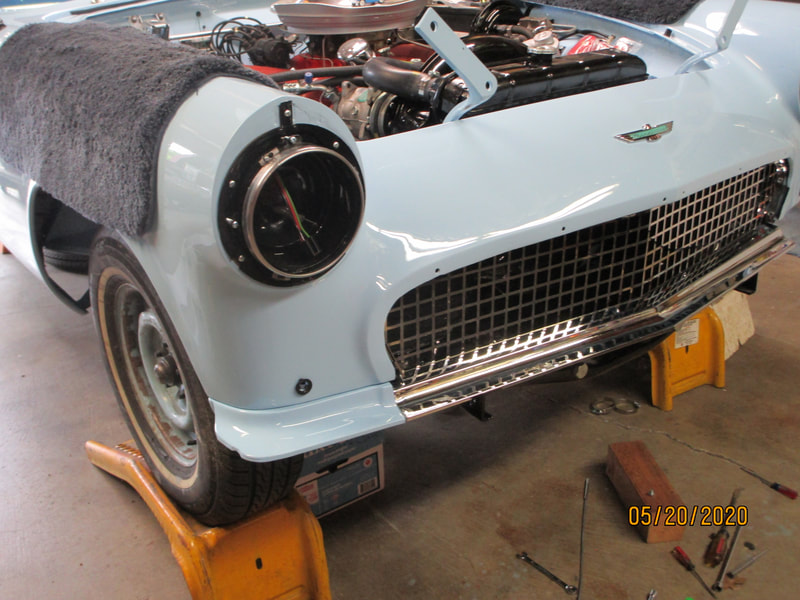
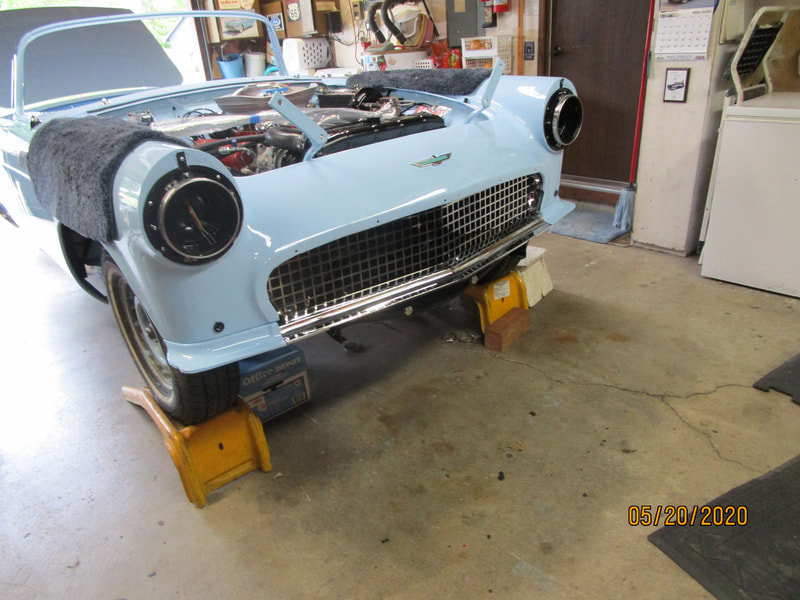
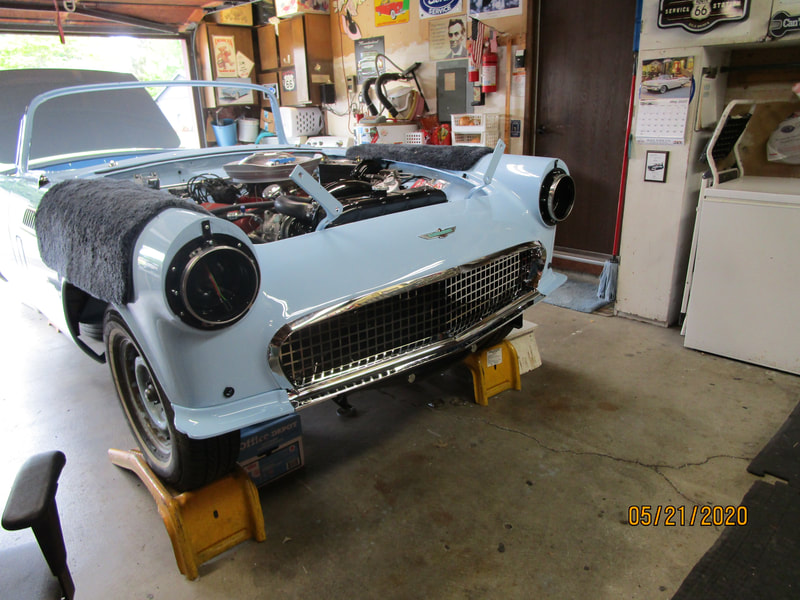
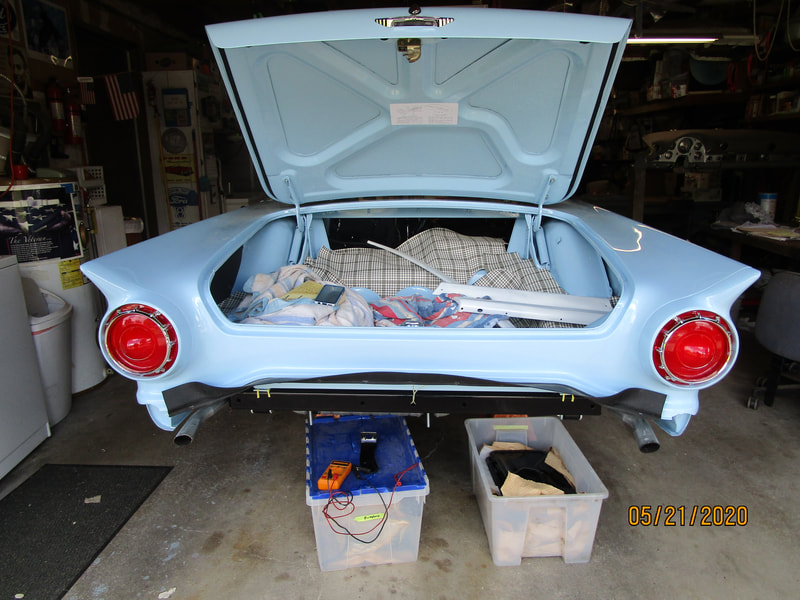
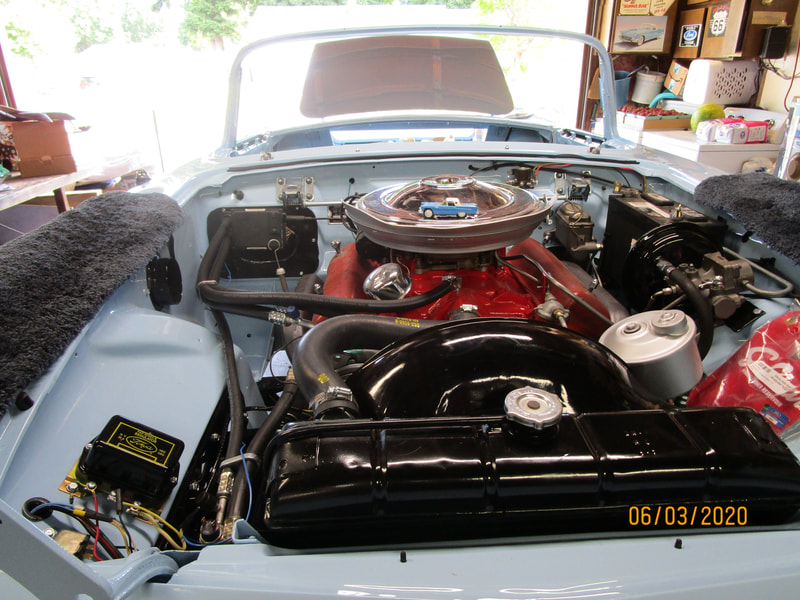
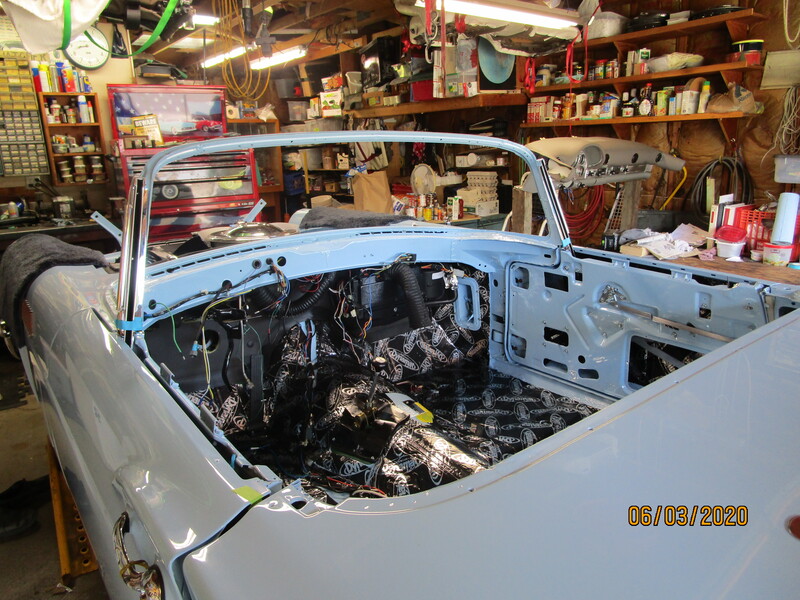
Since then I've been making steady progress putting on piece after piece. I've added so many electrical devices that I built two fuse boxes into the car. So it took me a couple of weeks to run all of the wires from the fuse boxes to various spots on the car. Many of them will plug into mating wires that I've added to the dash. Once I was ready to install the firewall pad I had to wait a couple of weeks because it is really a two person job and I wanted to adhere to the social distancing edict from Gov Brown. After finally getting that in place I was able to mount the AC evaporator and run the AC hoses to the compressor and condenser. With all of that done progress on other areas was able to proceed.
Then I got hung up waiting on my chrome to be finished at the shop up in Seattle. They were shut down for several weeks due to the Covid-19 problems.
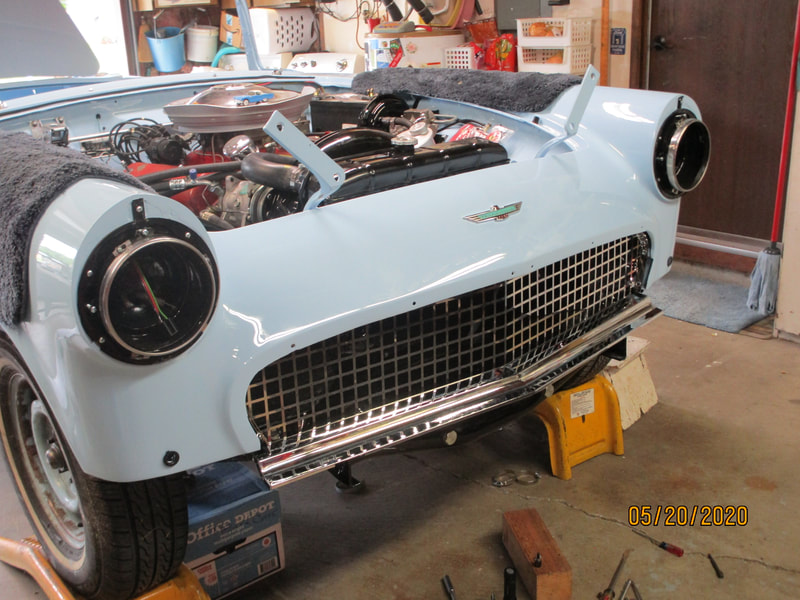
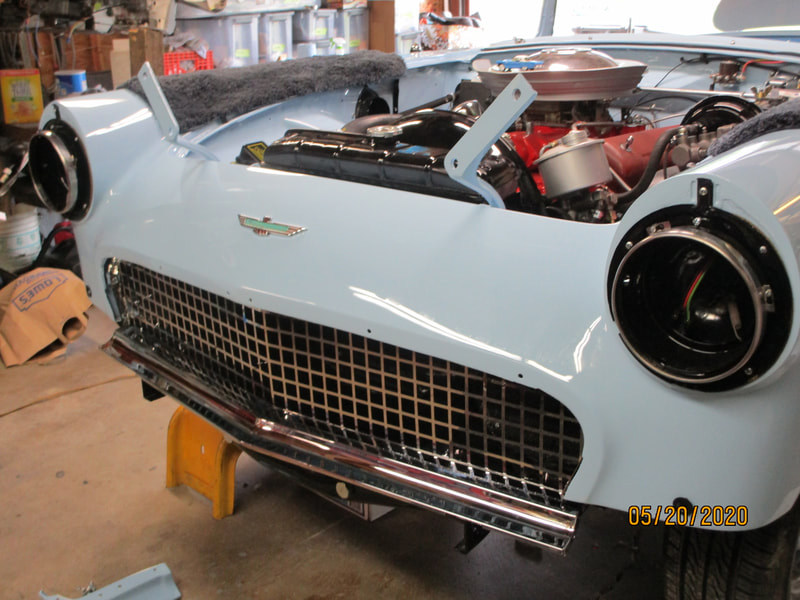
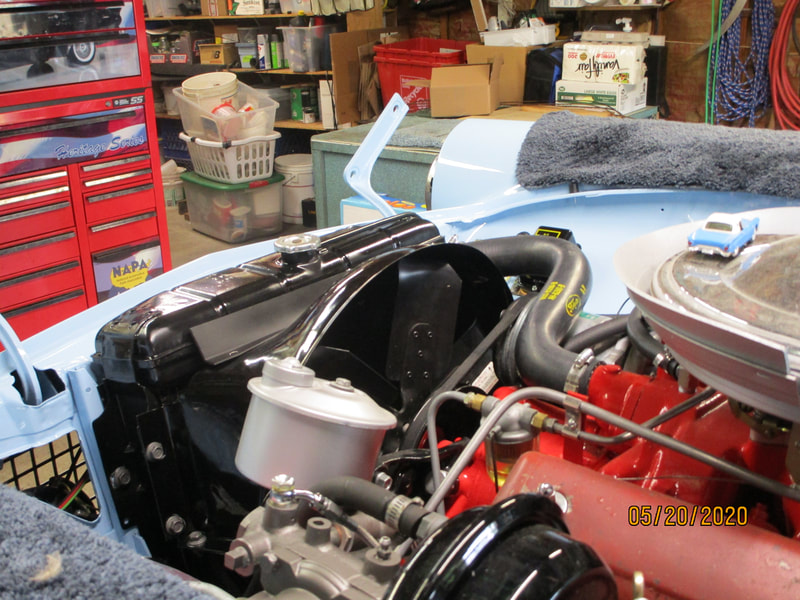
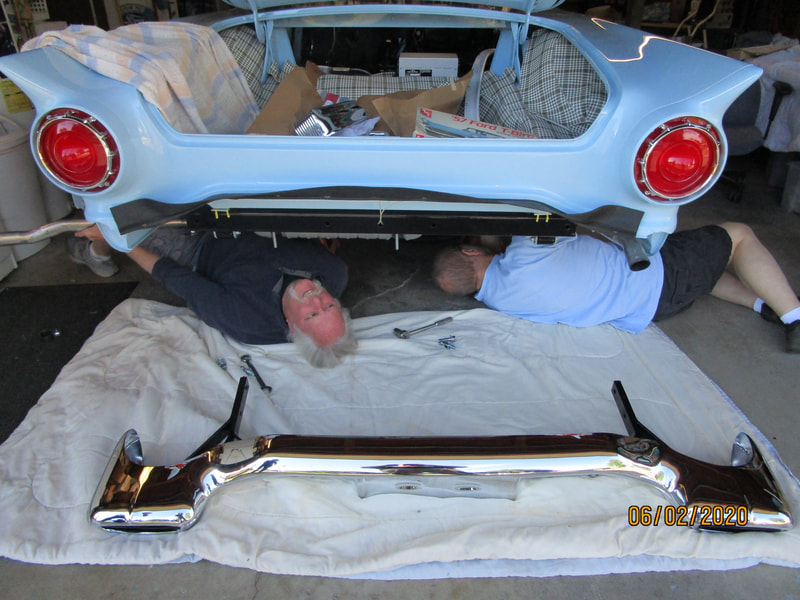
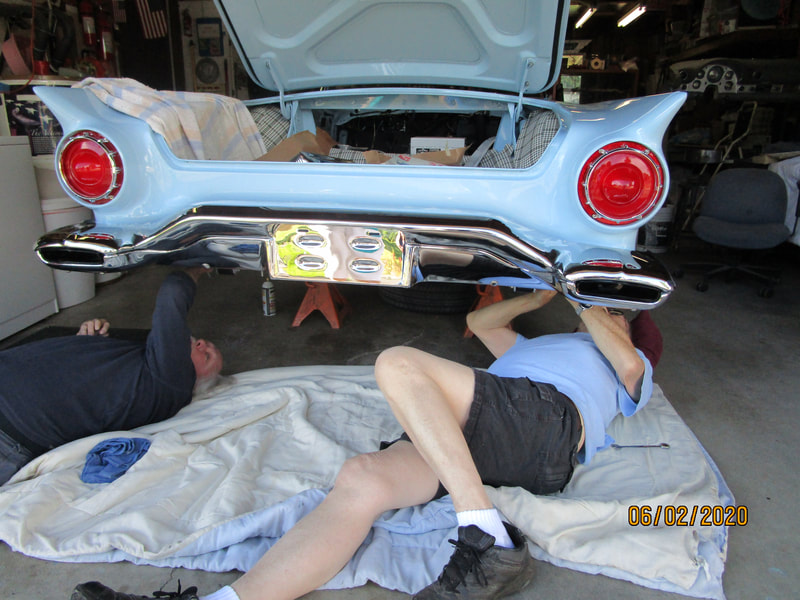
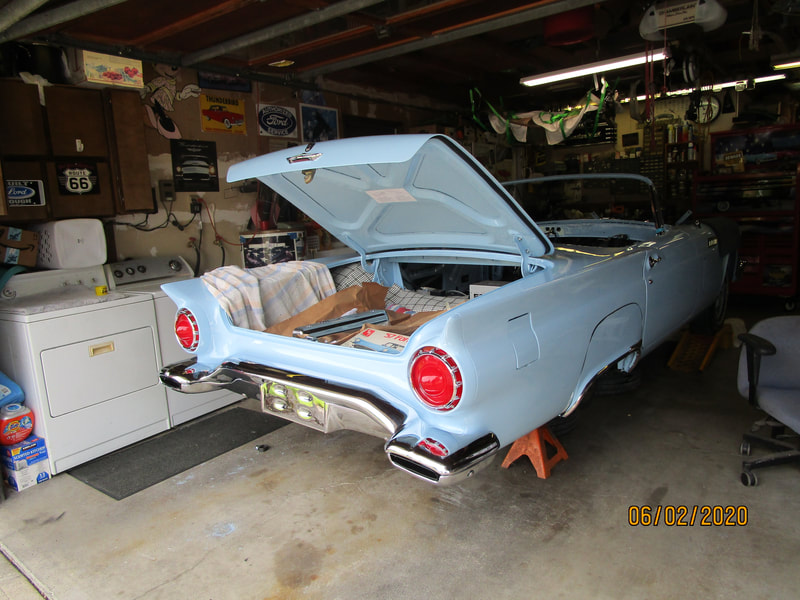
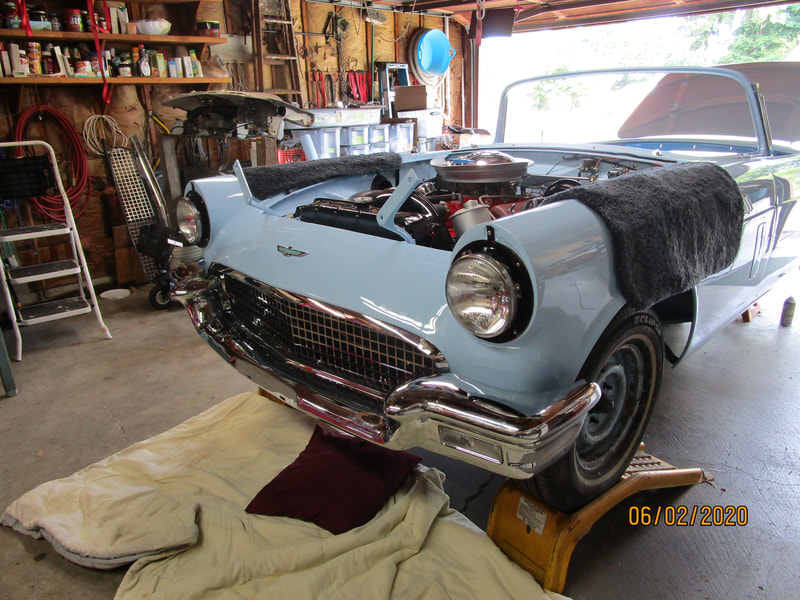
With the chrome finally in hand you can see we now have the grill, its trim and the bumpers in place. You may recognize my helpers on those bumpers as Dave Van Winkle and Howard Carlson. Another helper (a lady from church) was camera shy. But her handy work will soon show. I had the finned aluminum valve covers chrome plated. She is a very detailed person and is now painting the colors on the Thunderbird logo on the valve covers.
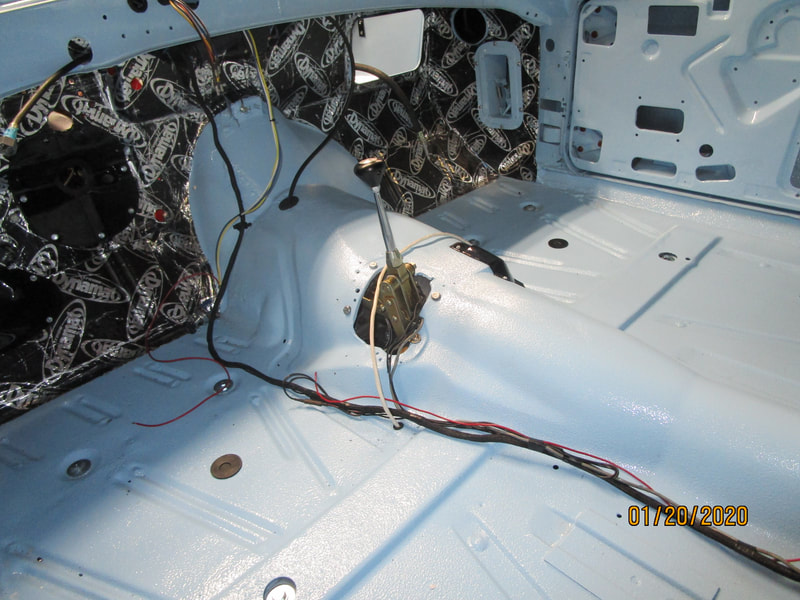
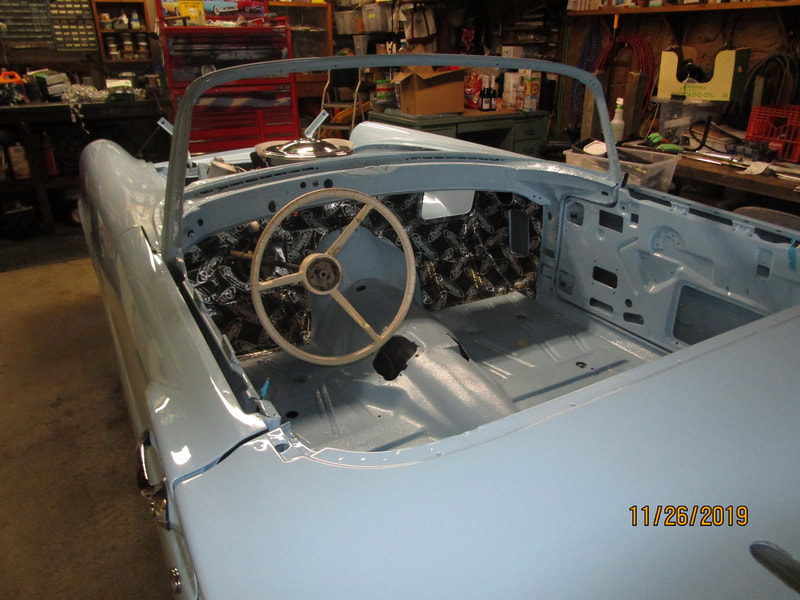
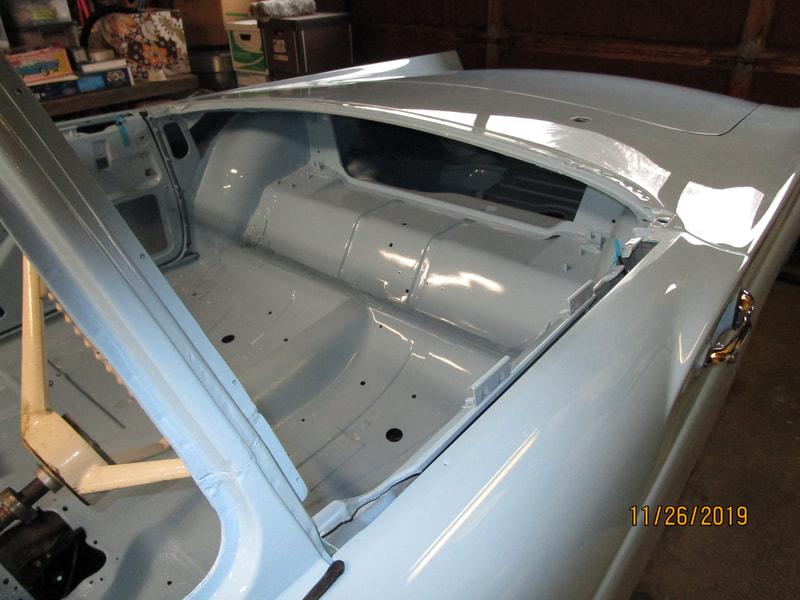
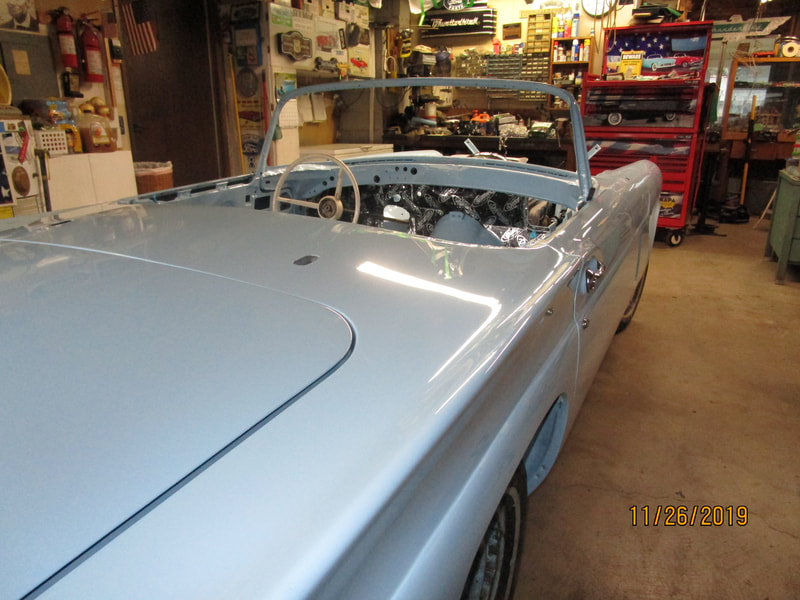
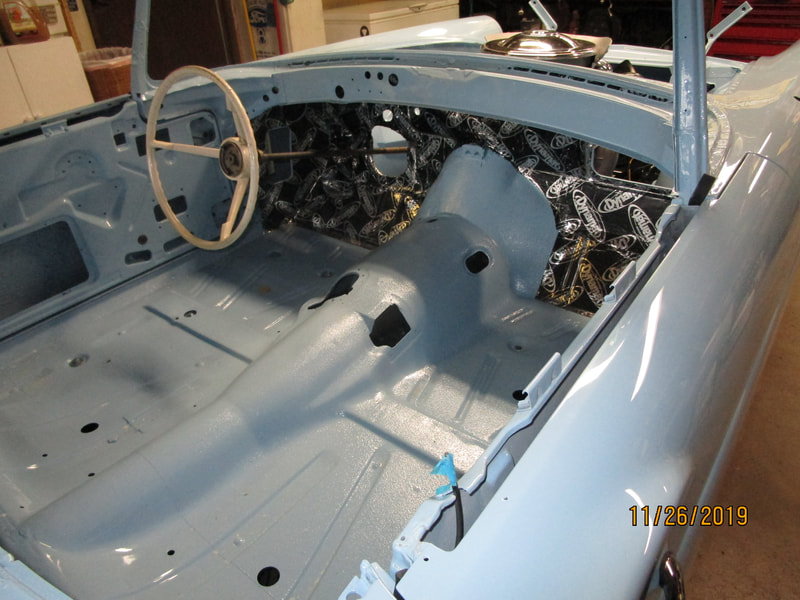
You will also notice a product called Dynamat on the entire floor area. It is a thermal and sound barrier. Hopefully this will keep the car a little cooler and reduce the road noise some.
My next project is getting the dash board in place. Hopefully within the next two weeks I can accomplish that.
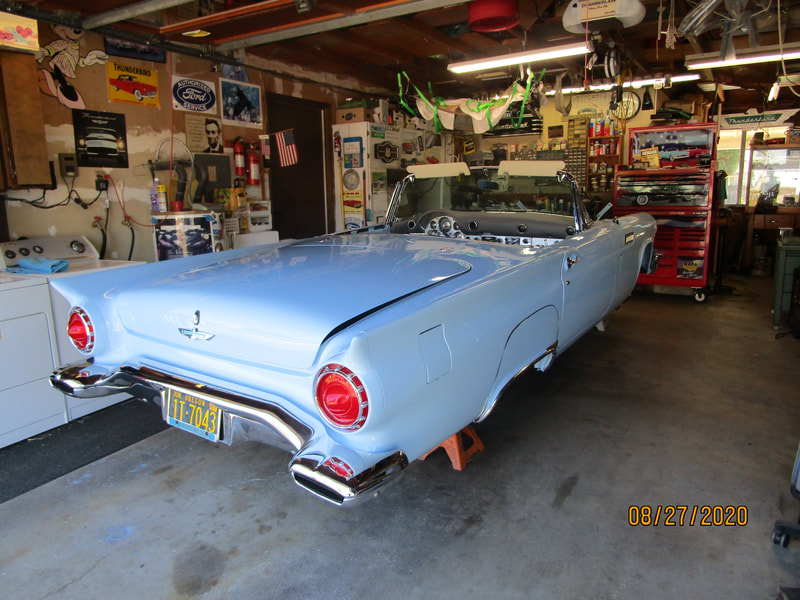
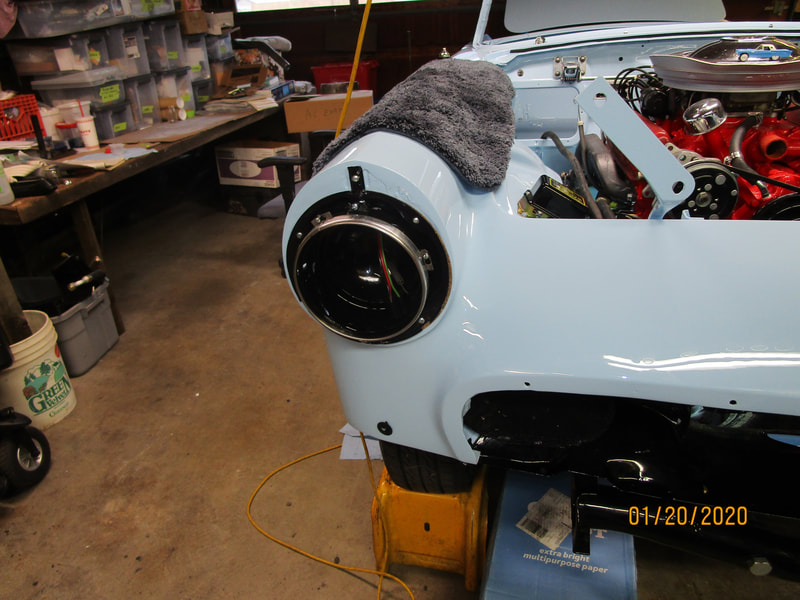
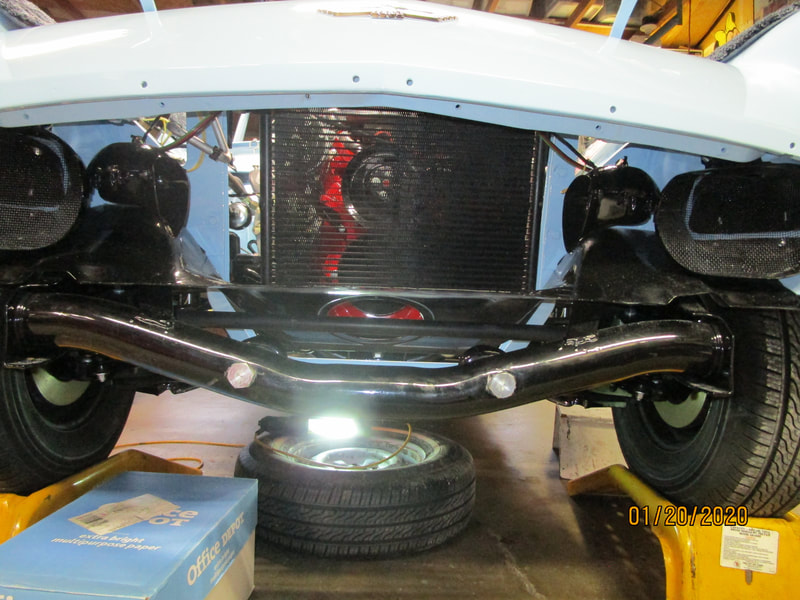
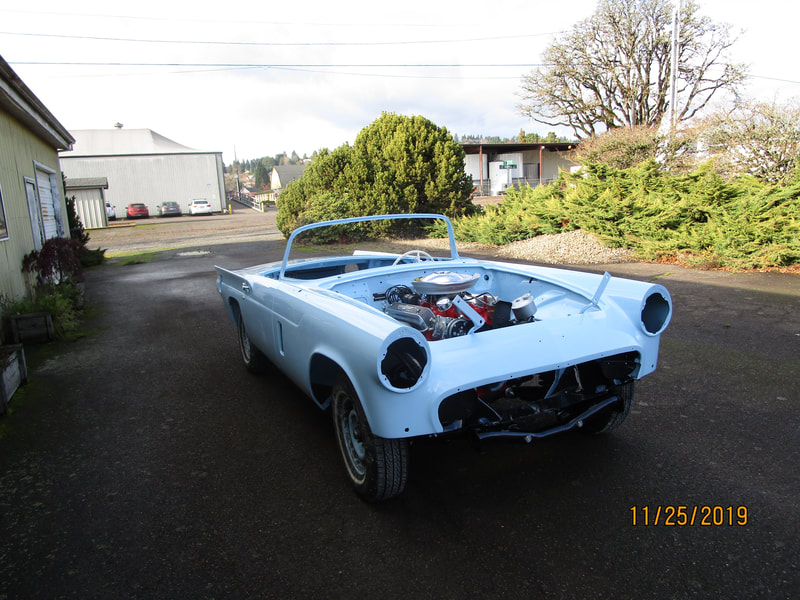
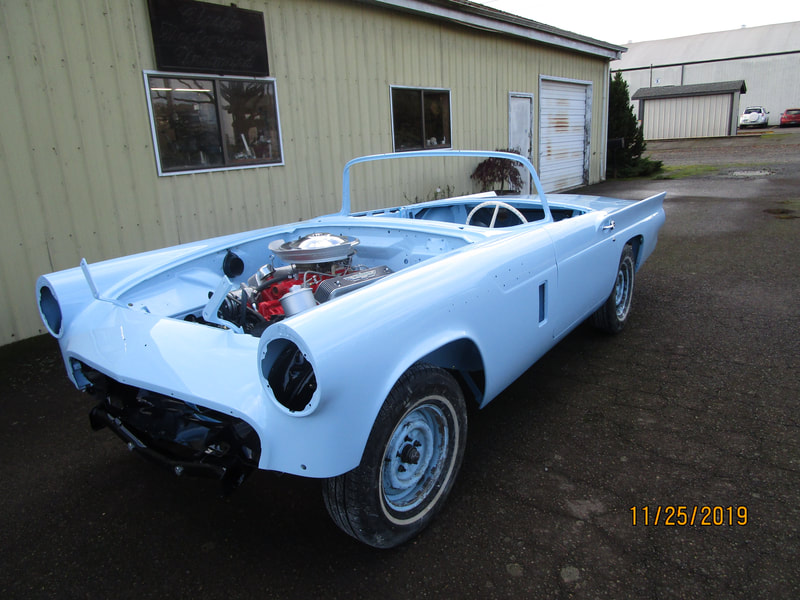
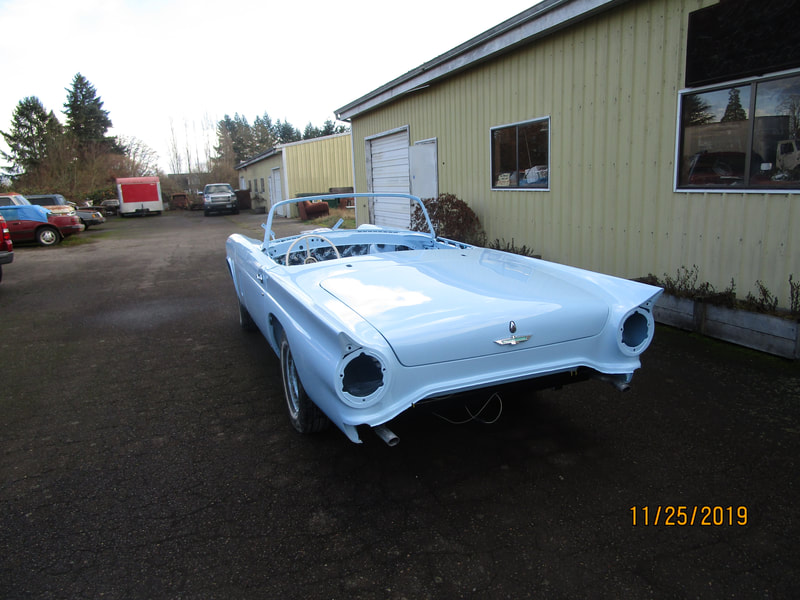
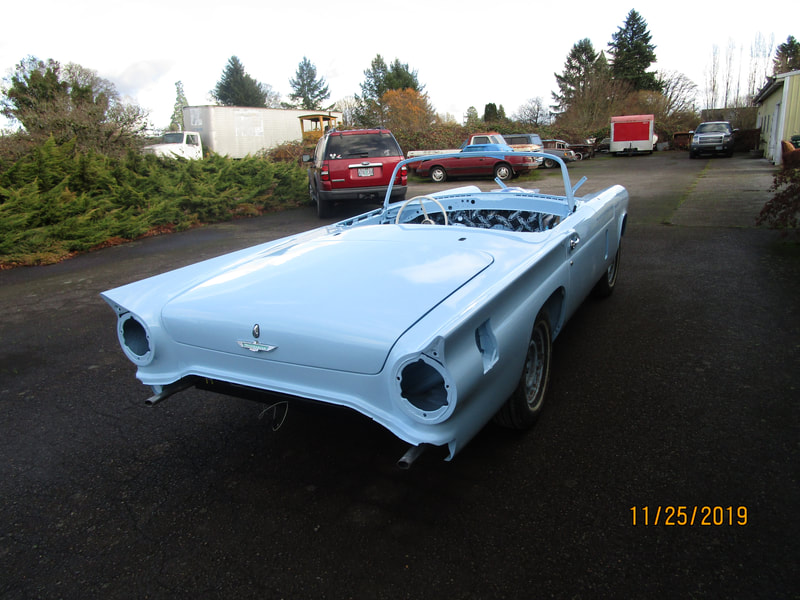
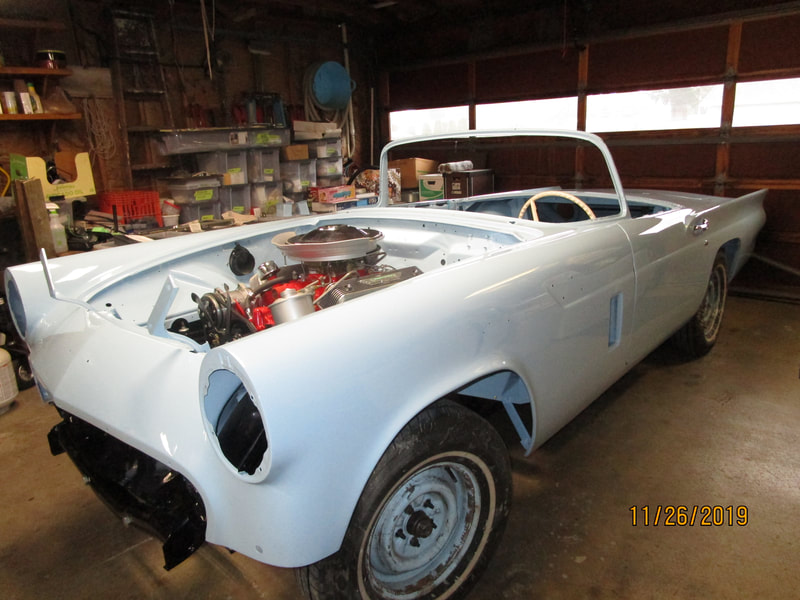
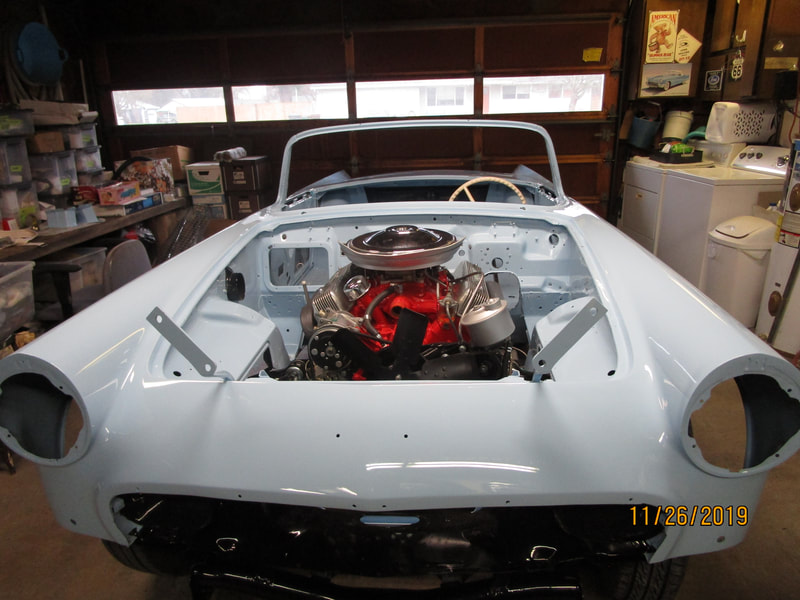
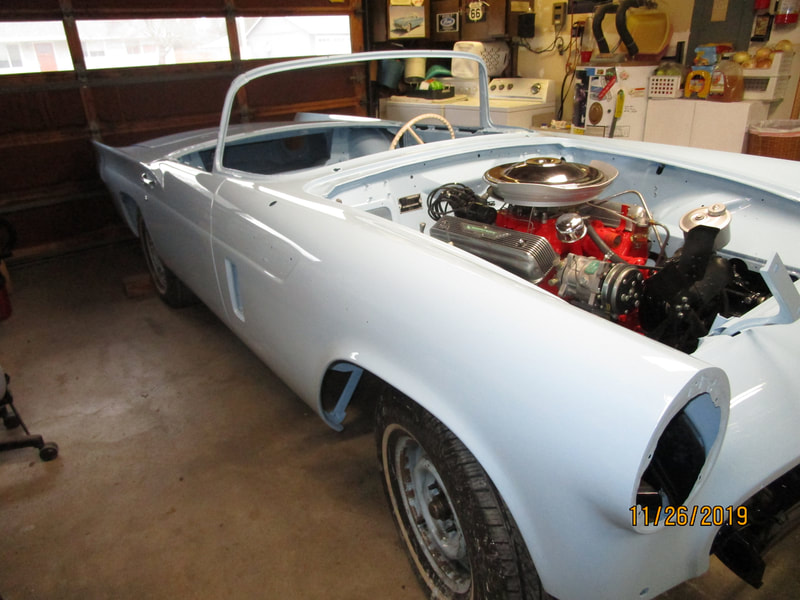
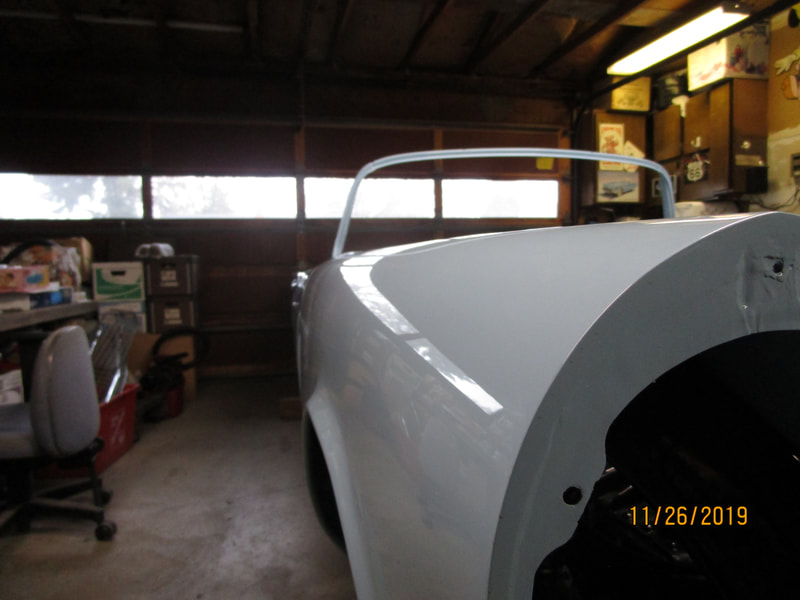
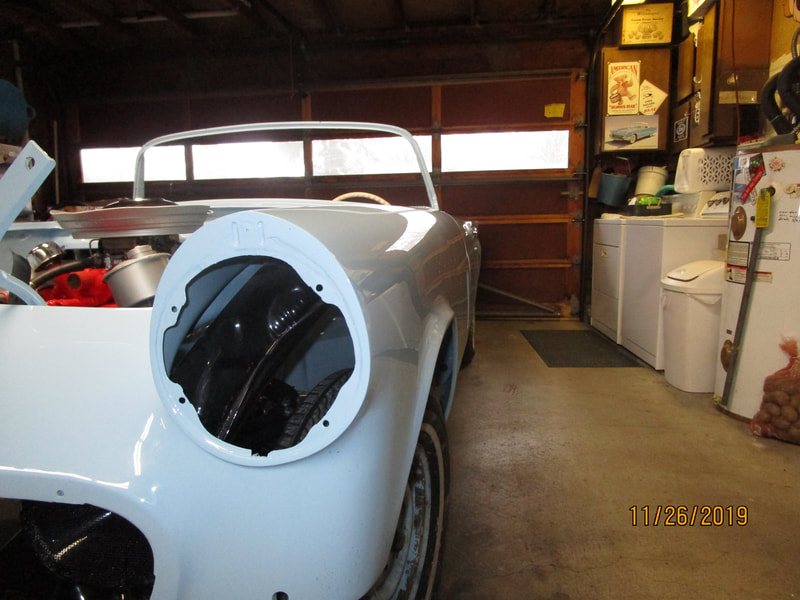
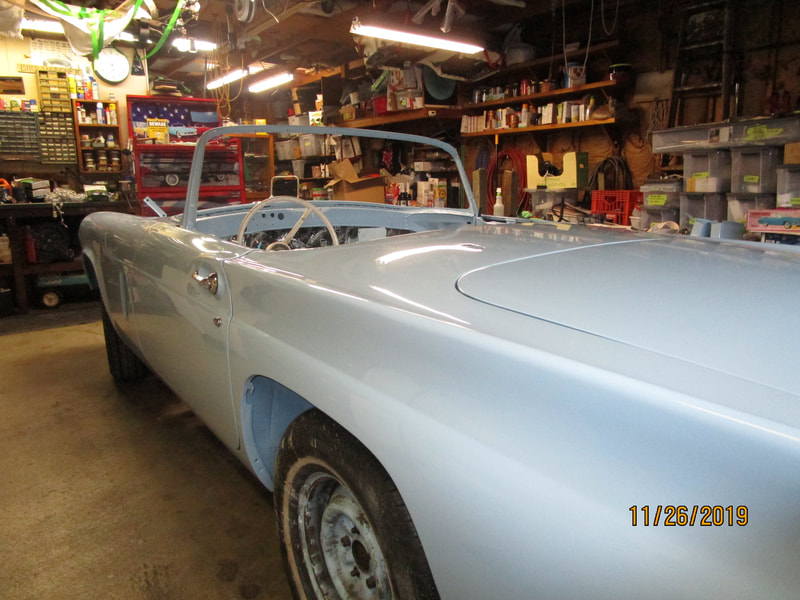
November 25, 2019 was a major day in my project. Dave has finished all of the painting, sanding and buffing. We rolled the car outside and called AAA to have it towed back to our house. Now I get to start all of the reassembly. I am going to try very hard to get it on the road summer of 2020. But as you can see there is a lot to do.
As you can see the wheels/tires are still pretty ugly. I'll get to those in due time.
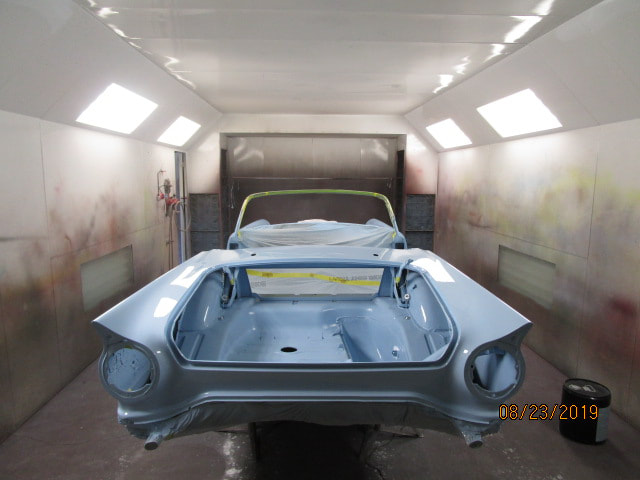
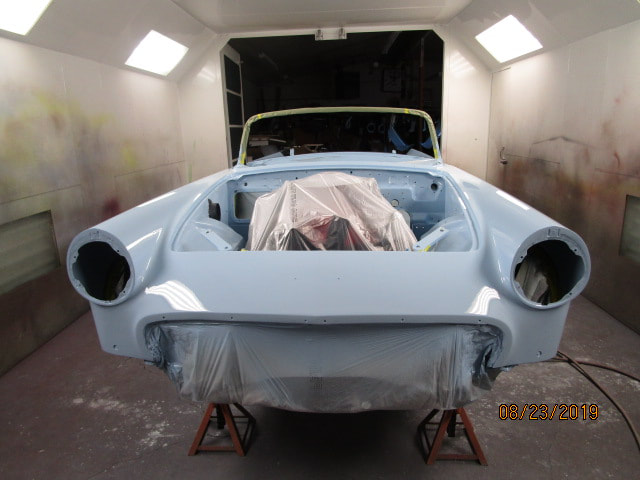
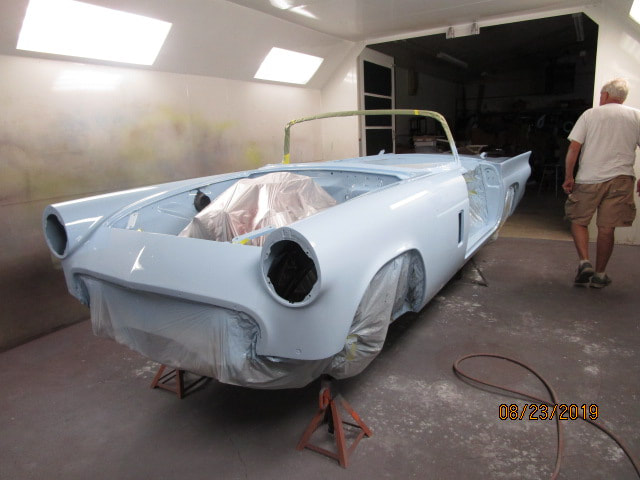
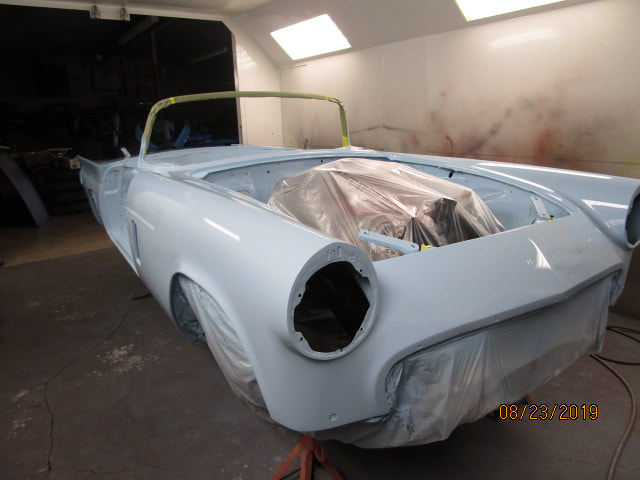
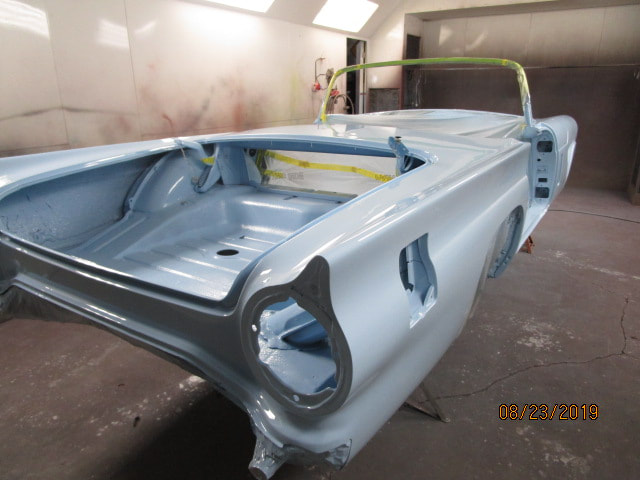
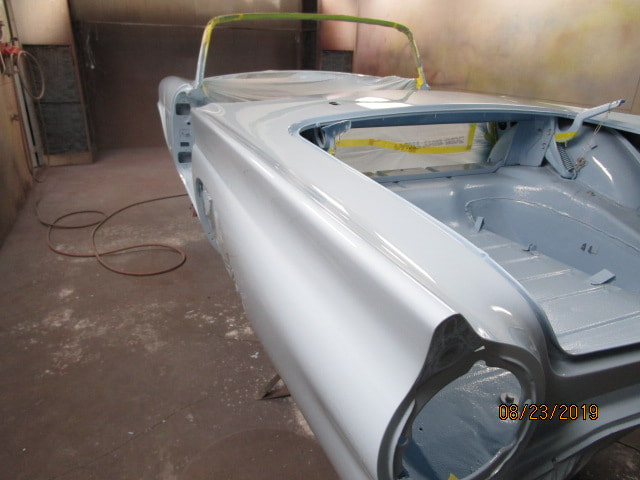
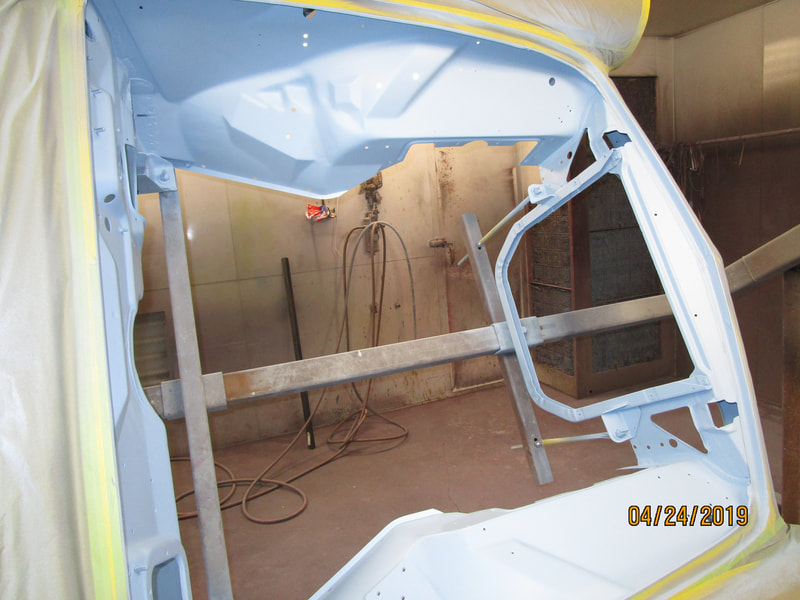
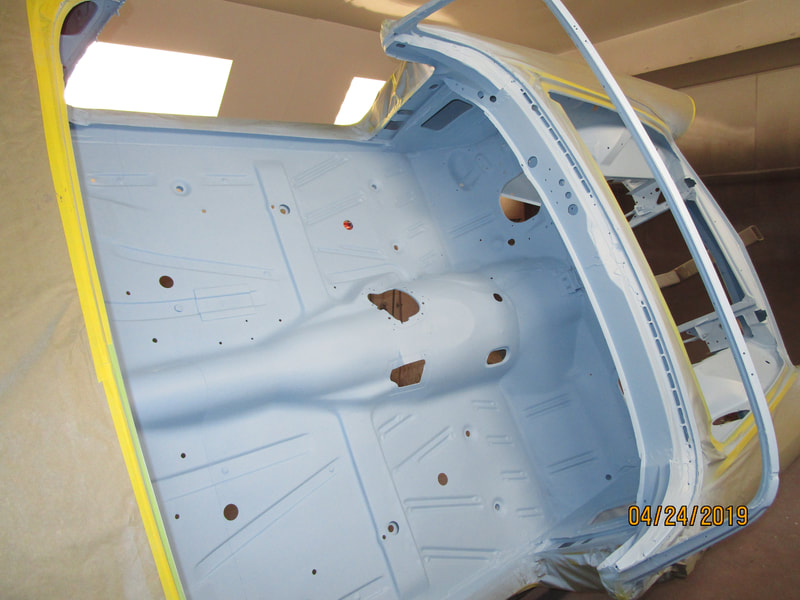
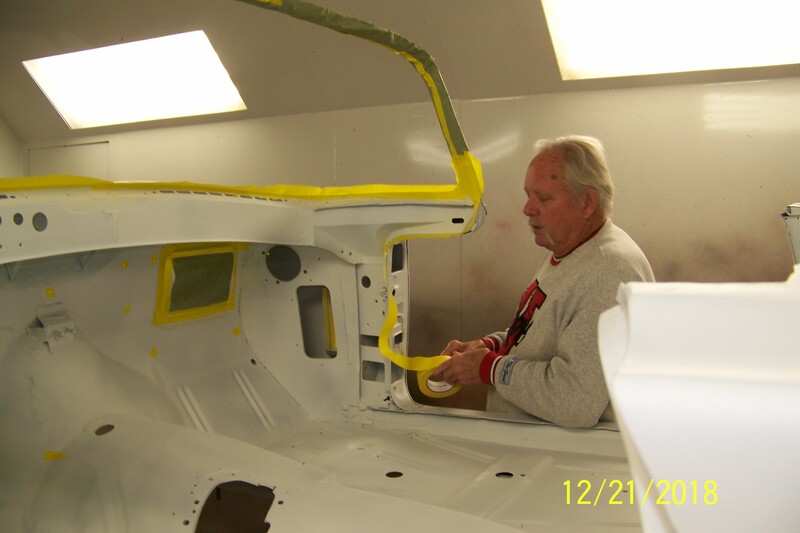
We made major progress last week. On August 22nd and 23rd Dave was able to paint the Starmist Blue and clear coat on my '57 Thunderbird. The photos below really don't do it justice as the artificial light almost makes it look like tinted white but it is a beautiful blue. Also I didn't have enough room in the paint booth to get far enough back to get a good shot of the car, but I am sure you will get the "picture".
The next steps are sanding and buffing the paint. We can then put the doors, hood and deck lid on and bring it home for assembly.
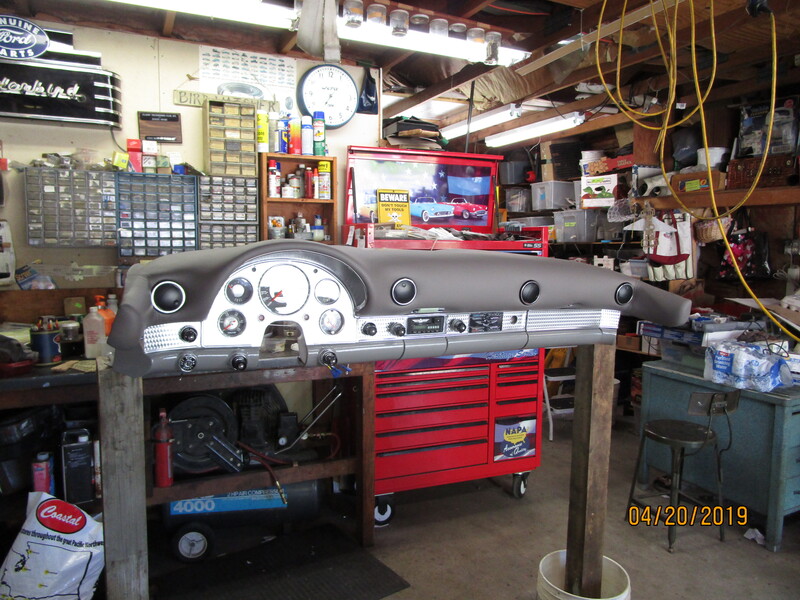
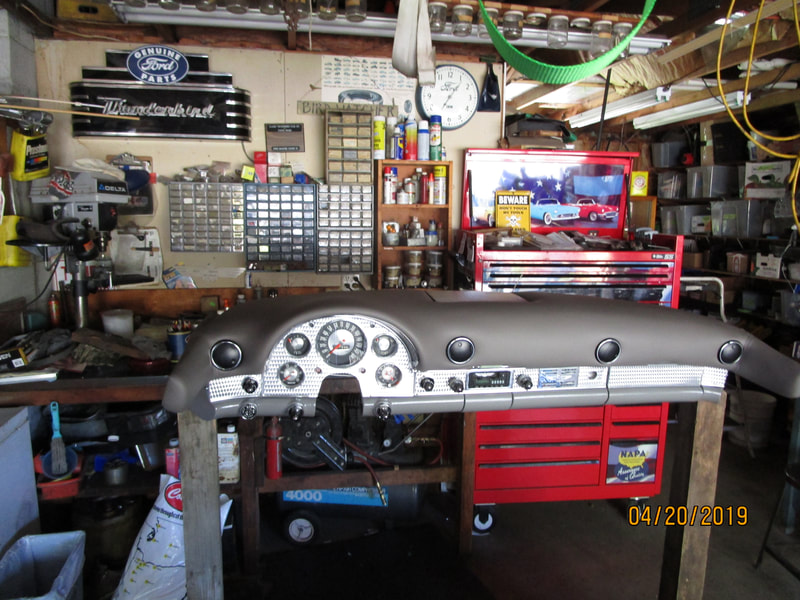
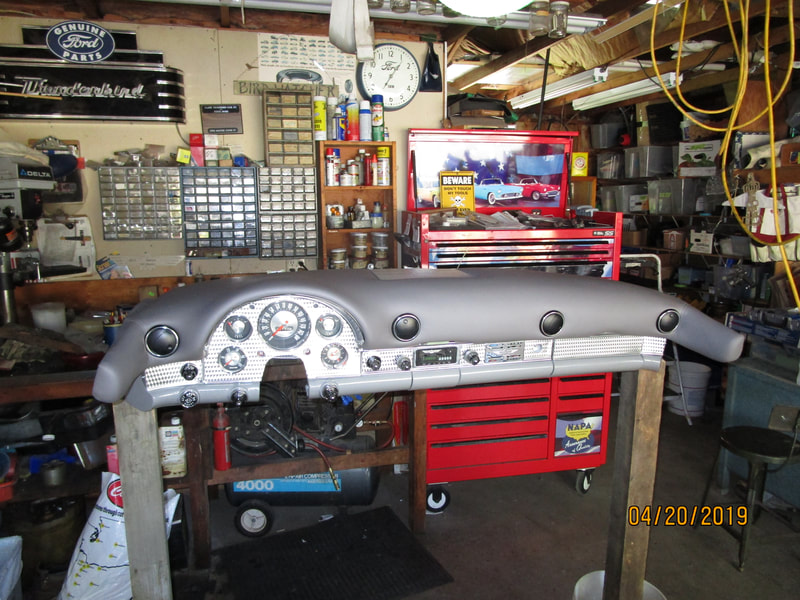
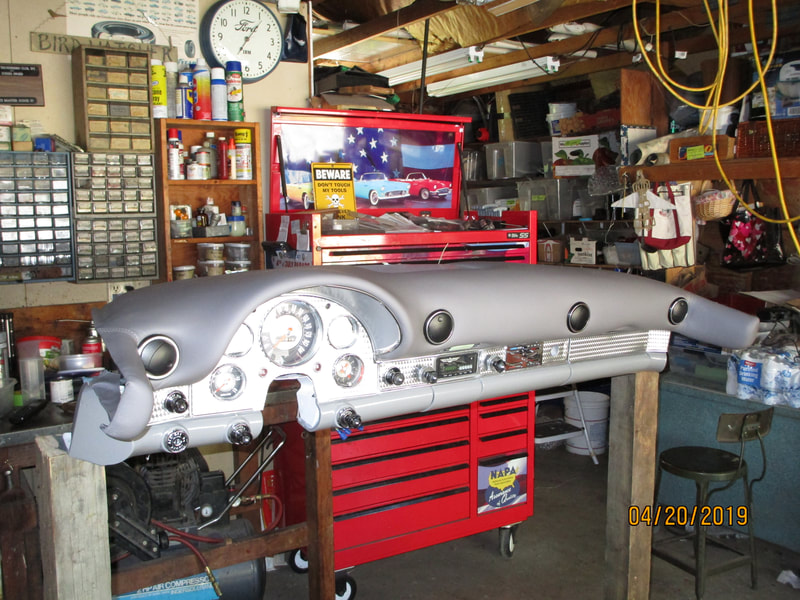
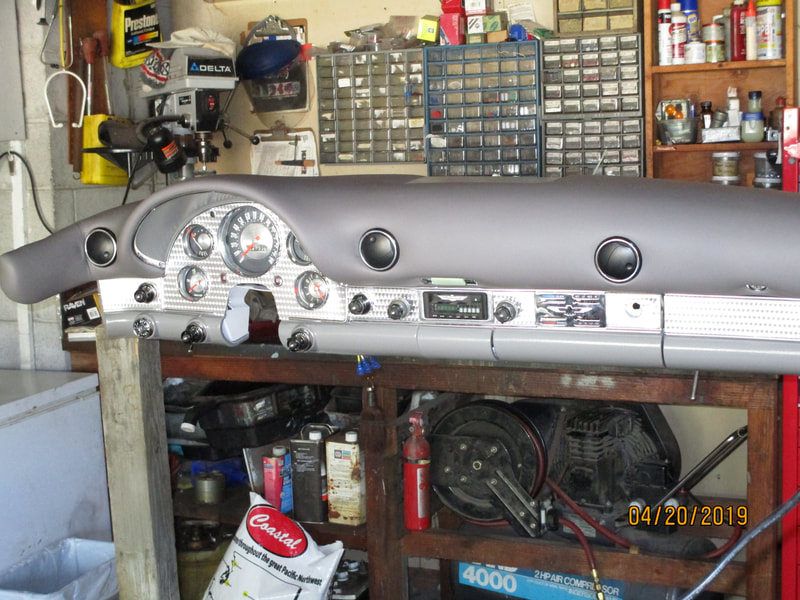
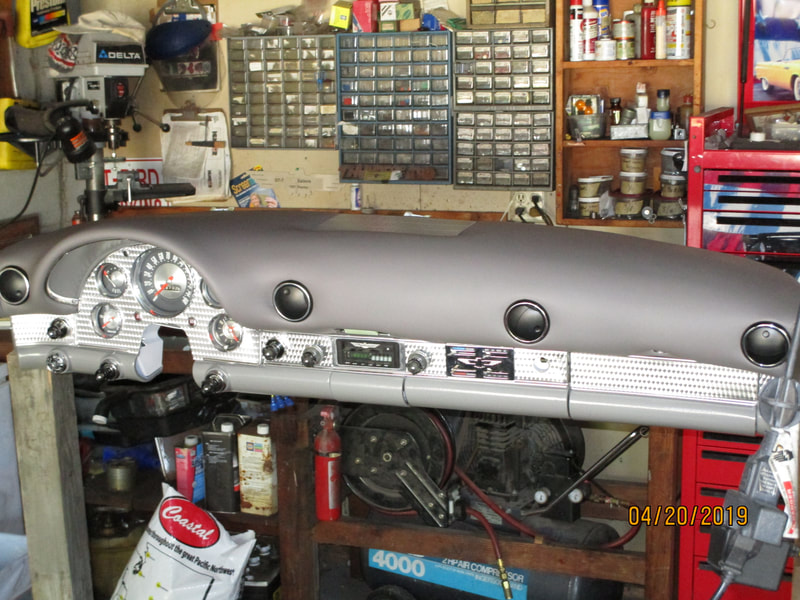
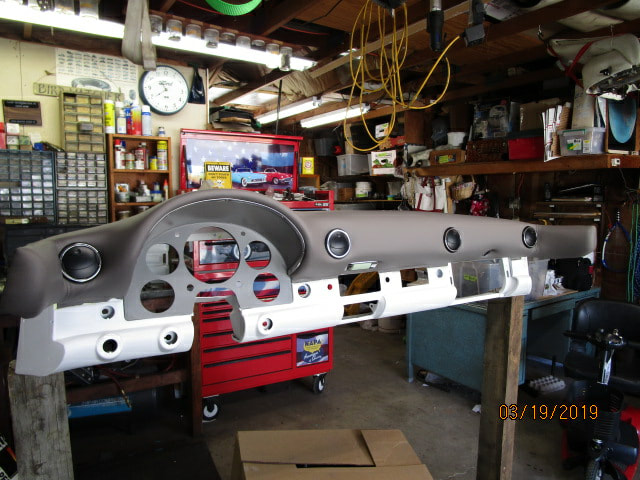
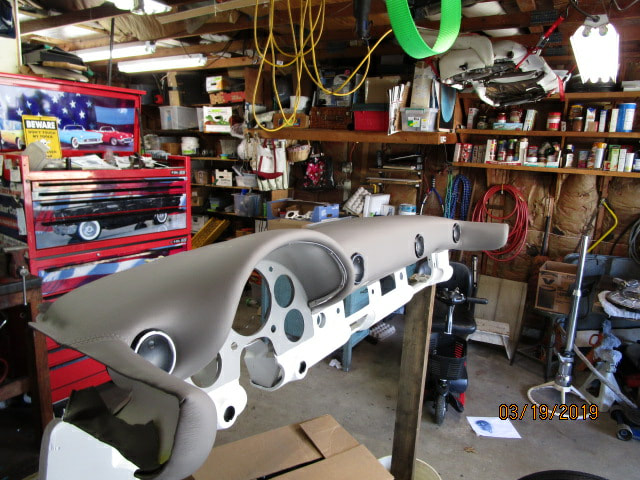
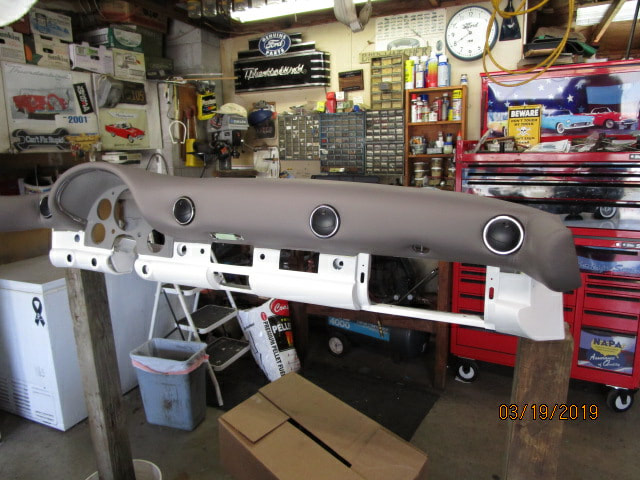
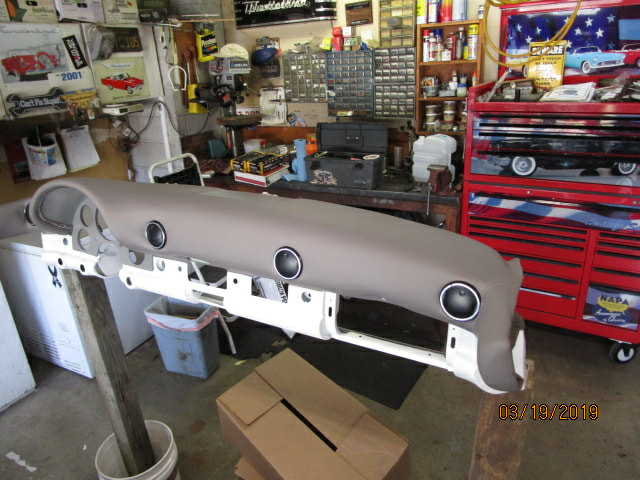
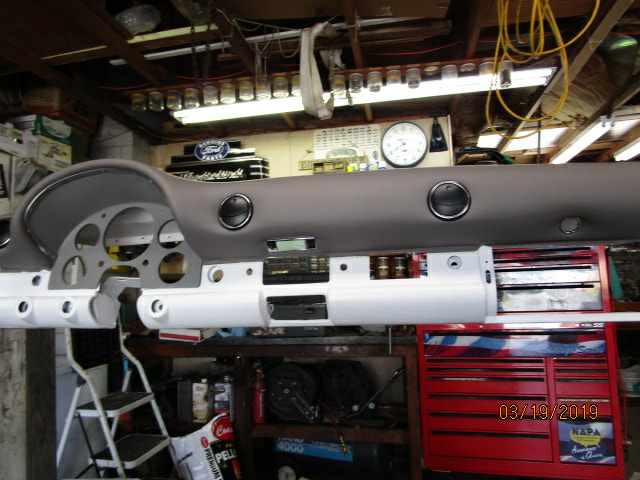
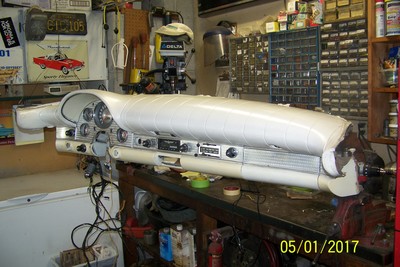
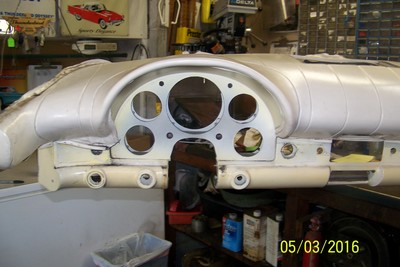
Spring just blew by us but the work has been progressing on my '57 rebuild. The photos below show the completed dash. After having the upholstery put on Dave put on the textured paint on the lower edge and the final grey paint. I have since then put all of the dash trim, instruments, gauges, controls etc on it. I won't attach the main wire harness until just before I install the dash into the car.
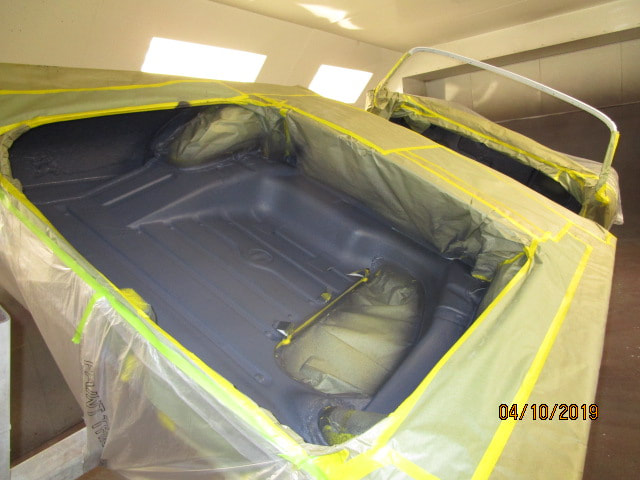
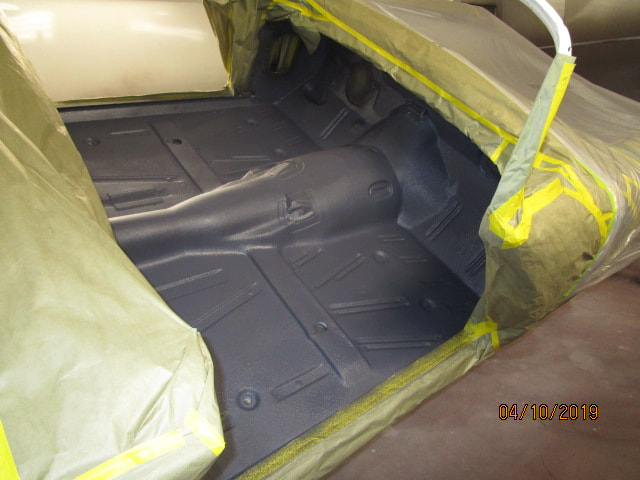
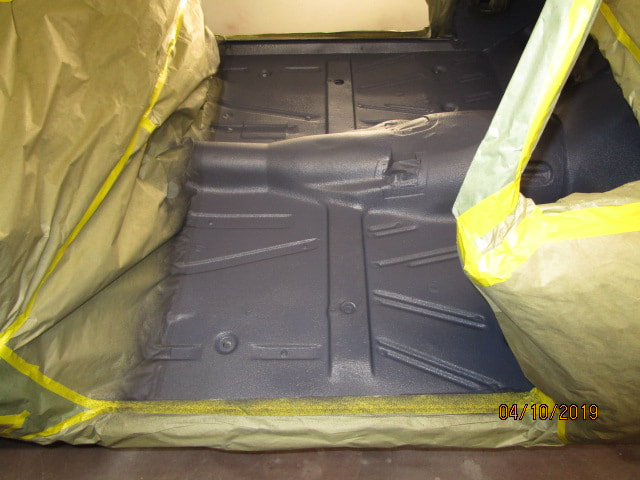
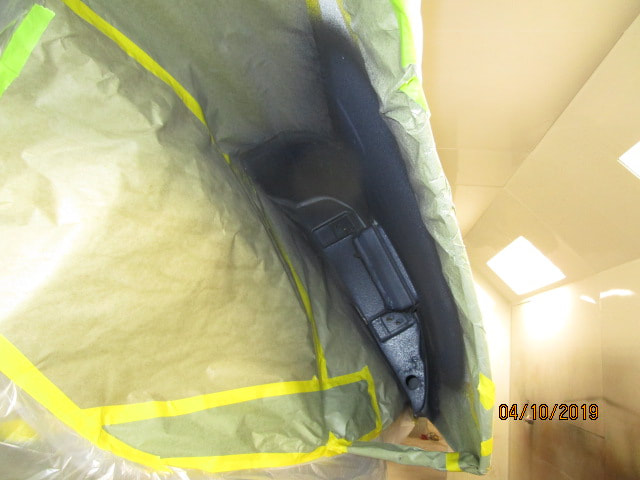
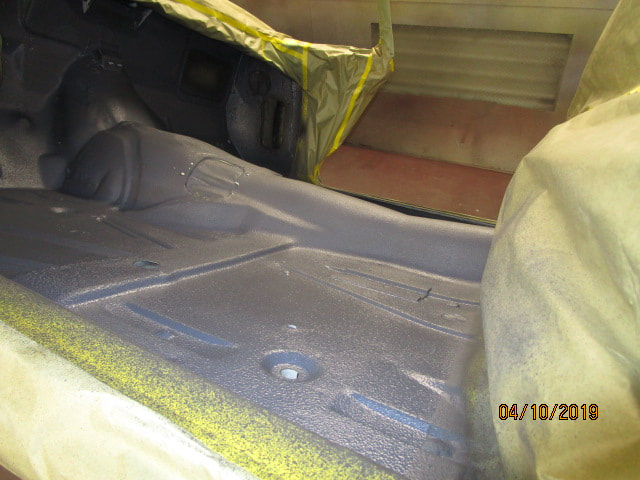
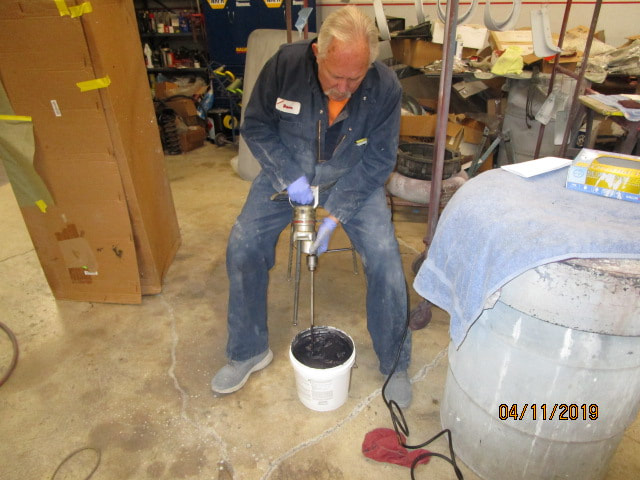
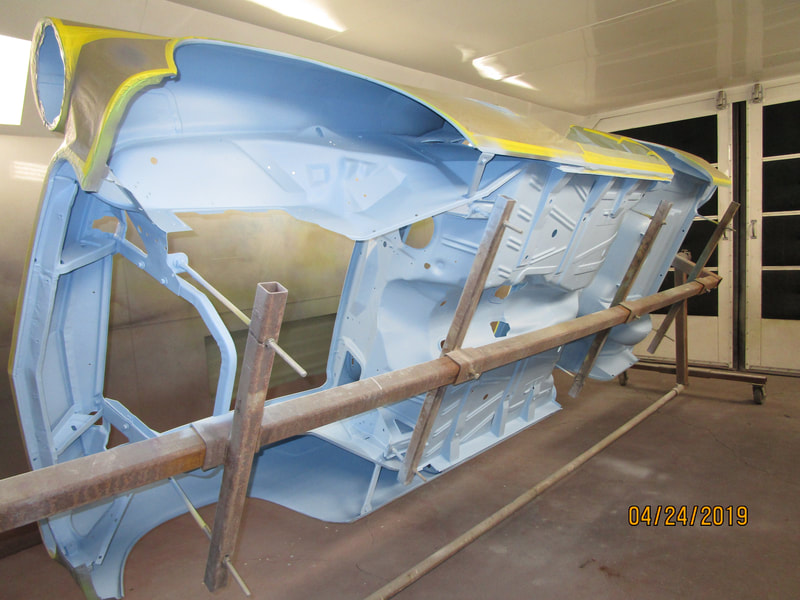
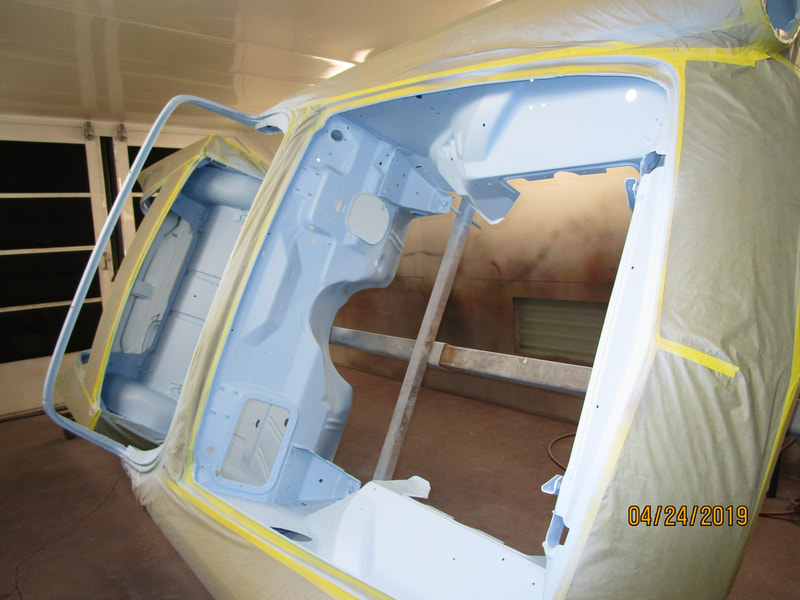
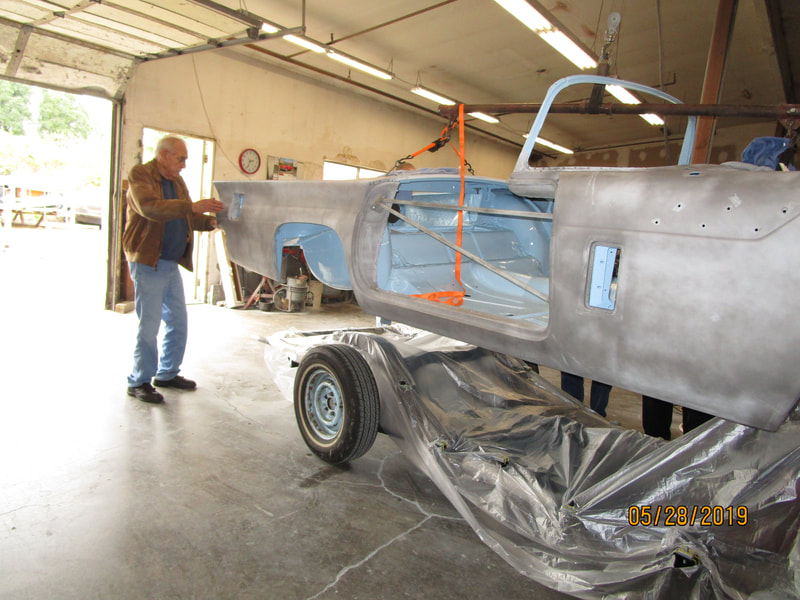
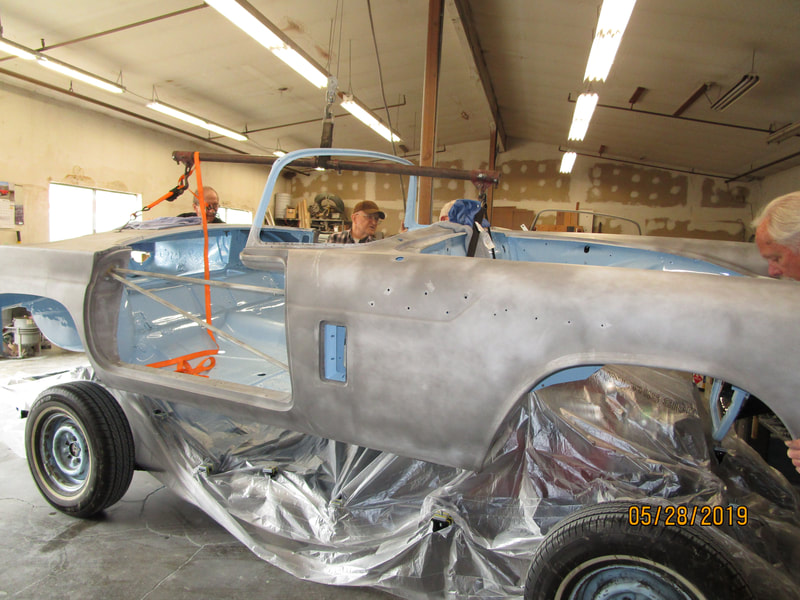
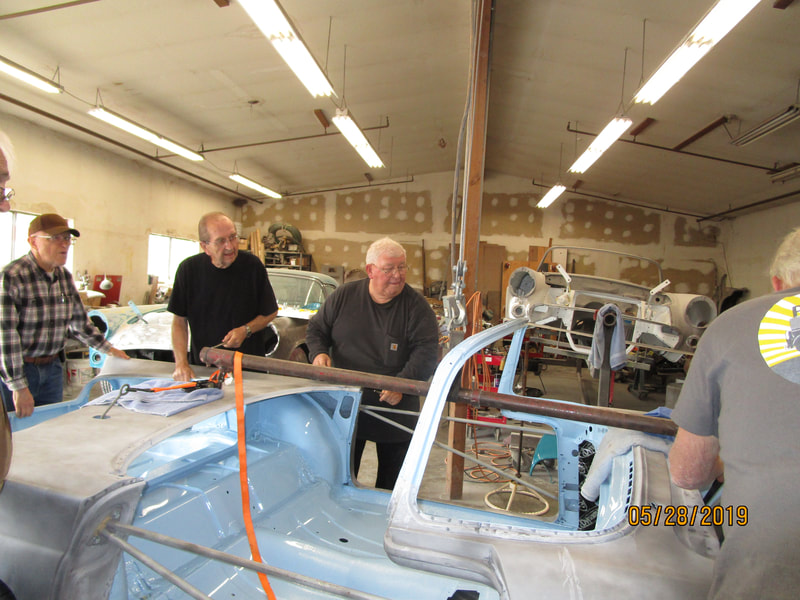
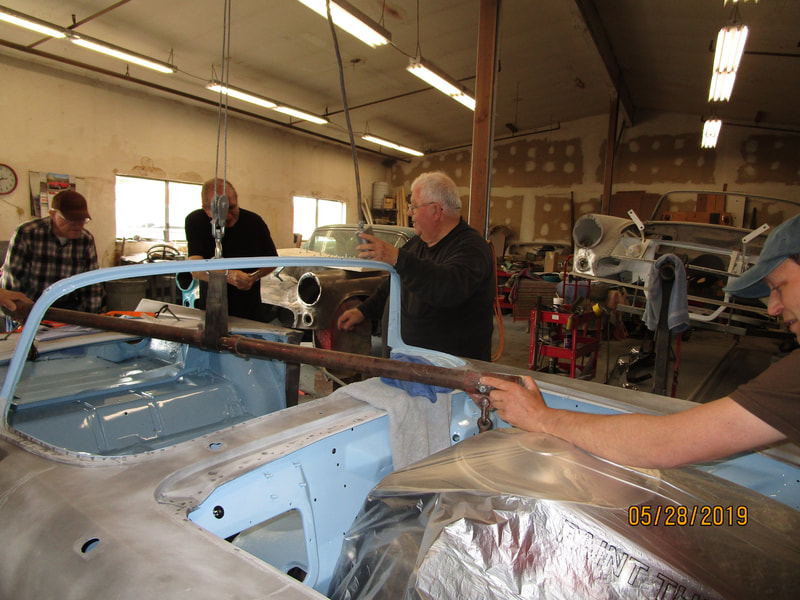
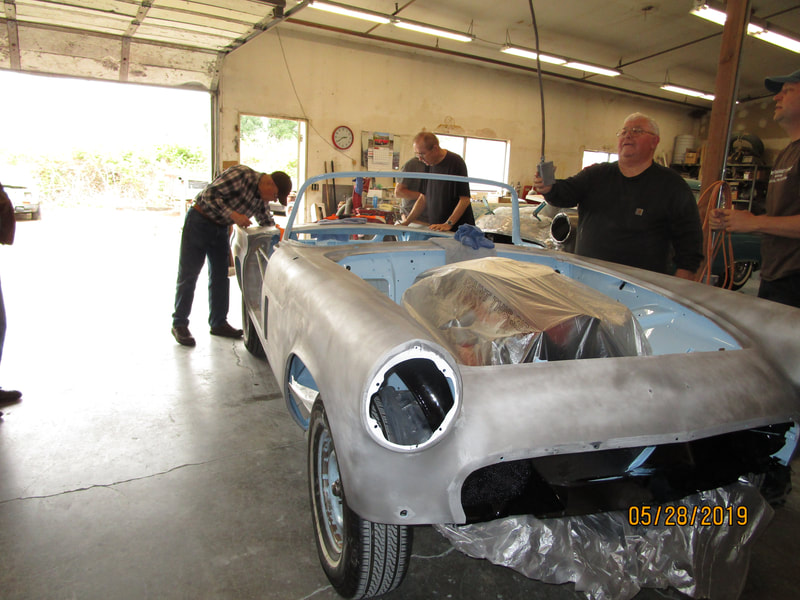
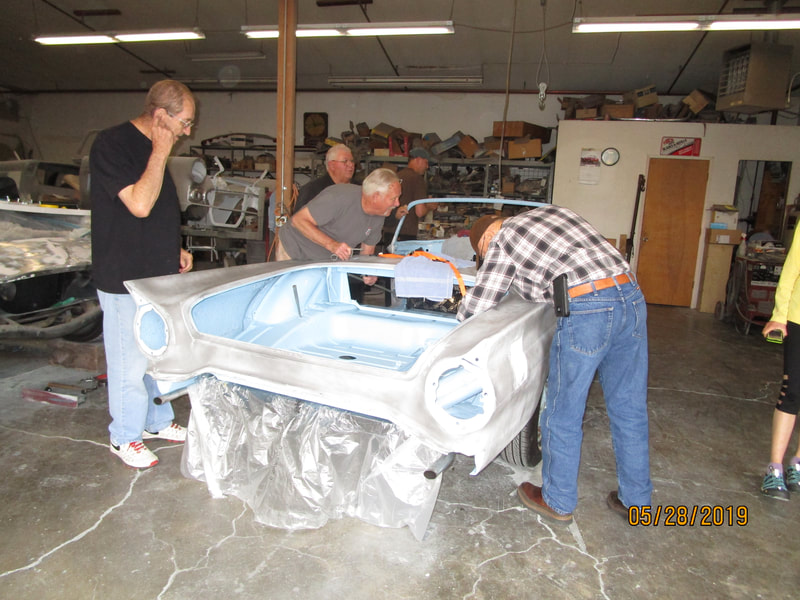
Photos also show a product called "Lizard Skin" being applied to the floor board, the trunk and selected spots on the underside of the car. This is a two-part product. The first layer helps control heat by blocking a lot of it. The second layer acts as a sound barrier to help reduce the road noise. The final blue paint goes over this.
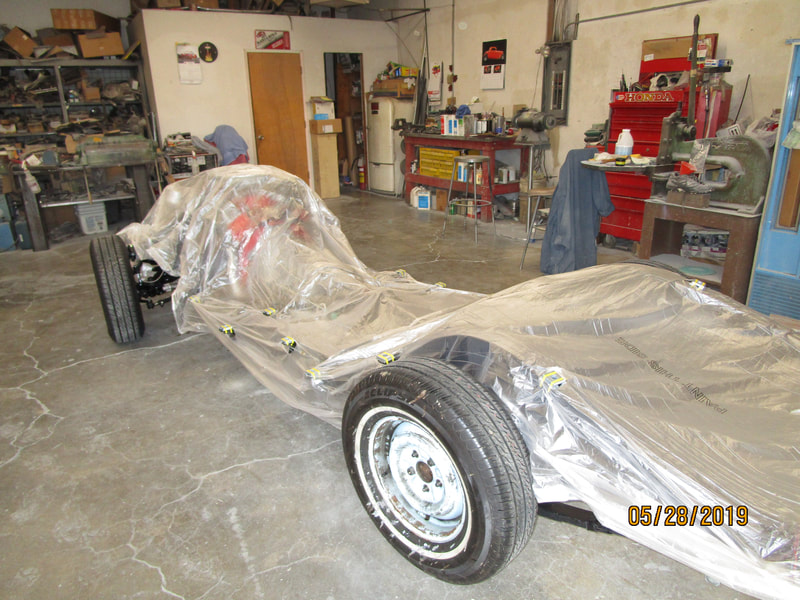
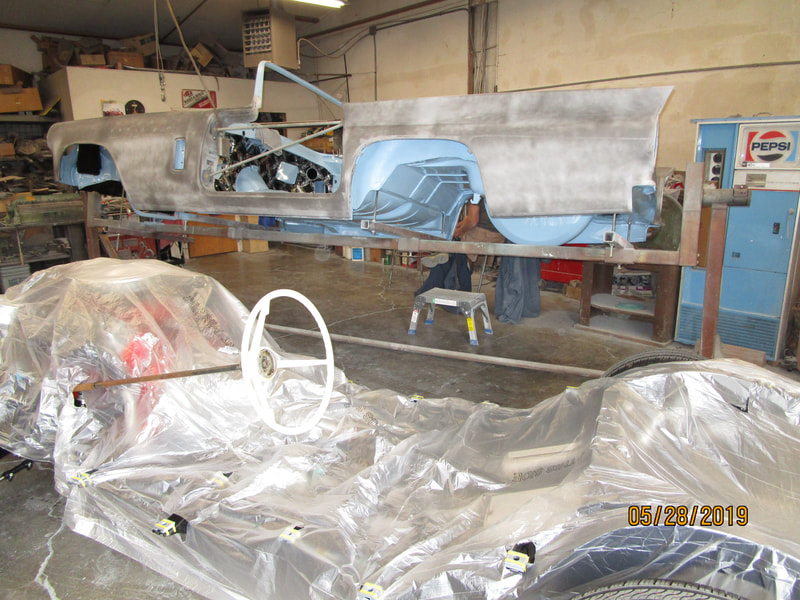
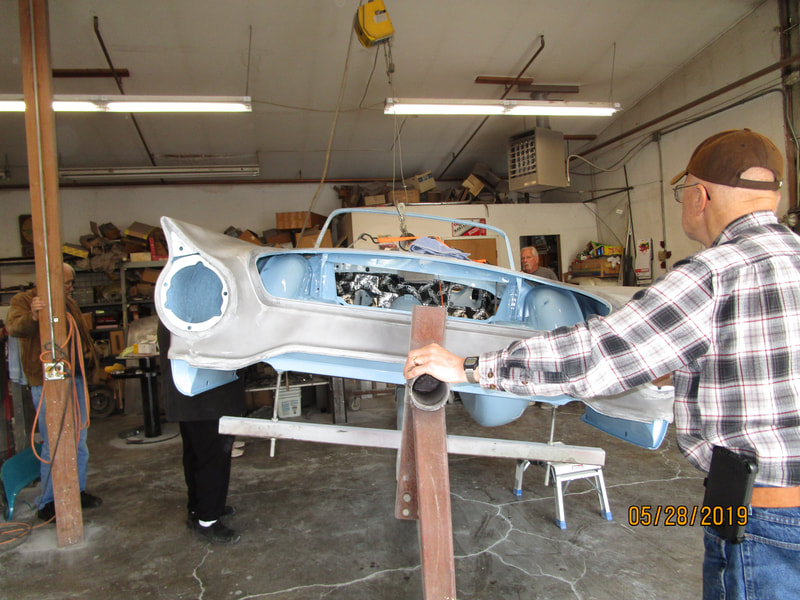
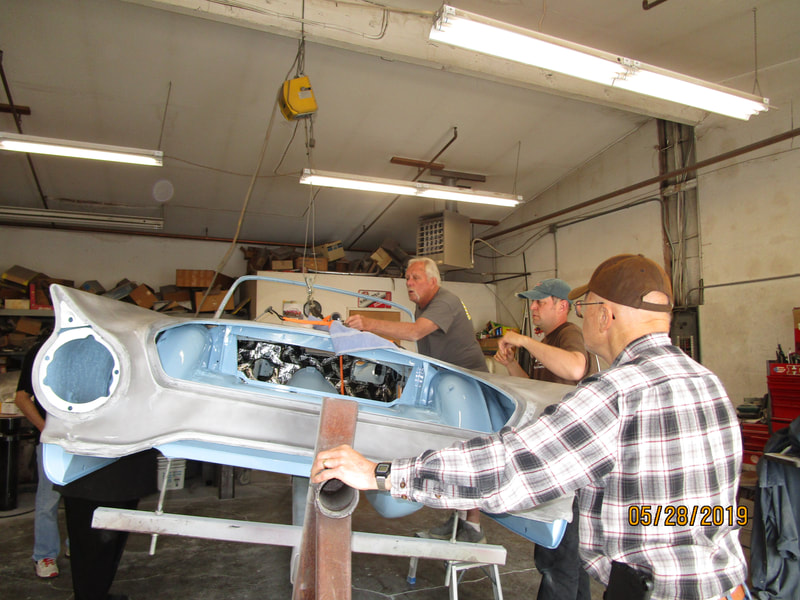
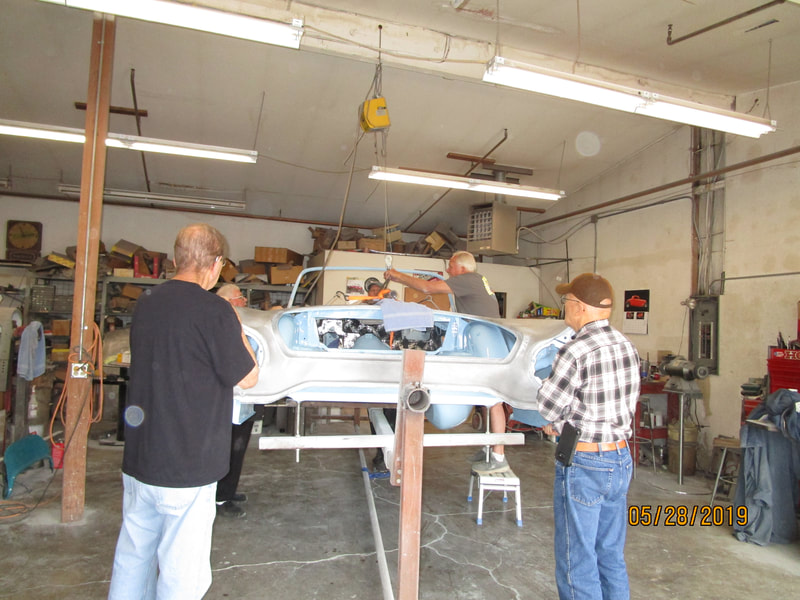
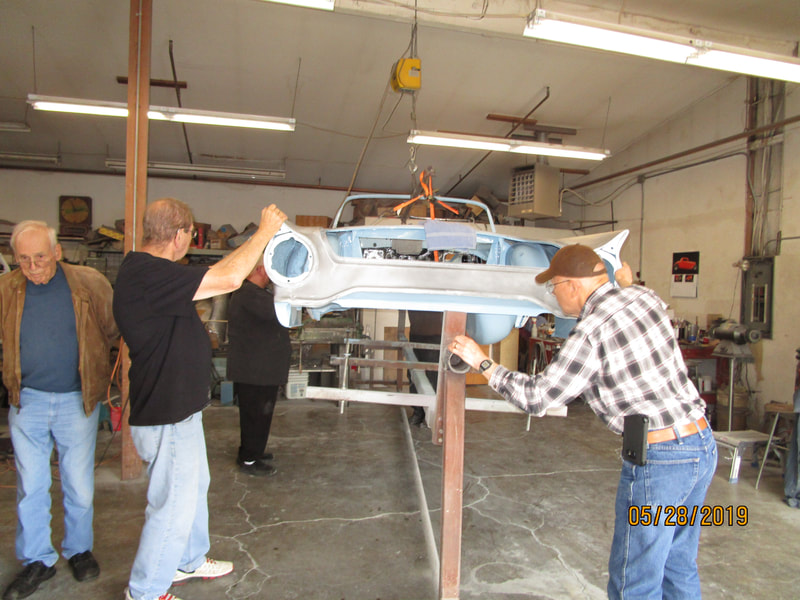
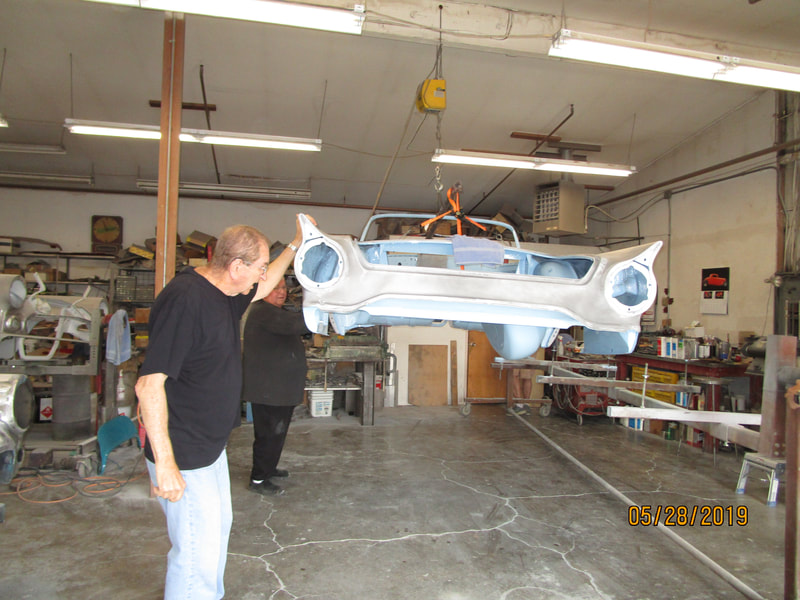
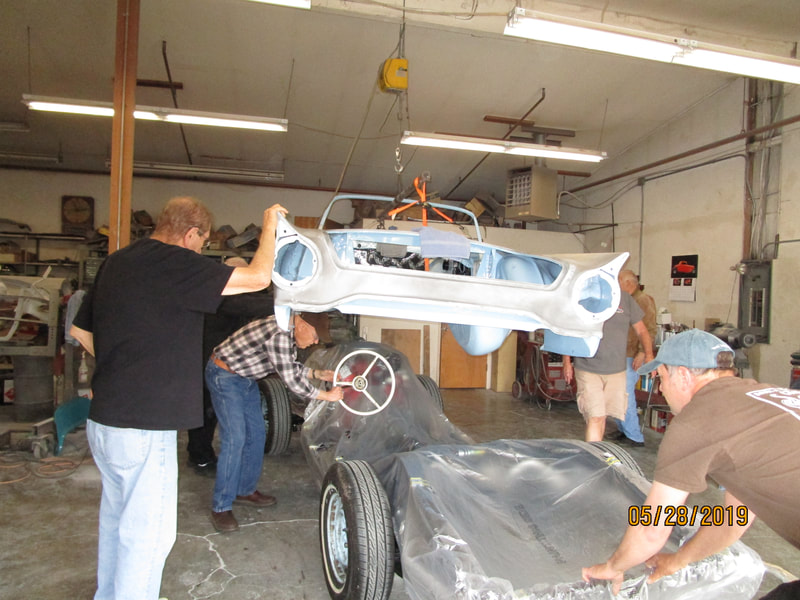
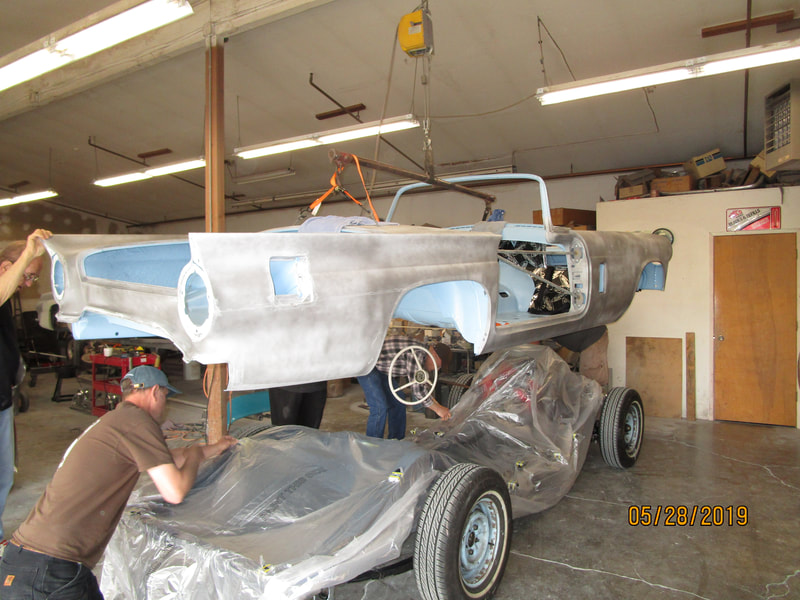
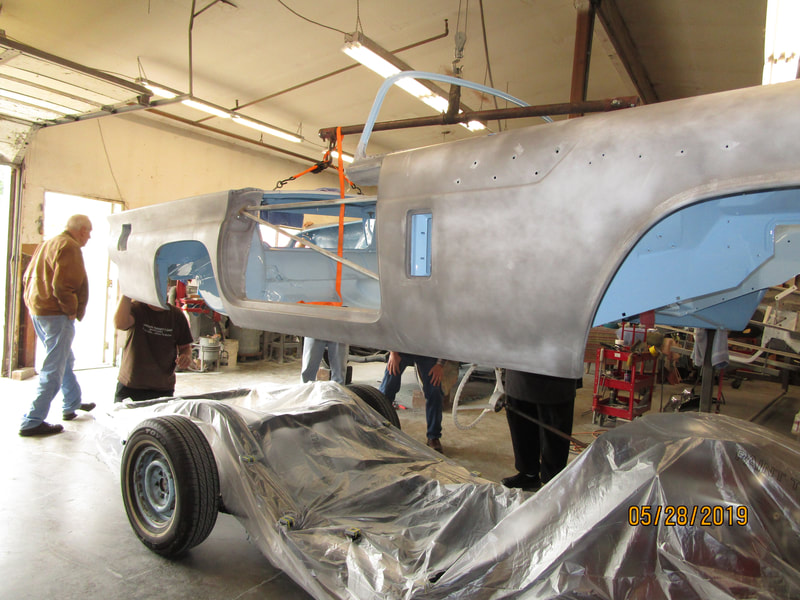
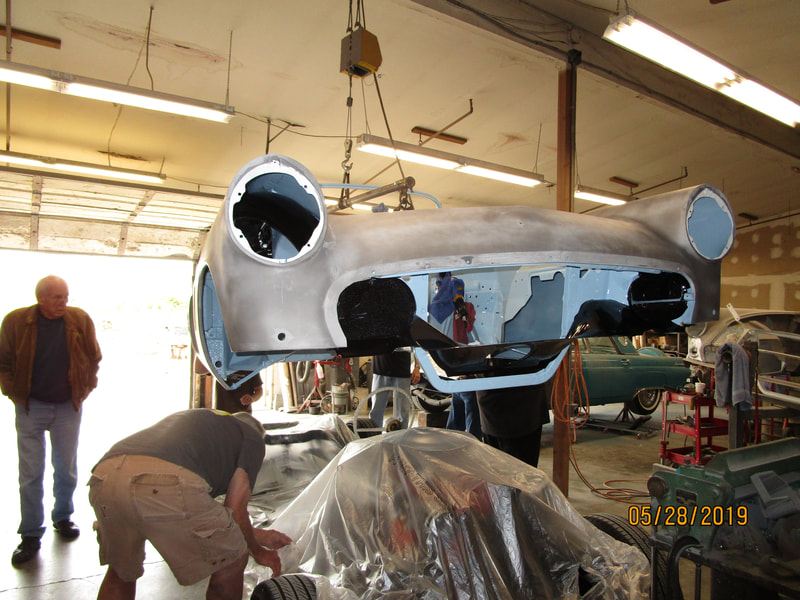
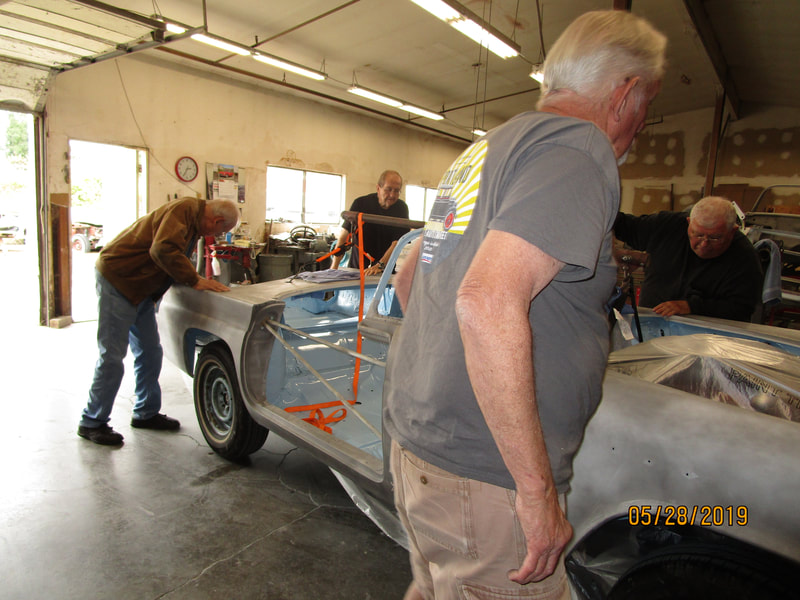
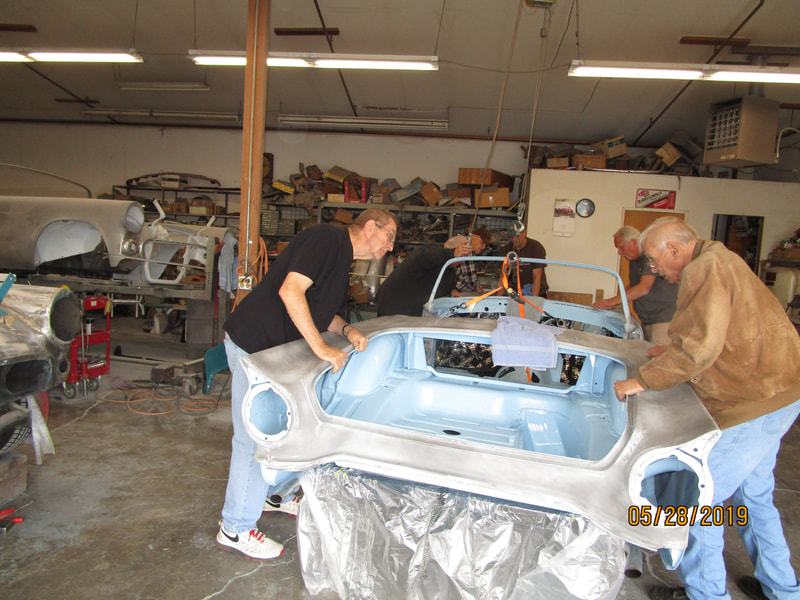
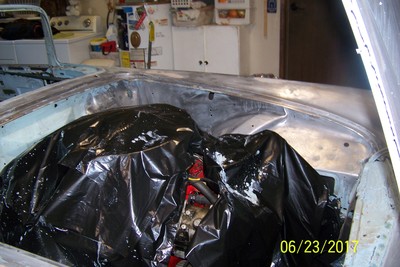
Another part of the photos show us putting the body back onto the frame. As you will be able to see we had a small army there to help. We only planned to have Dave, Howard Carlson and myself. But just as we were starting Dave's brother-in-Law came by with some of his family. Everybody got to help. Visible in this series of photos you can see a very thin piece of plastic sheeting covering the frame and engine. This is to keep the final blue paint from getting onto the frame, suspension, engine etc.
The next set of photos bring us up-to-date.
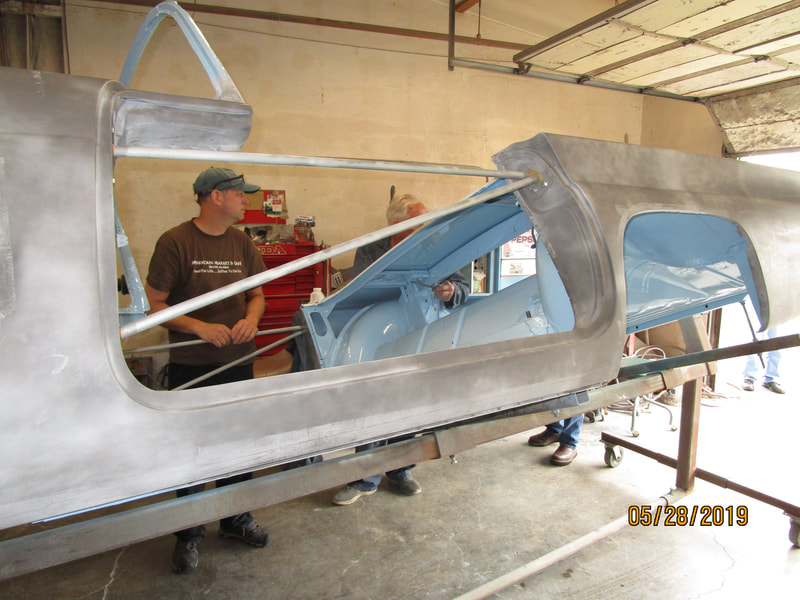
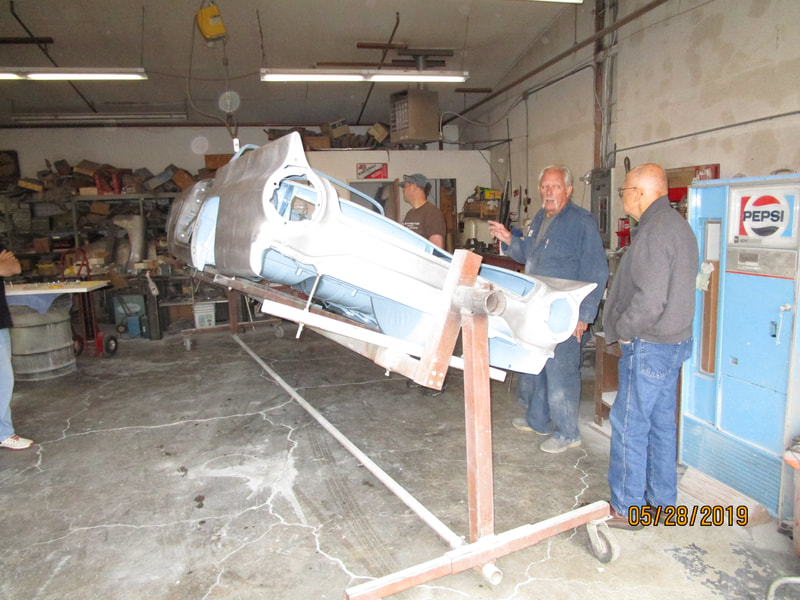
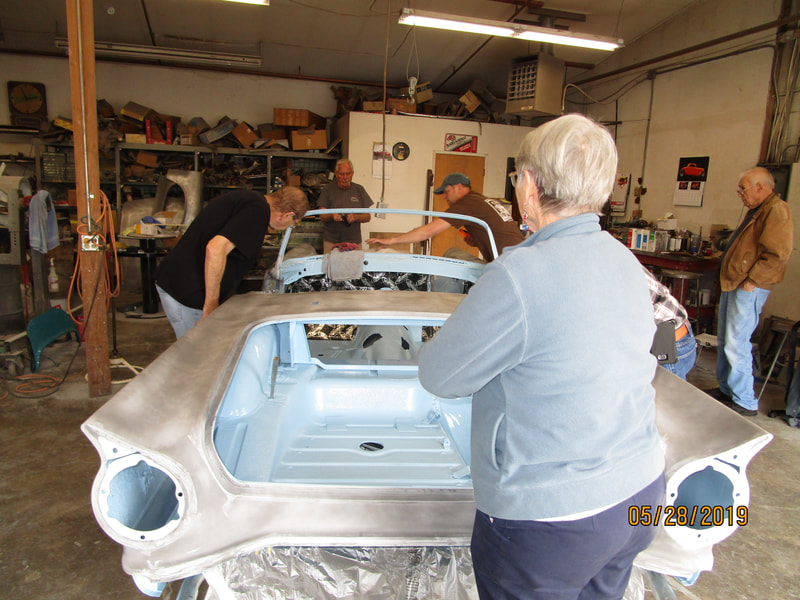
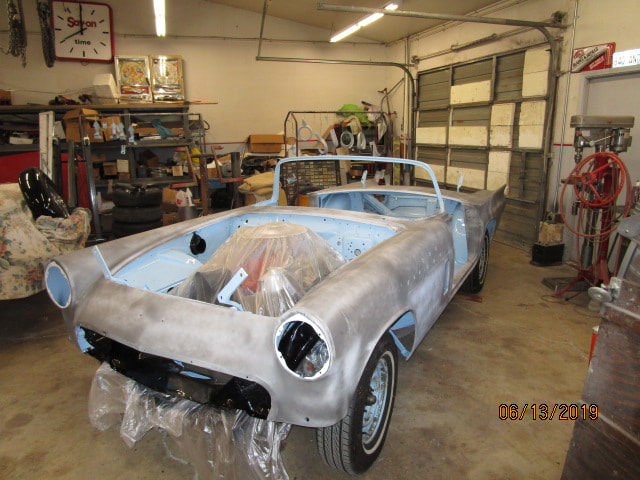
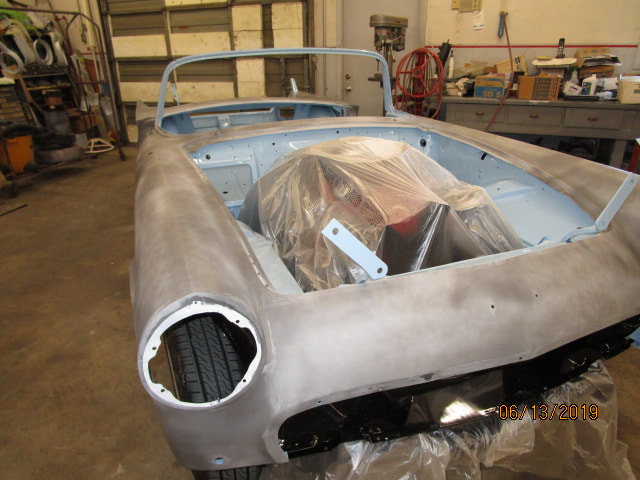
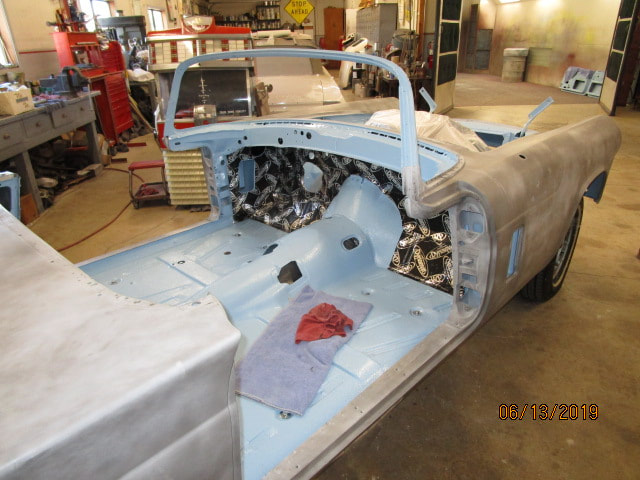
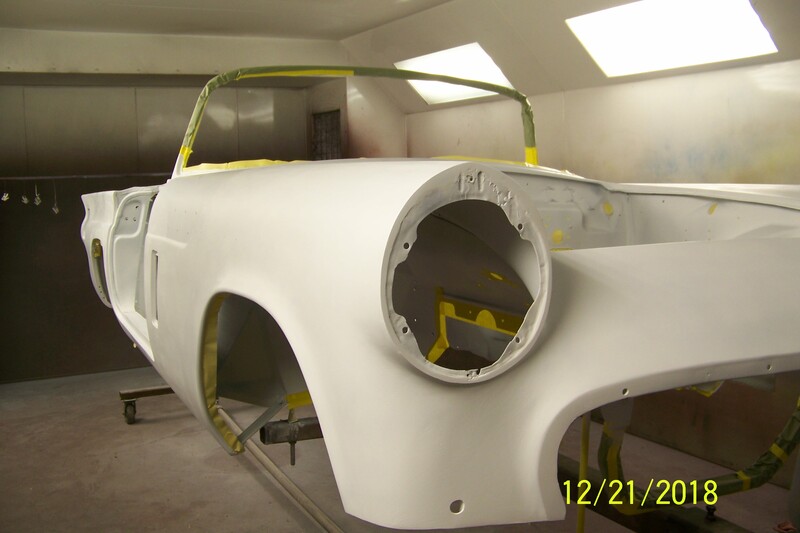
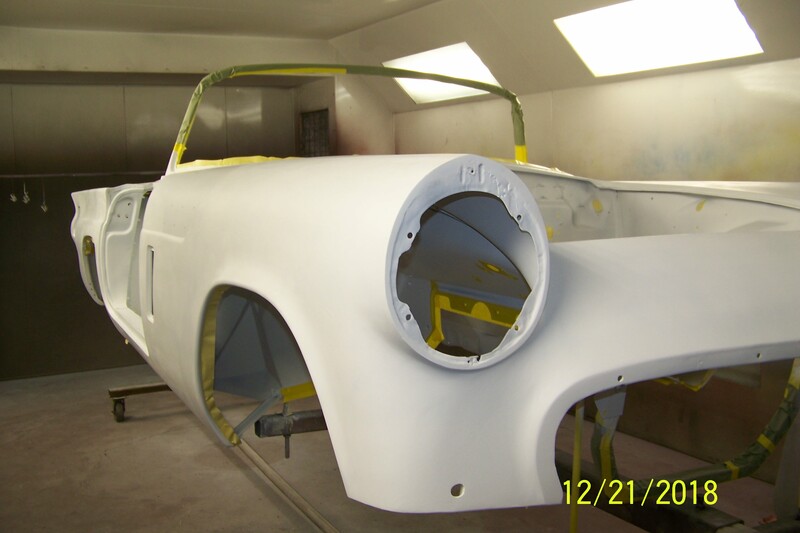
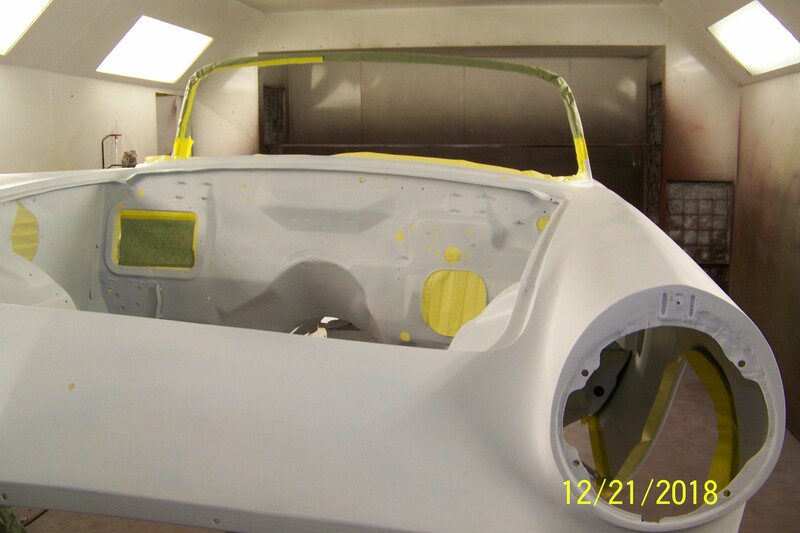
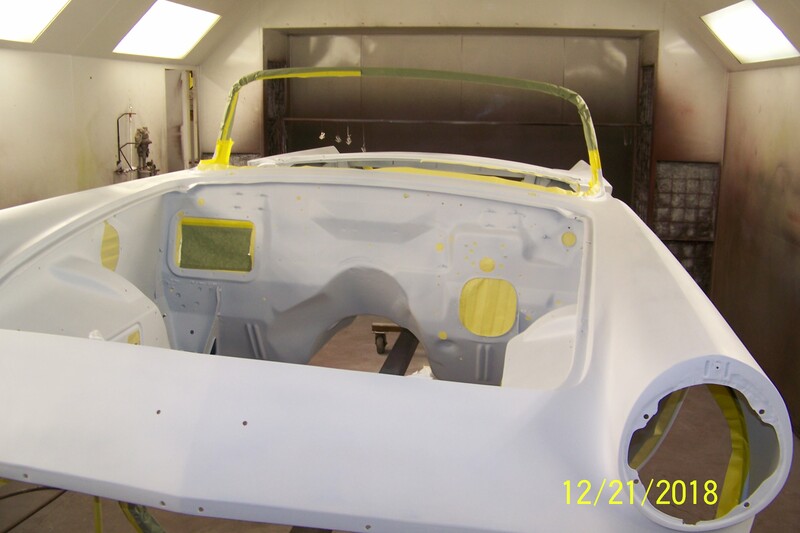
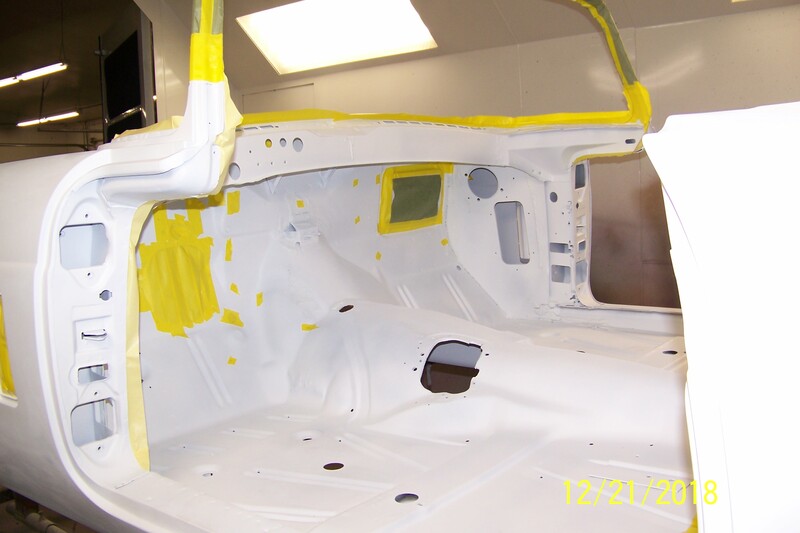
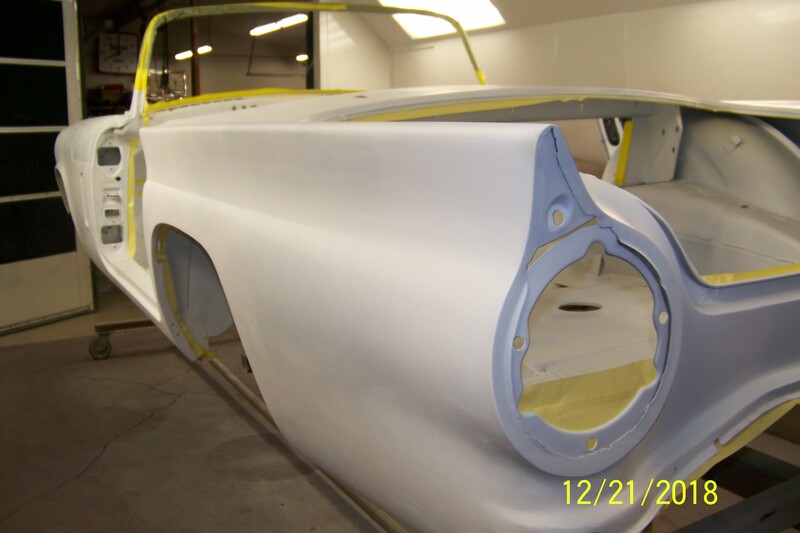
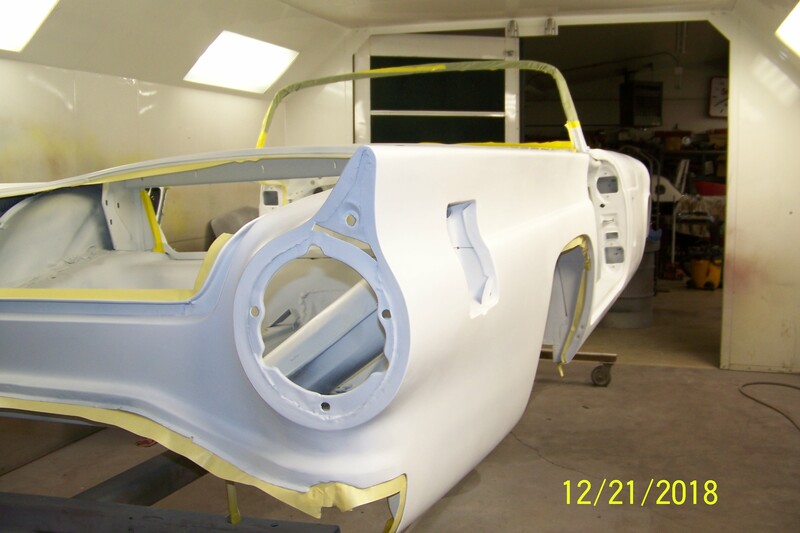
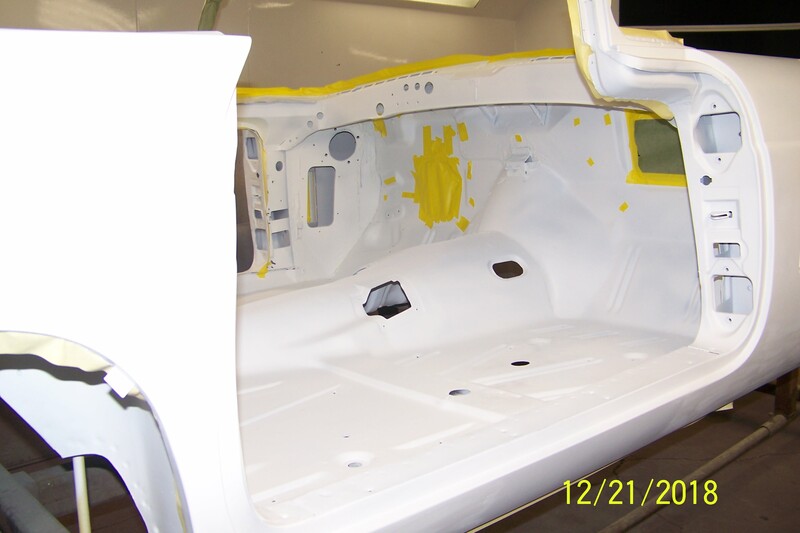
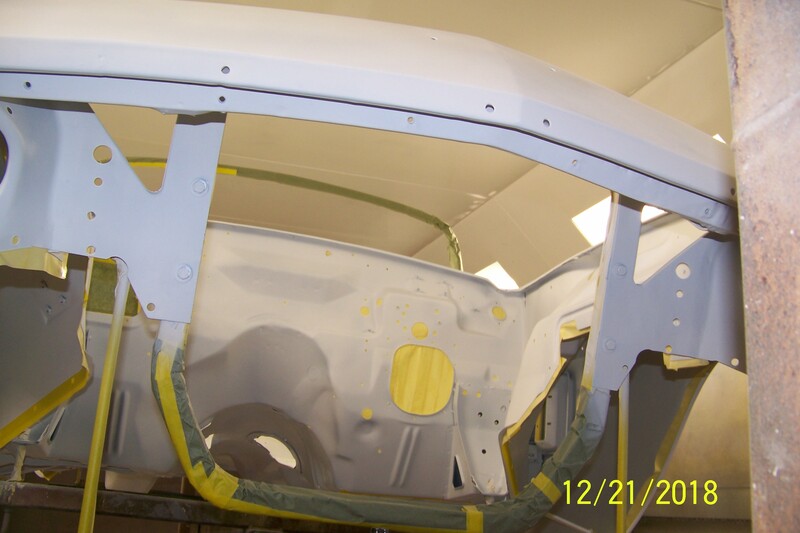
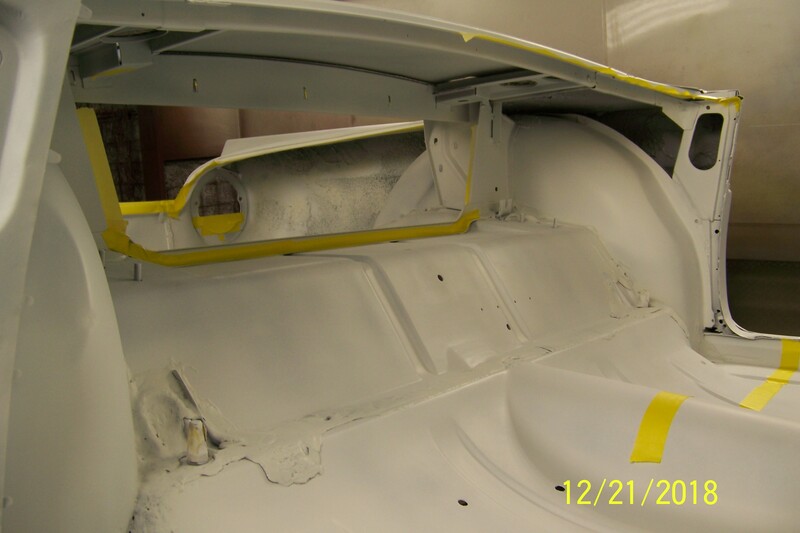
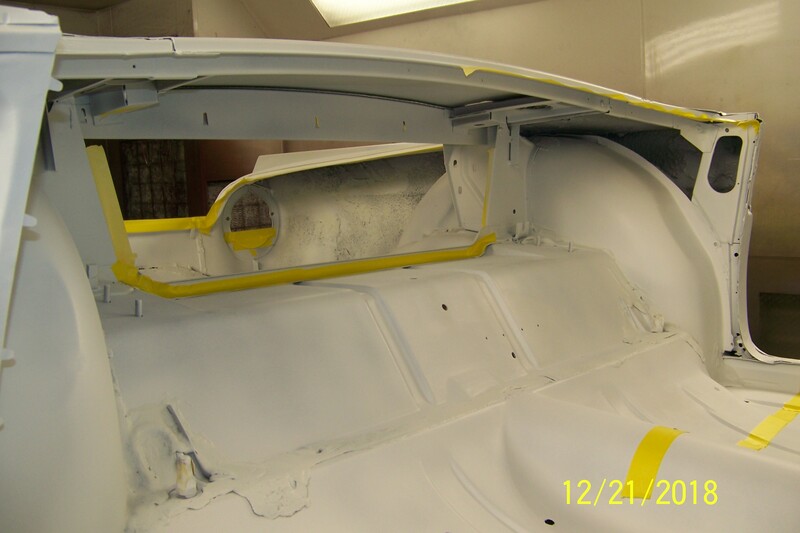
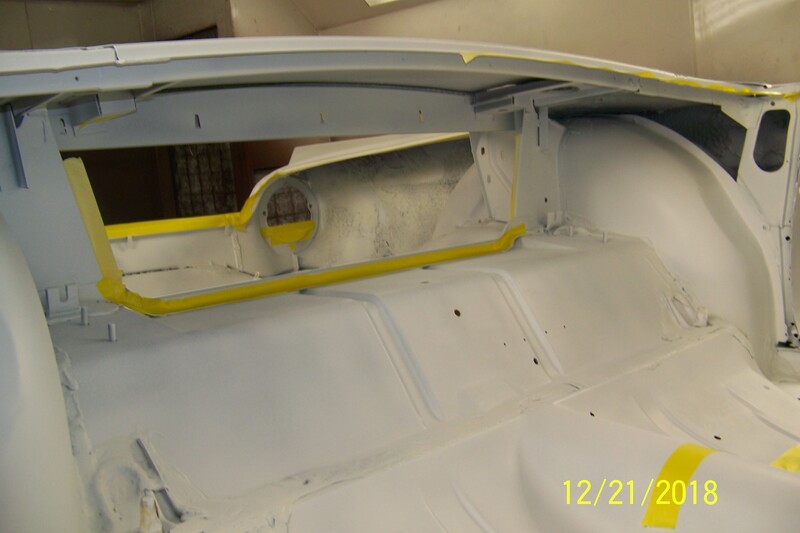
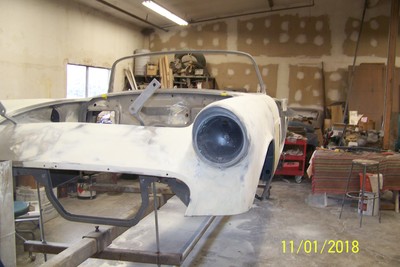
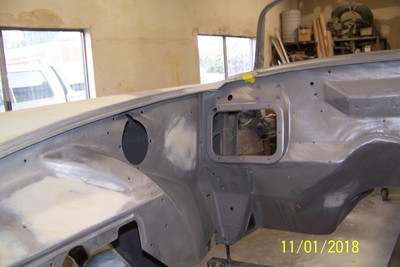
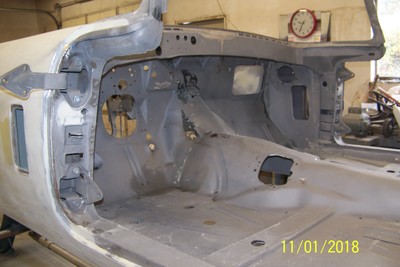
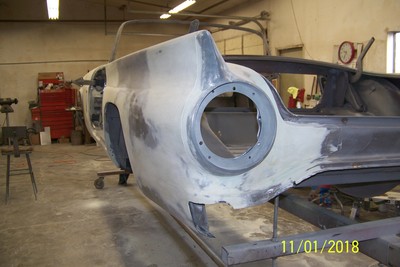
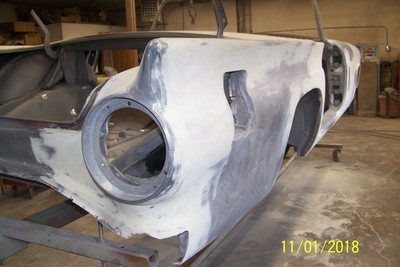
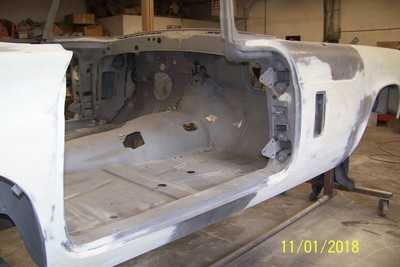
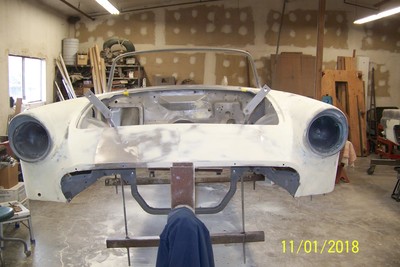
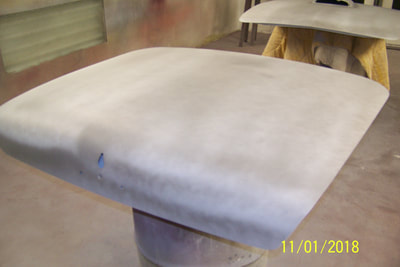
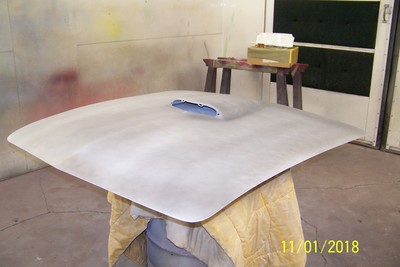
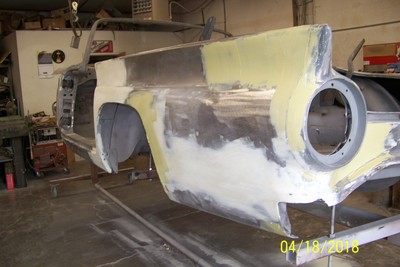
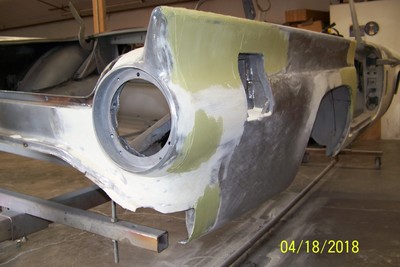
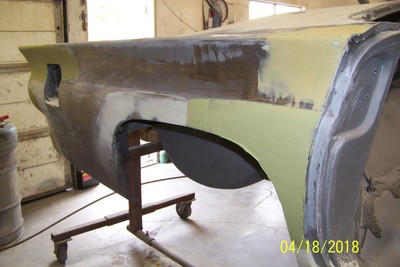
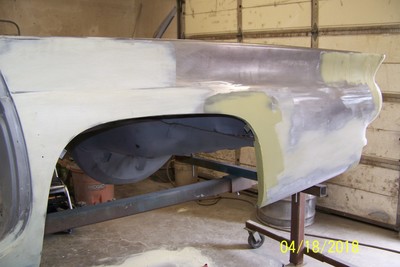
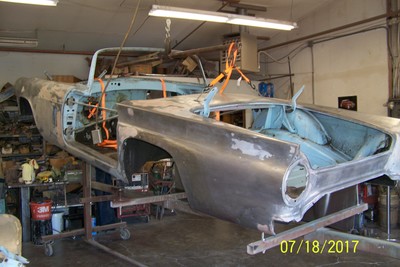
Dave has been making steady progress on my car's body. He has been delayed working on another long-term project and we missed the September-October target date for getting the body painted and back on the frame. Below are nine photos I took on November 1st. From these you can see that he is in the final stages of sanding. The primer will be coming very soon.
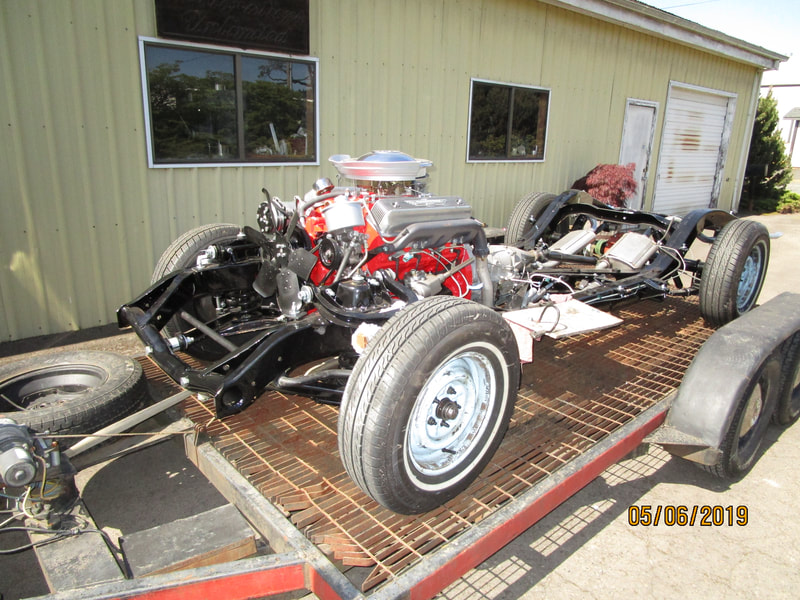
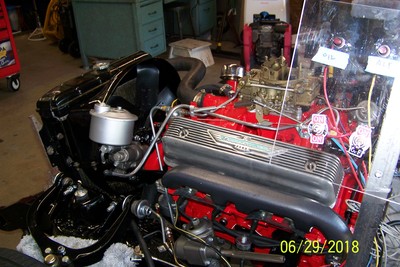
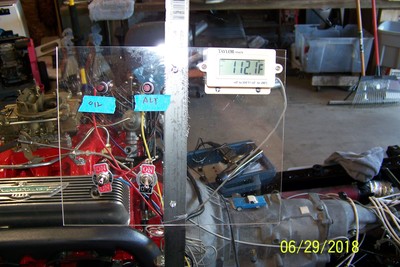
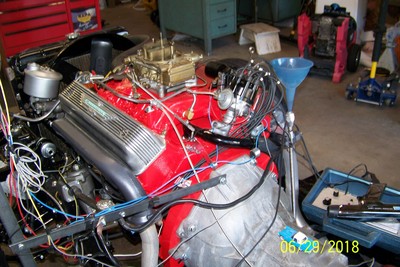
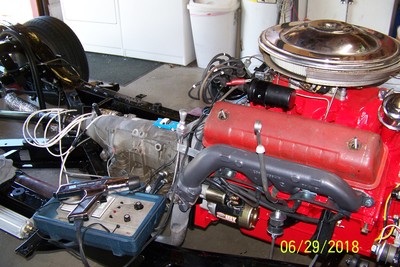
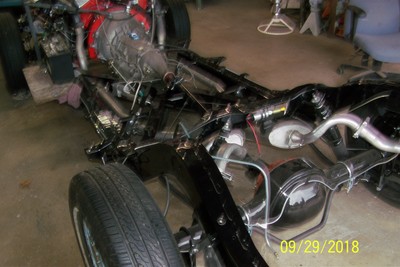
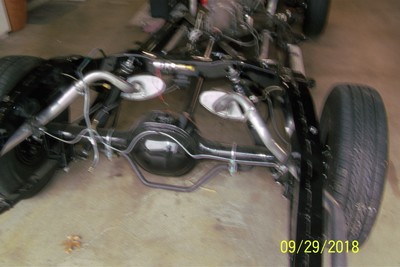
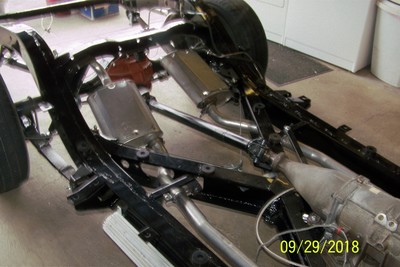
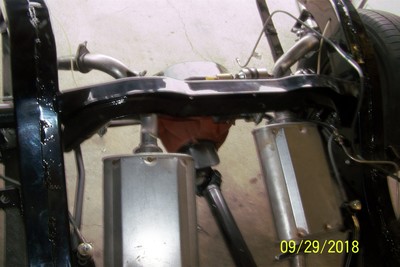
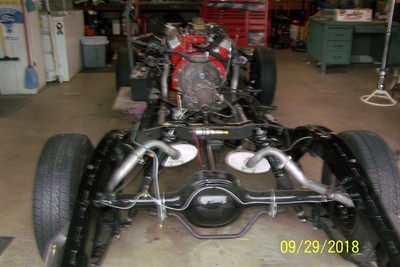
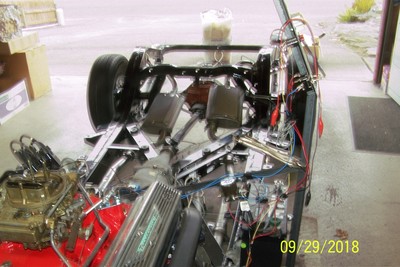
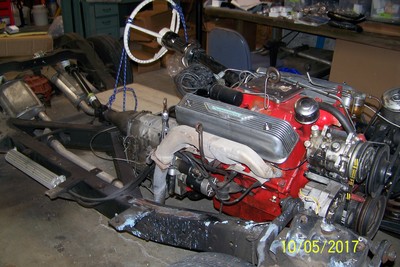
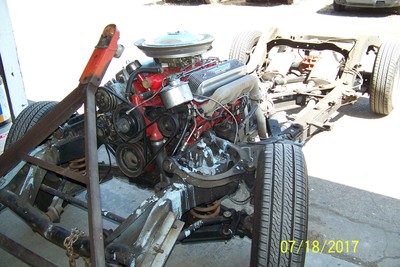
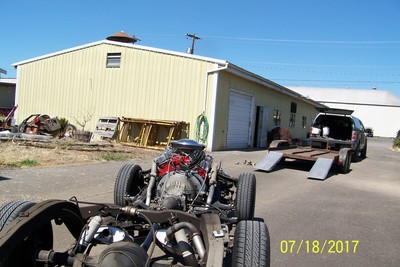
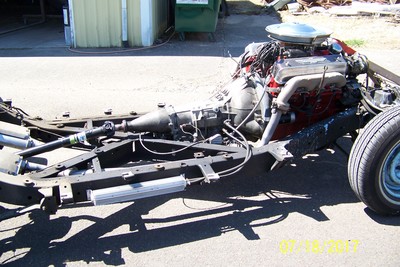
The photos below show the completed frame/suspension/engine waiting on the body. I've been starting and running the engine for several months now. I initially started it with a real dubious (read Mickey Mouse) exhaust system. I didn't want to blast everyone in the neighborhood out with the noise so I picked up a couple of blown out glass-pack mufflers at an exhaust shop and shoved them onto the pipes coming off the engine. To them I added about 8' of drier vent tube to get the exhaust fumes out of the garage. You may see that in these photos. The complete exhaust system is now in place. You can also see a "dashboard" I made with an on/off and start switches plus a temperature gauge and ALT & OIL lights. This makes it easy to start the engine and to watch the temperature and other vital signs.
The engine runs very nicely; however, it had a miss that was a bit difficult to track down. I finally found internal parts in the distributor had become stuck while sitting on the shelf for 18 months. A few hours of disassembly, cleaning, lubricating and reassembly took care of that. I have also lifted the rear wheels off the ground and run the transmission through its gears. All seems to be working well.
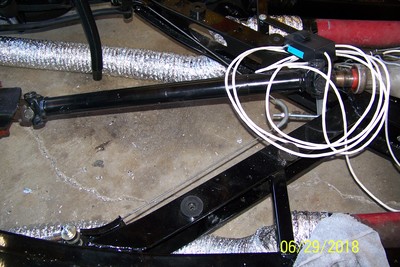
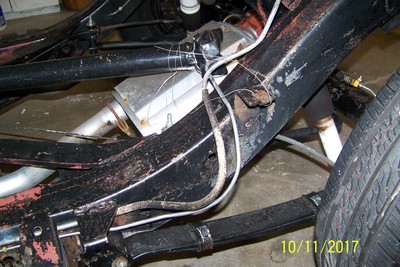
Part way through the photos you will see the quality of the photo go to pot. Something is wrong with my camera and I'm probably going to have to replace it. There is a coil of white wiring showing in one photo - that goes to a control box to set and release the parking brake. I am replacing the under-dash pull with a switch to set and release the brake. The ugly red valve covers will be replaced with my original finned aluminum ones when we get closer to completion.
I have also received all of my upholstery. Most Starmist Blue 1957 Thunderbirds had a two tone blue interior, mine was a much less common all white. Even though we like the white interior it is too hard to maintain so we elected to change the interior. It is going to be a medium and light gray. I purchased the material here locally and sent it to Larry's Thunderbird in California where they made it into upholstery for me, including having the door and kick panels heat stamped with the Thunderbird logo as the original was. It all looks very nice but it is all still sitting in boxes in our spare bedroom.
While I've been working on the engine and frame Dave has kept busy continuing the body work for us. In these photos you can see both rear fenders and the left front fender are finally on the car and progress is being made. With any luck we can put the body back on the frame in late September or early October.
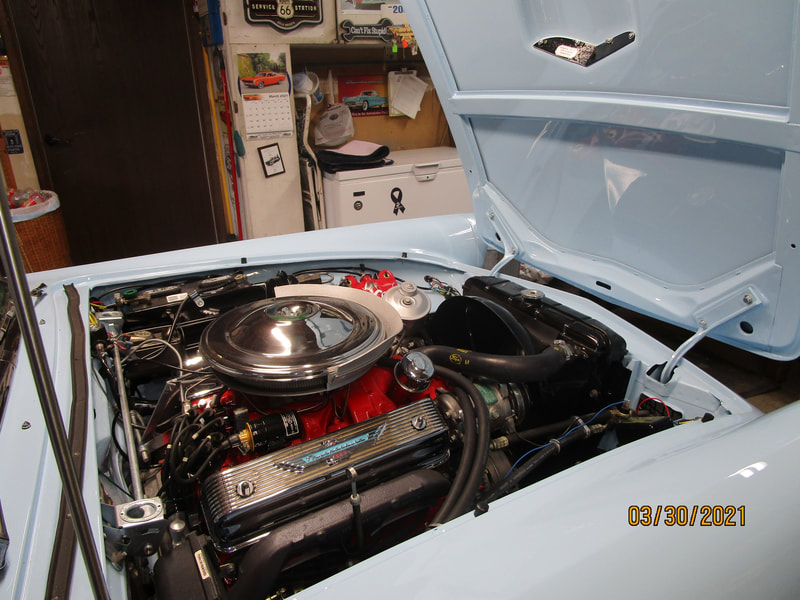
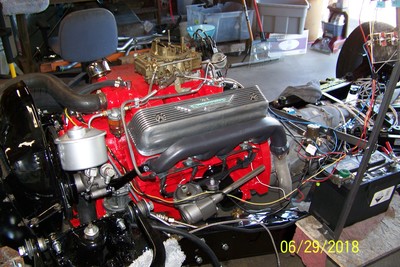
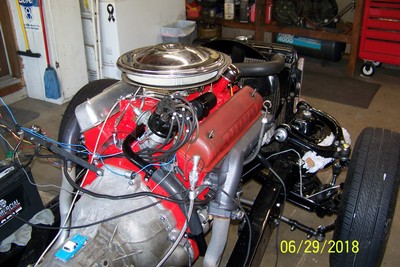
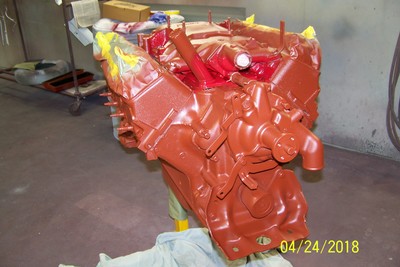
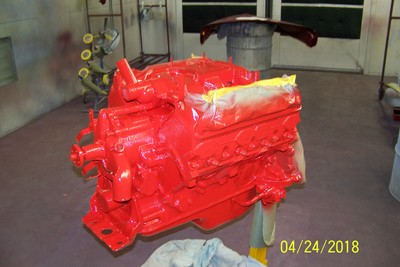
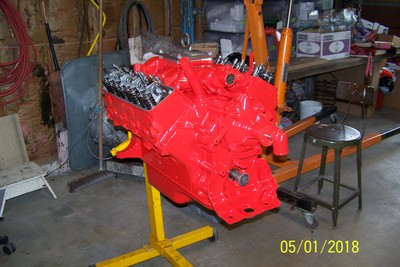
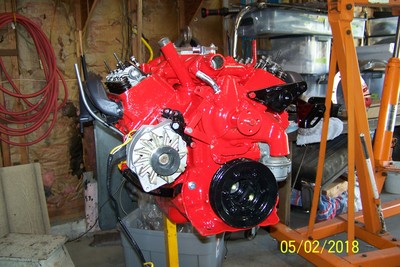
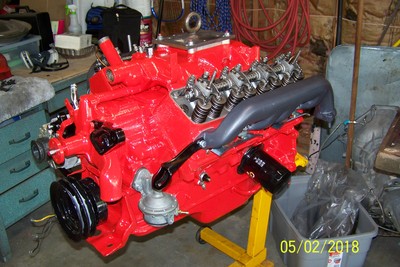
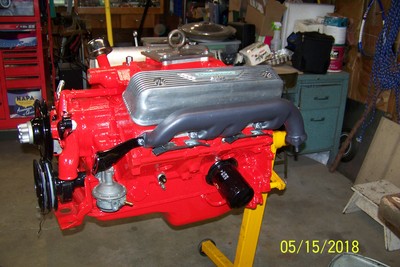
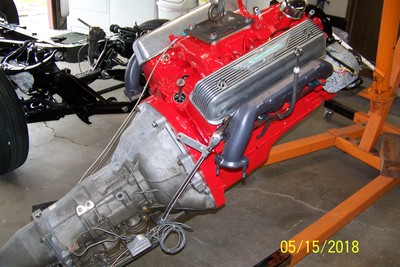
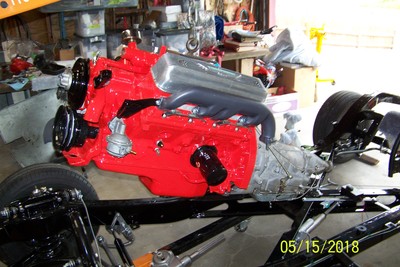
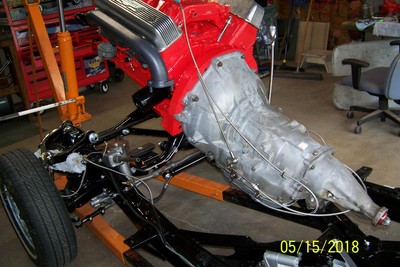
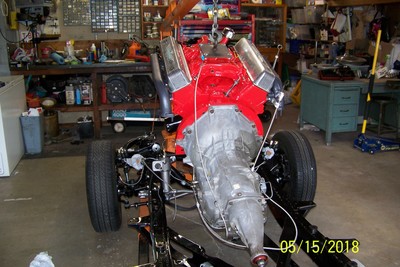
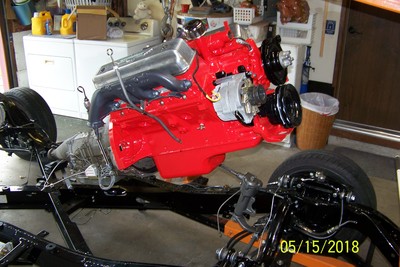
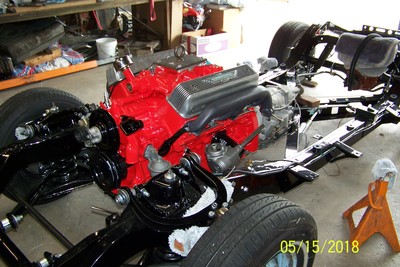
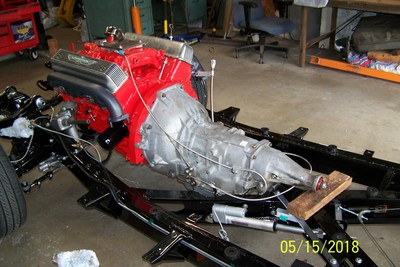
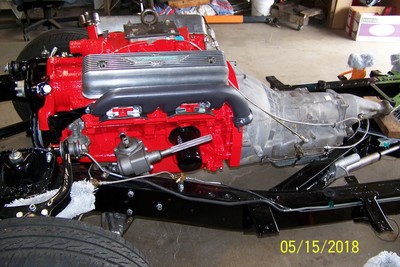
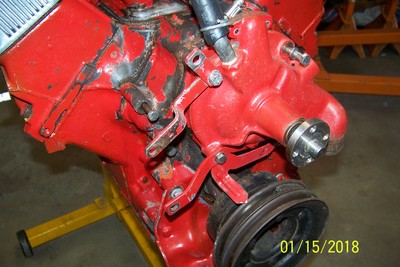
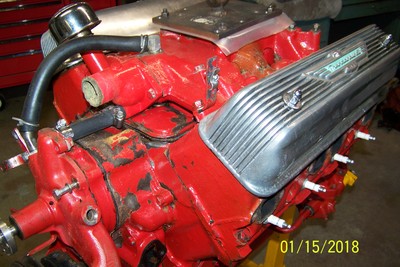
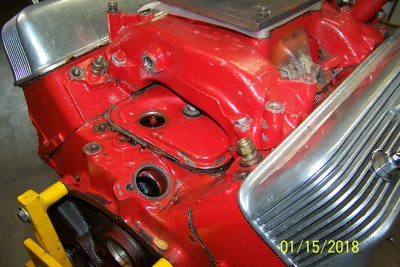
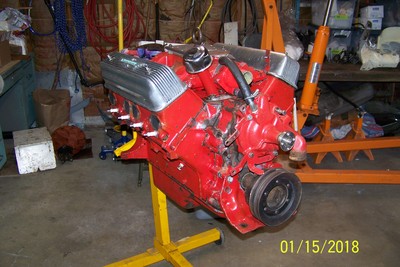
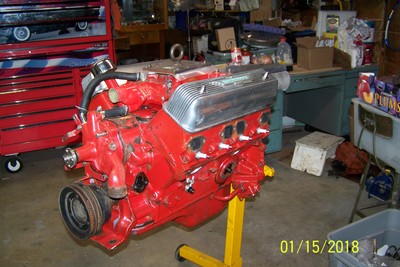
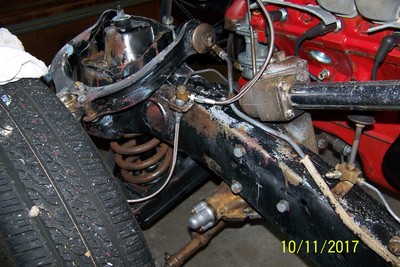
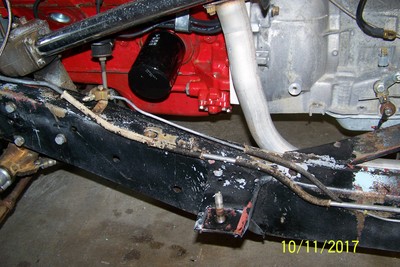
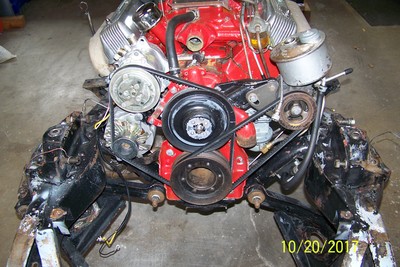
After engine assembly I took it to Dave Van Winkle to have it painted. The photos below show the engine ready for paint, then in primer, and in final paint. Following those are photos as I assembled the external parts on to the engine and then onto the frame. As you can see Howard Carlson helped me mount the transmission to the engine and then the assembly onto the frame. We are making progress but it is slow. As of June 1st, 2018 I am planning on starting the engine up within the next week or two.
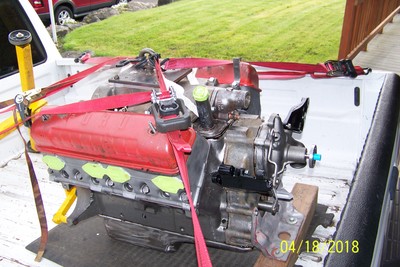
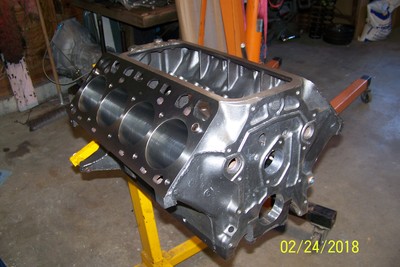
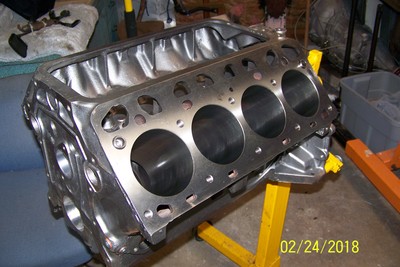
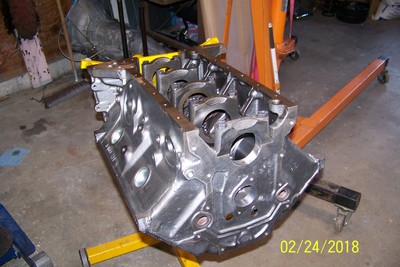
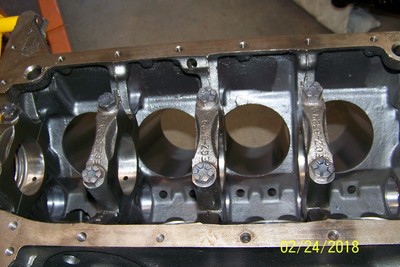
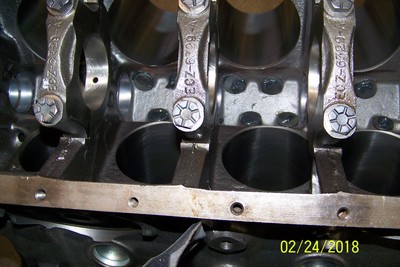
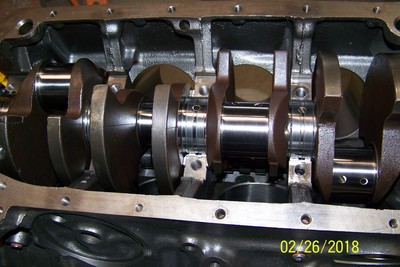
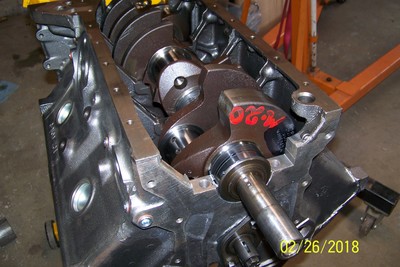
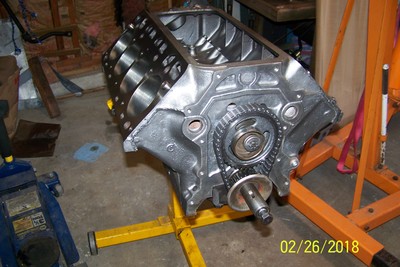
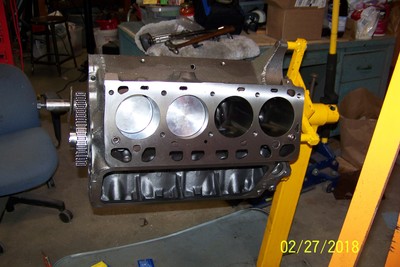
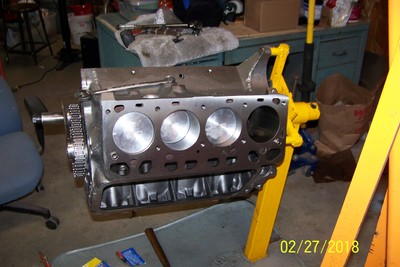
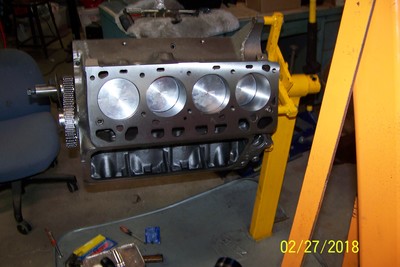
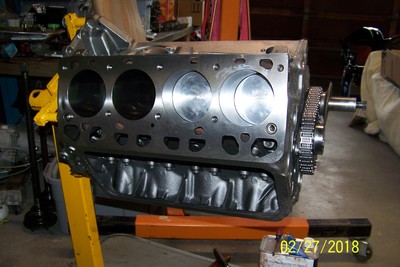
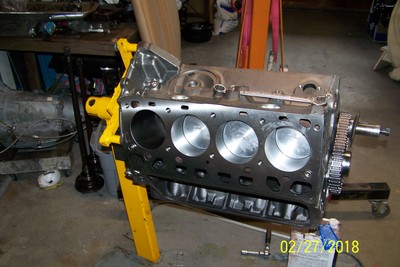
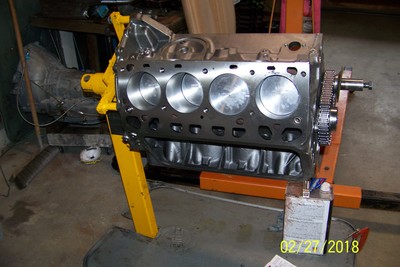
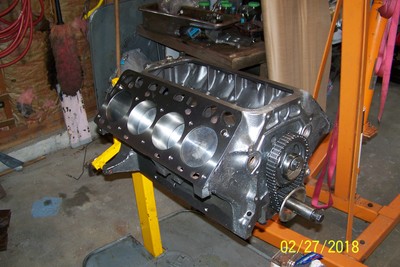
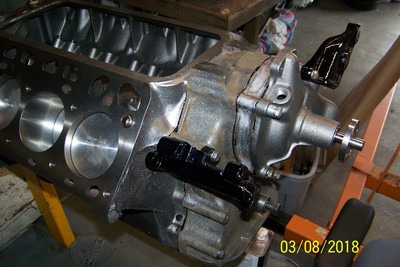
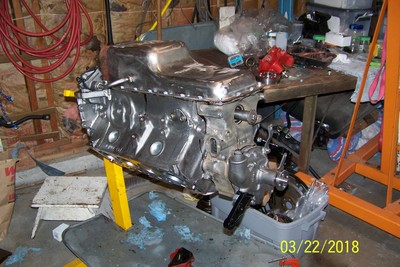
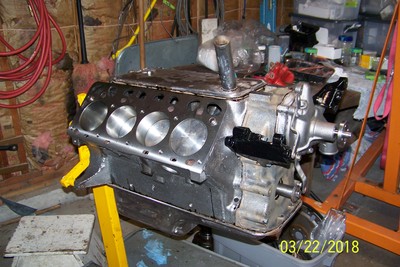
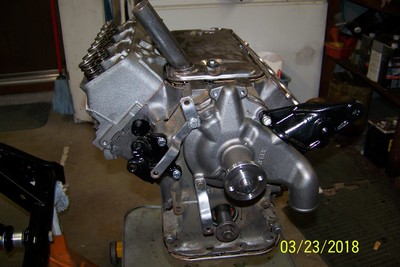
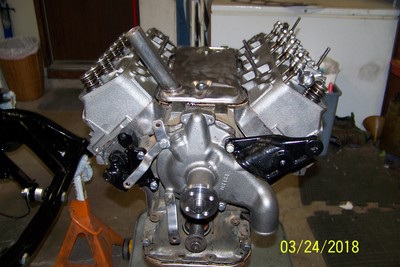
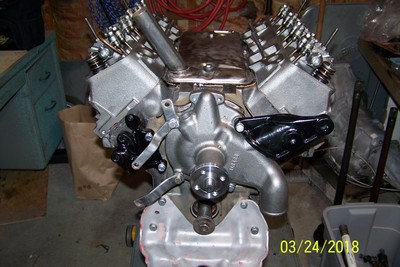
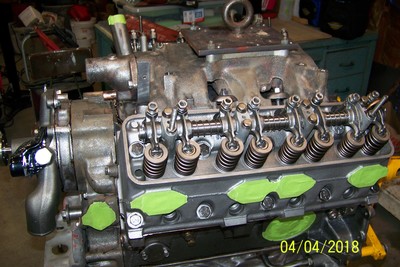
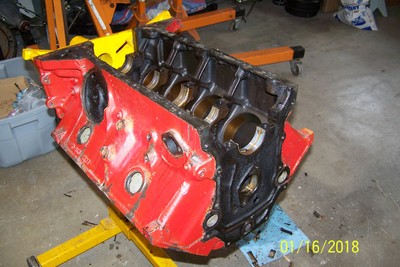
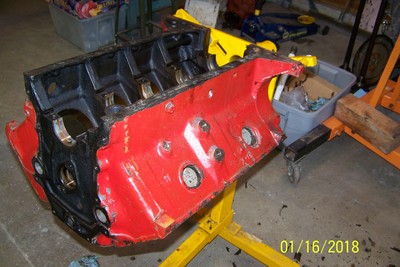
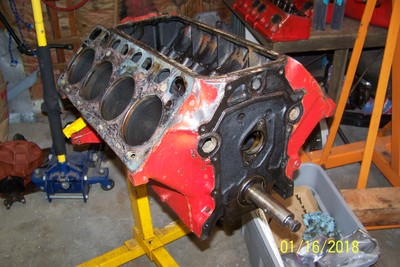
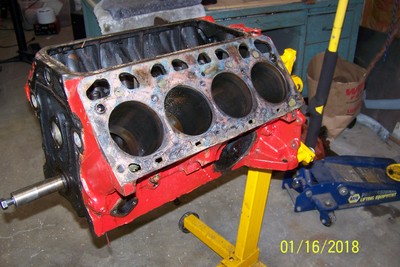
Then came engine assembly. This is something that cannot be rushed and a bunch of pre-lube must be used. Without the pre-lube the engine bearings would be destroyed in the first few minutes of start-up. Even then there will be oil in the engine and the oil pump run by hand to pump oil through the entire engine prior to starting it the first time. Setting up the timing chain is critical or the engine won't run at all. The Ford Y-Block is the only one I know of where the timing marks on the cam and crank do not line up with each other. The cam is set about 3:30 PM (on a clock face) the crank about 3 PM and there must be 12 link pins on the chain between them. On one photo you can see red markings on the crank shaft. If you can turn that photo upside down in your mind it reads: M20. Which means the main journals are turned .020 undersize so .020 oversize bearings must be used. This is an extremely small amount considering the engine is over 60 years old and has over 300,000 miles on it. The black brackets will be removed when the engine is painted red and then put back on. You can also see some masking tape to keep the manifold surfaces paint-free when it is painted.
You may notice the photo dates below. It took me over a month to assemble because I pulled the heck out of my back while working on it and didn't work on it for over two weeks. Then I had trouble with the rocker arms and push rods. We had to get new, longer push rods which took about a week.
You may notice the photo dates below. It took me over a month to assemble because I pulled the heck out of my back while working on it and didn't work on it for over two weeks. Then I had trouble with the rocker arms and push rods. We had to get new, longer push rods which took about a week.
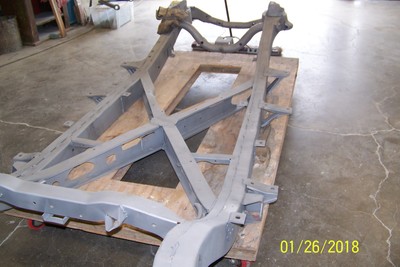
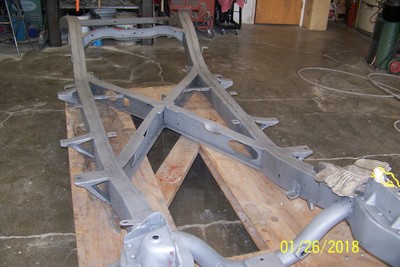
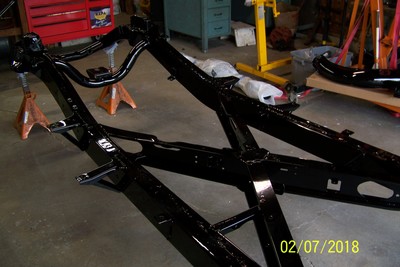
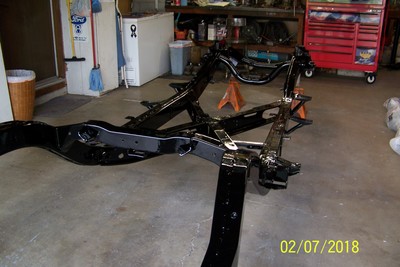
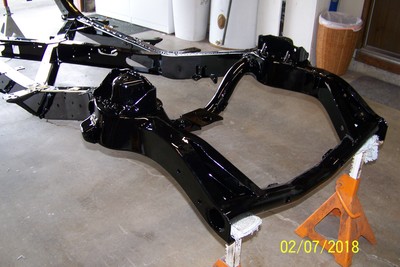
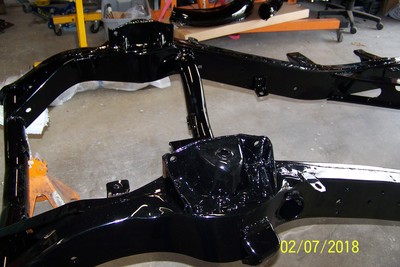
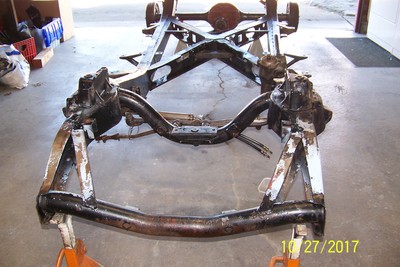
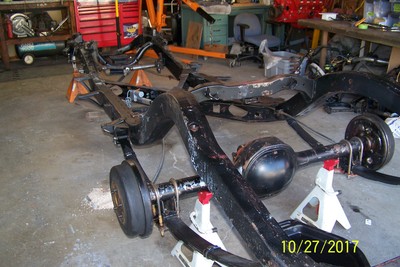
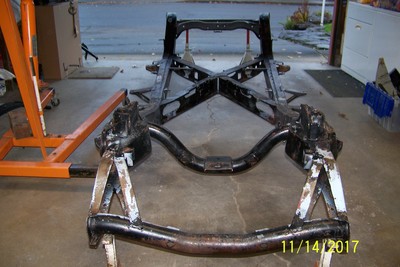
The photos below show the amazing transformation from the gutted frame to being sandblasted and then powder coated. In addition to the frame we had 164 more pieces cleaned, sandblasted (or hand stripped) and powder coated.
While the frame was gone I tore the engine down to get it ready for the machine shop. I used a machine shop that I am very familiar with. The machine shop at Eastside NAPA is very familiar working on older engines and do so at a fair price. They are very detail driven and have always done a great job for me. I think this was the sixth engine I've taken to them in the past 15 years.
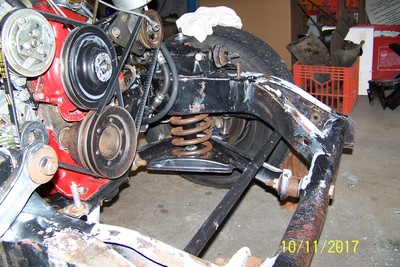
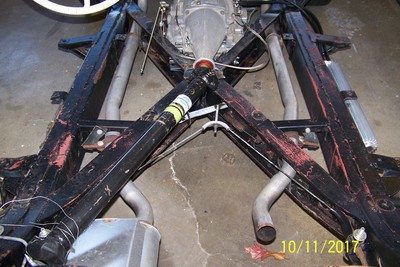
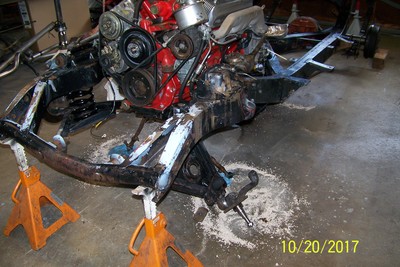
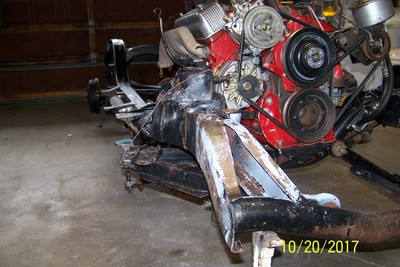
After getting the frame home we had it steam cleaned which removed over four decades of road grim and grease. Then I went about removing everything from the frame. As you can see in the photos I got it down to a bare naked frame. After removing everything the frame and suspension went to the sandblaster and to the powder coater.
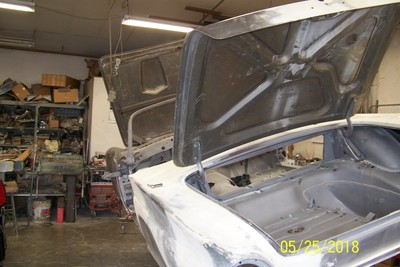
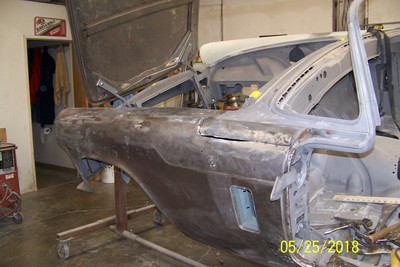
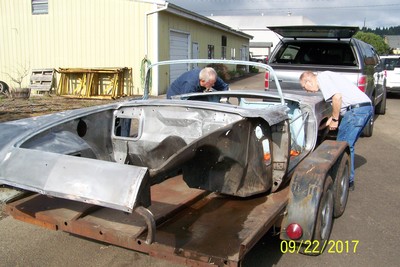
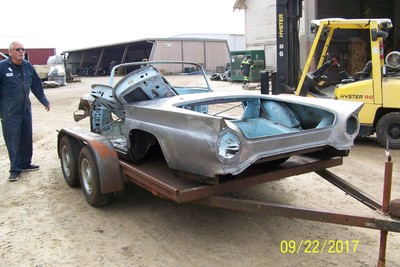
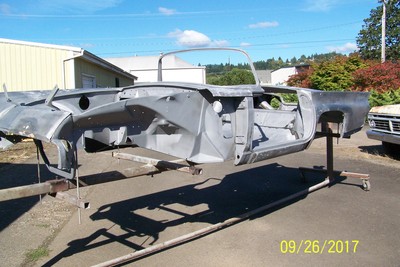
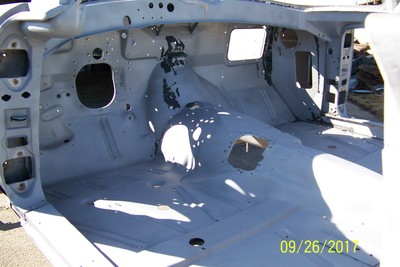
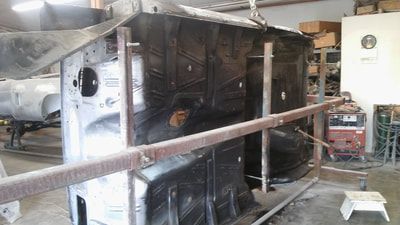
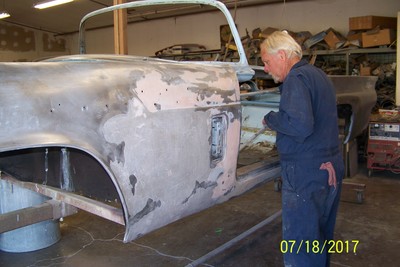
After getting all of the undercoating off Dave, Howard and I trailered the body to a sandblast facility. They got the work done very promptly and we got the body back to Dave's shop. He then went to work on it.
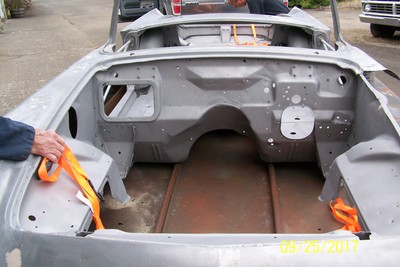
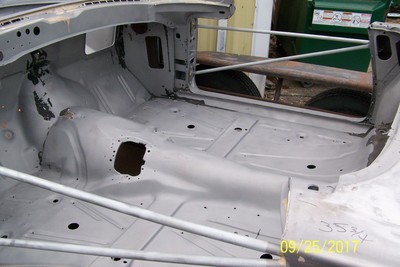
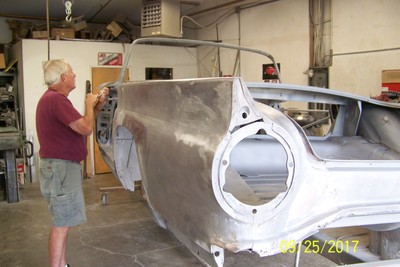
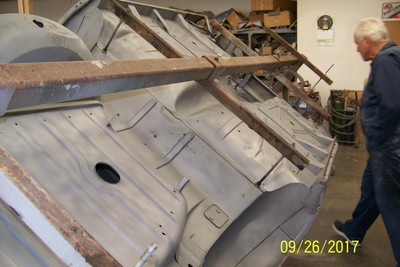
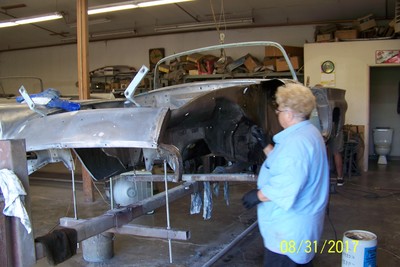
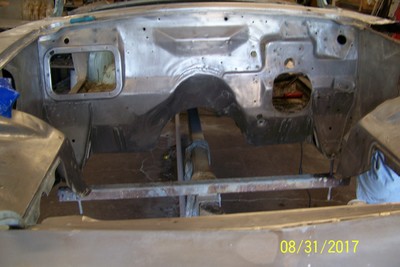
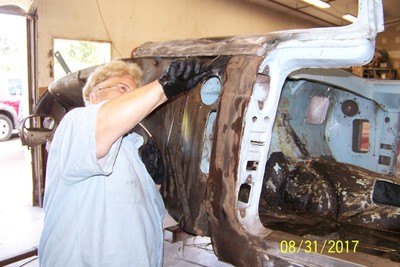
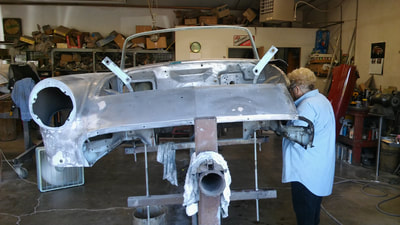
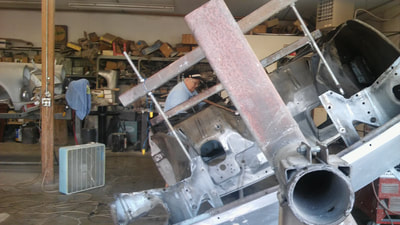
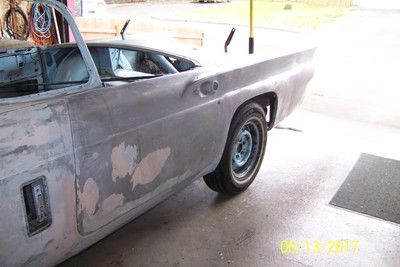
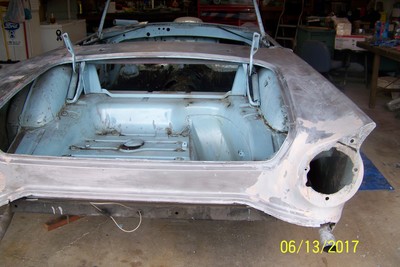
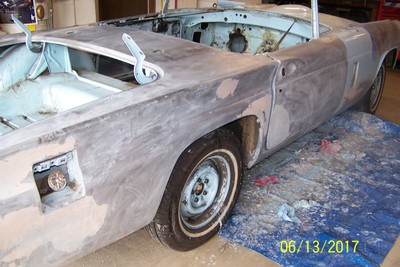
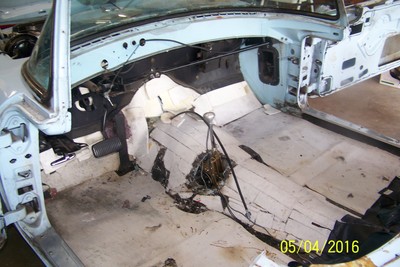
After a five week vacation driving to New Jersey and the Gulf Coast Oleta and I spent about six days removing all of the undercoating from the floor board, inner fender panels and bottom of the car. I thought removing the paint was tough until we started removing this junk. We came home each night exhausted and filthy dirty but it was well worth it to get the body ready for sandblasting and body work. Also with the body on a rotisserie I was able to get inside the engine compartment and finish removing the paint from there. Dave determined that the LF fender needed to be replaced. It was so beat up from a wreck before I bought the car in 1966 it was cheaper to replace than to repair.
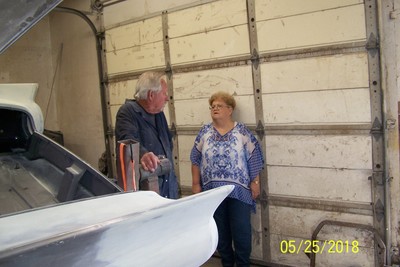
The third major step was getting the body to Dave Van Winkle's shop for body work and paint.
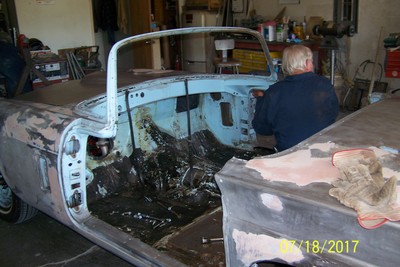
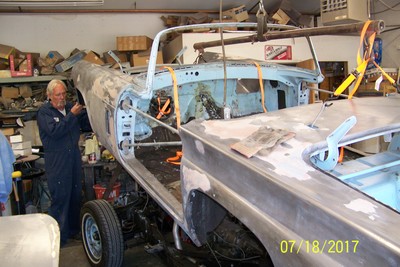
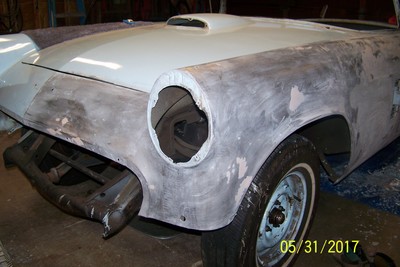
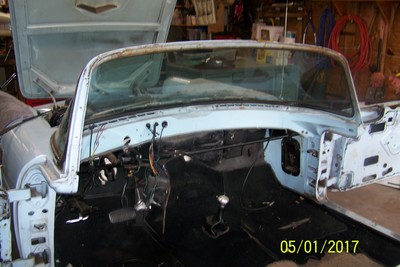
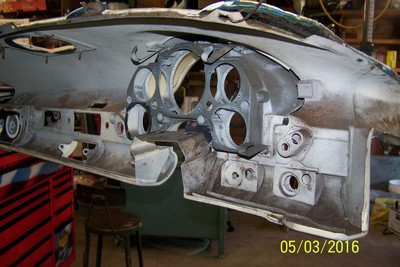
Next came stripping all of the paint from the car. Thank goodness for strong paint stripper but it is still a lot of work that is very messy. We went through about five (5) gallons of paint stripper and made a huge mess doing this. However, removing all of the paint revealed a lot of body puddy that I had forgotten about from the 1970 project.
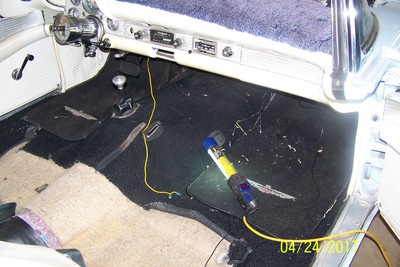
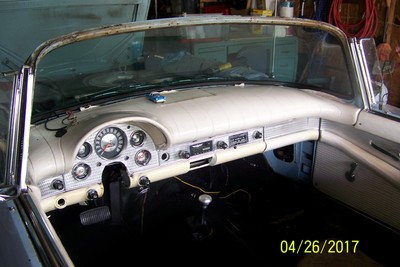
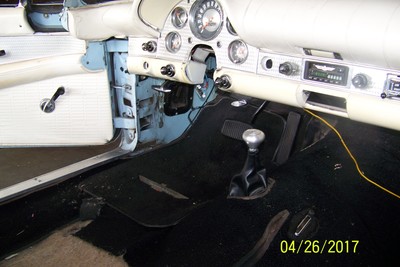
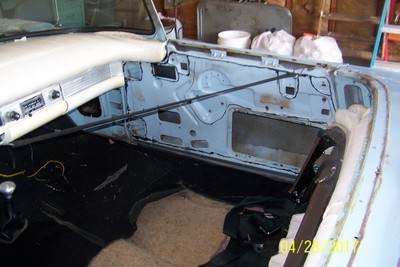
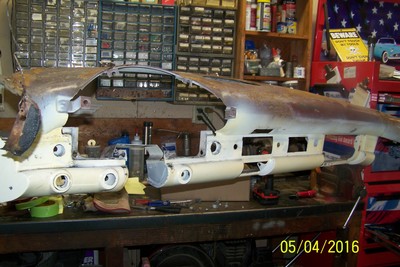
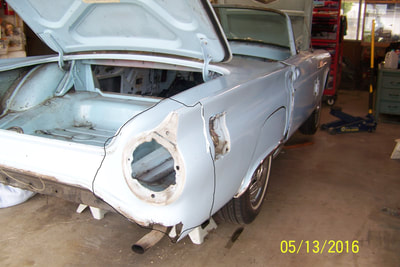
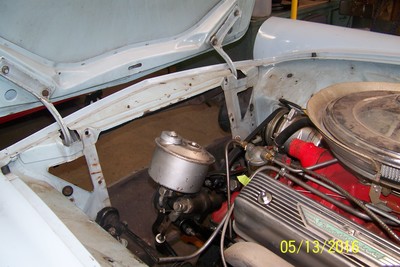
Starting the project meant taking the car apart. And I did take it apart. One huge headache in a project like this is keeping track of the parts and the attaching parts. As the disassembly proceeded all of the parts were placed in labeled bins, nuts, bolts, screws and small parts were all stored in baby-food jars and labeled.
Notice that even though some of the photos are dated 2016 they were taken in 2017. I had my camera date set wrong and it is not possible to change those dates.
Notice that even though some of the photos are dated 2016 they were taken in 2017. I had my camera date set wrong and it is not possible to change those dates.
