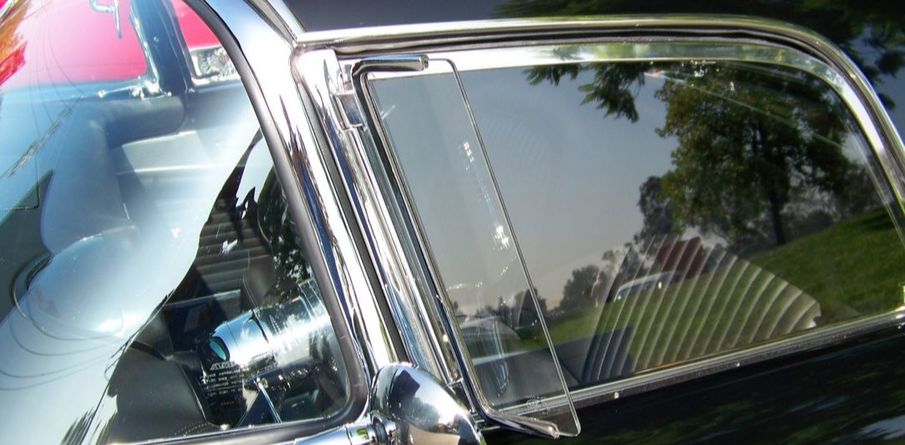
Wind Wing Glass Removal
This tech-tip is from the Trail Birds of SW Florida newsletter. I’ve struggled several times getting wind wing glass out of the frame; it can be a pretty tough job. This sounds like a great method and will try it the next time.
#1 Place penetrating oil all along both sides of the interface between the glass molding material and metal frame. Allow it to soak 5 - 10 minutes.
#2 Place the wind wing assemblies in a container of hot water. Allow them to soak for approximately 30 minutes keeping the water hot.
#3 Remove the wind wing from the hot water and thread a hinge screw into the threaded hole nearest the bend in the frame.
#4 Now comes the trick- using an air compressor, set the air regulator for a pressure of approximately 80 psi. Place the blow gun output tip up against the threaded mounting hinge screw hole without the screw and depress the blow guns trigger for a few seconds. Be sure the wind wing assembly is held in place and positioned so when the glass and frame separate the glass will not be broken. On my wind wings, I had to apply air pressure a number of times, but slowly the glass started to separate from the frame. If on yours nothing happens, be sure the air is not leaking out of the ends of the metal channel. If necessary, plugging of these areas might be required although there should be enough force on the glass even with some leakage. Be sure the air blow gun you use in not one of the OSHA types that limit the output pressure when deadened. I calculated that with 80 psi, there can be a separating force at over 300 pounds, since the force is uniformly distributed over the edge of the glass there is little likelihood of damage. Lower air pressure could be used initially with increases if no movement is occurring. Also rubber washers between the blow gun nozzle and the threaded hole could reduce air leakage. Once there is some movement between the glass and the frame, the glass can generally be removed the rest of the way by careful hand effort.
GOOD LUCK
By C. Merzals CTCI #16508
